
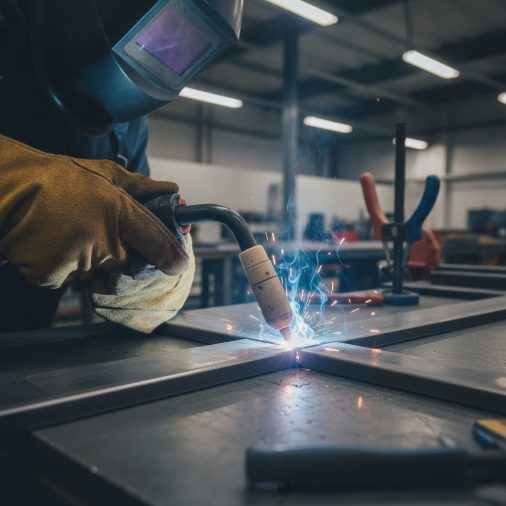
Why Tack Welds Matter More Than Most Welders Realize
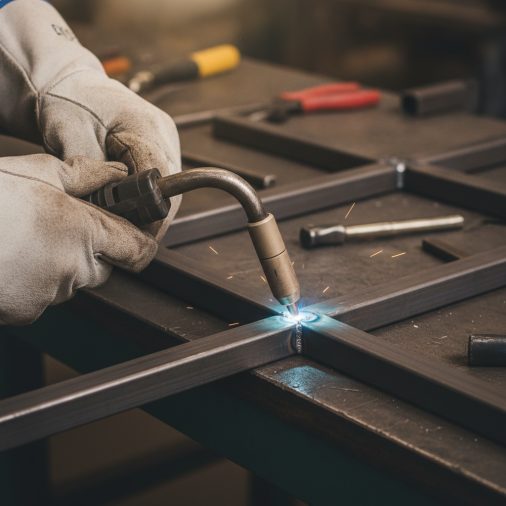
Correct MIG Settings for Tack Welding
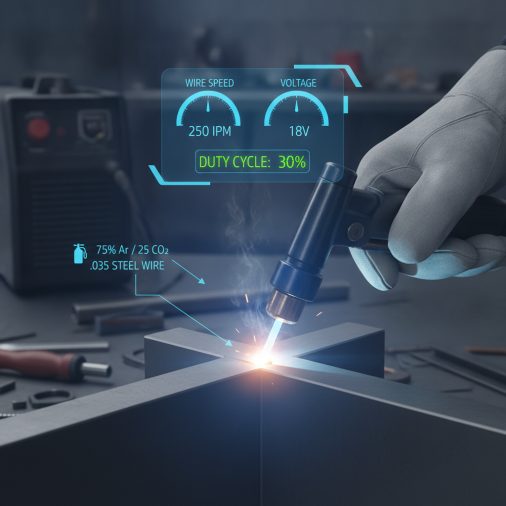
| Material Thickness | Suggested Wire Diameter | Approximate Amperage Range |
|---|---|---|
| 18–20 gauge (thin sheet) | 0.023" | 30–60A |
| 16 gauge | 0.023"–0.030" | 60–90A |
| 1/8" mild steel | 0.030"–0.035" | 90–130A |
| 3/16" mild steel | 0.035" | 130–175A |
| 1/4" mild steel | 0.035"–0.045" | 175–210A |
Tack Weld Spacing: How Far Apart Should They Be?
Spacing depends on two things: material thickness and joint type. Thin material (under 1/8″): Space tacks every 1 to 2 inches. Thin metal warps quickly from heat accumulation, so closer spacing controls distortion more effectively than a few large tacks. Medium material (1/8″ to 3/16″): Every 2 to 4 inches works well. You have more thermal mass to work with, so the risk of distortion is lower. Heavy plate (1/4″ and above): Space tacks 4 to 6 inches apart. Thicker material holds position well, and the tacks just need to keep the joint aligned under the heat of the final weld. For longer seams, always tack the ends first, then the center, then fill in between. This backstep approach minimizes pull and keeps the joint square throughout.How to Place a MIG Tack Weld Correctly
Getting the technique right is straightforward once you understand what you’re trying to achieve: quick fusion, minimal spatter, no crater cracks. 1. Clean the base metal — Remove mill scale, rust, paint, or oil from the tack area. Contamination causes porosity even in short tacks. 2. Position the torch at a 90° work angle — A slight 5–10° push or drag angle is fine, but perpendicular contact ensures even fusion on both pieces. 3. Trigger quickly and move off — For a tack, you’re triggering for roughly 0.5 to 1.5 seconds depending on thickness. Don’t linger. 4. Let it cool before the next tack — Especially on thin material. Consecutive tacks without cooling can cause cumulative warping. 5. Inspect the tack immediately — It should show full fusion at the toe. A tack that sits on top of the metal rather than fusing into it is a cold tack and will fail under stress.Common Tack Weld Mistakes and How to Fix Them
Cold tacks are the most common problem. They look like a weld but didn’t actually fuse — they’ll pop off when the joint is stressed. The fix is running slightly higher wire speed, reducing stick-out, or cleaning the metal more thoroughly. Tacks that crack usually happen because the tack was too small for the material being held, or the base metal was contaminated. On heavier material, pre-heat can help prevent cracking at the tack location. Warping from tack placement often comes from adding heat on only one side of the joint. Alternate tack placement — one on the top, next one on the bottom or opposite side — to balance heat input. Spatter-heavy tacks typically indicate too much voltage or too long an arc. Reduce stick-out and lower voltage slightly. On mild steel, dialing back to a slightly cooler setting than your running bead usually eliminates excess spatter. Knowing what a good MIG weld looks like helps you evaluate your tacks — the same visual standards apply, just on a smaller scale.Tack Weld Size: Bigger Isn’t Always Better
A lot of welders default to large tacks thinking more material means better holding power. In practice, oversized tacks create problems. A tack that’s too large acts like a partial weld. When you run the final bead over it, the pre-deposited material can cause fusion inconsistencies, uneven bead height, and incomplete penetration around the tack zone. The right size is just enough to fuse the joint and resist the forces acting on it during final welding. On 1/8″ material, a 1/4″ tack is usually sufficient. On 1/4″ plate, a 1/2″ tack is appropriate. If you feel like your tacks aren’t holding, the problem is usually technique or cleanliness — not size.Tack Welding in Different Positions
Flat position tacking is straightforward. Vertical and overhead tacking require a bit more care. Vertical tacks: Keep wire speed slightly higher to maintain arc stability. A shorter stick-out helps prevent the puddle from sagging. The tack should be completed in a single trigger pull — don’t try to move the gun. Overhead tacks: Gravity pulls the small molten puddle downward. Reduce wire feed slightly, keep stick-out tight, and trigger quickly. A longer dwell creates drips. If you’re regularly tacking overhead, practicing vertical MIG welding technique will transfer directly to this position. Horizontal tacks: Fairly easy — treat them like flat tacks with a slight uphill work angle to help the puddle fill the joint.When to Grind Tack Welds vs. Weld Over Them
This depends on the application and the size of the tack. Weld directly over the tack when: – The tack is small (under 1/2 inch) – It was placed correctly and shows good fusion – The final bead will fully consume it Grind the tack down first when: – It’s too large and would disrupt bead consistency – It has visible porosity or cracking – You’re working on a cosmetic surface where consistency matters On structural welds, grinding down proud tacks before running the final pass generally produces better-looking and more consistent results.Practical Setup Tip for Beginners
If you’re new to MIG tacking, the Lincoln Electric Weld-Pak 140 is a common entry-level machine that responds well to tack weld settings — its wire speed dial gives you fine enough control to dial in short, clean tacks on 1/8″ and thinner material. Set your machine to a slightly lower voltage than your normal running settings, grip the gun firmly, and practice triggering on scrap before moving to your actual workpiece. Consistency in timing is the skill that matters most for tacking.FAQ
How long should a MIG tack weld be? Most tack welds should be between 1/4 inch and 1/2 inch in length. On thinner material like 16–18 gauge sheet metal, keep them closer to 1/4 inch to avoid heat buildup. On heavier plate (3/16″ and above), slightly longer tacks of 1/2 inch or more provide better holding strength without overcommitting weld material before the final pass. What causes a tack weld to pop off? Tack welds pop off due to poor fusion, also called a cold tack. This happens when the arc didn’t penetrate both pieces fully — often because of contaminated metal, too much stick-out, or amperage that’s too low for the material. Always clean the tack area and verify the tack shows visible tie-in at both toes before moving on. How many tack welds do I need for a butt joint? For a butt joint on mild steel up to 1/4″ thick, start with tacks at both ends and the center, then add intermediate tacks every 2 to 4 inches as needed. Longer joints or materials prone to warping — like thin sheet or stainless — benefit from closer tack spacing to maintain alignment as heat accumulates. Should tack welds be the same size as the final weld? No. Tack welds should be noticeably smaller than the final weld bead. Their job is to hold position, not act as structural welds. Oversized tacks interfere with the final bead by creating inconsistent fusion zones. A good rule of thumb: tack welds should be roughly half the width of your intended final weld bead. Can you tack weld without shielding gas? Technically, you can tack weld with flux-core wire without external shielding gas, since the flux provides its own protection. However, for standard MIG wire (solid wire), shielding gas is required even for tacks. Without it, you’ll get heavy porosity and poor fusion. If you’re unsure about gas requirements, the article on whether you need gas for MIG welding covers the topic in detail. Why do my tack welds have more spatter than my regular beads? Short tack welds often produce more spatter because the arc initiates cold and terminates before the puddle stabilizes. The fix is reducing stick-out, lowering voltage slightly, and making sure the work surface is clean. Anti-spatter spray applied to the surrounding area also helps keep cleanup manageable. Does tack weld technique change for stainless steel? Yes. Stainless requires lower heat input overall, so tack welds should be even shorter and cooler than on mild steel. Use the correct filler wire and shielding gas for stainless — typically tri-mix gas or at minimum 98% Argon / 2% CO₂. If you’re regularly working with stainless, the specifics of MIG welding stainless steel will help you adjust your full approach, including tacking.Tack welding is one of those skills where small improvements in technique pay off across every project you do. Get the placement right, use the correct amperage, keep the tacks small and clean, and your final welds will go down smoother and look better. The details here apply whether you’re tacking frame sections, body panels, or structural joints — the principles don’t change, even if the settings do.


