
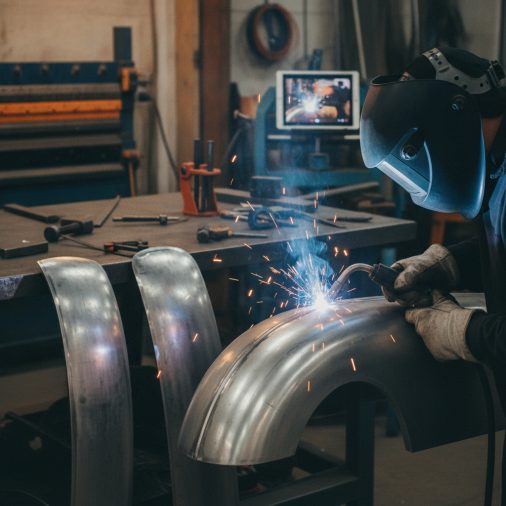
Why Flux Core and Homemade Panels Are a Challenging Combination
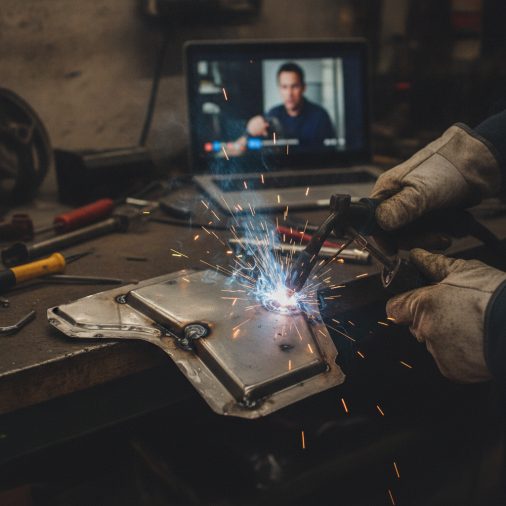
What the Best Tutorial Videos Actually Show
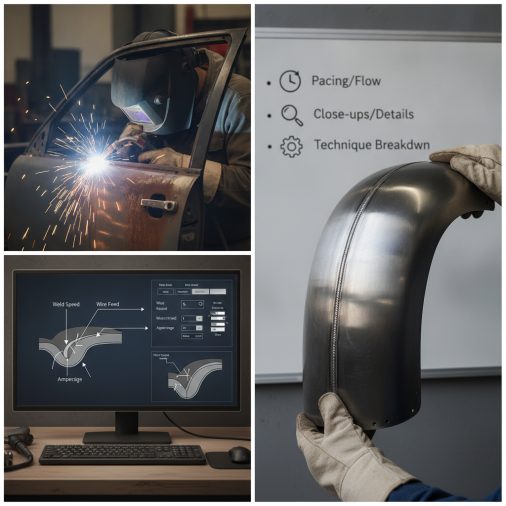
Settings You’ll See in Quality Flux Core Panel Videos
Understanding what the numbers on screen mean will help you apply what you’re watching to your own machine. Most reputable tutorial creators walk through their settings before striking an arc.| Material Thickness | Wire Diameter | Approximate Voltage | Wire Speed |
|---|---|---|---|
| 20 gauge (0.036") | 0.030" | Low range (typically 1–2 on dial) | Moderate-high |
| 18 gauge (0.048") | 0.030" | Low-to-mid range | Moderate |
| 16 gauge (0.060") | 0.030"–0.035" | Mid range | Moderate |
Polarity Setup — The Detail Most Videos Gloss Over
Self-shielded flux core wire runs on DCEN — direct current electrode negative. That means your wire lead connects to the negative terminal and your ground goes to positive. This is the opposite of standard MIG welding with shielding gas. If you watch a video and the creator doesn’t mention polarity, check the comments. Running self-shielded wire on DCEP produces a messy, spatter-heavy weld with poor fusion — a mistake that’s easy to make if you’ve come from a MIG gas background. MIG welding polarity differences are worth understanding before you start, especially if your machine doubles as a gas MIG welder and you’re switching between processes.Stitch Welding Technique — What to Watch Closely
The most important thing to observe in any panel welding video is the stitch pattern. On thin automotive sheet, you never run a long continuous bead. The heat builds up, the metal warps, and you end up chasing distortion for hours. What experienced fabricators do instead: 1. Tack the panel every 2–3 inches to hold fit-up 2. Add short 1/2″ to 3/4″ stitch welds, skipping around the panel 3. Allow 30–60 seconds of cooling between stitches 4. Chip slag, wire brush, then continue 5. Fill gaps between stitches progressively until the seam is complete In video format, this process looks slow and deliberate — because it is. If a tutorial shows someone running a continuous bead down a door skin or floor pan without pausing, that’s a red flag. Welding thin metal with flux core demands this kind of patience, and the best video creators show the full process including the cooling waits, not just the glamorous arc footage.Homemade Panel Fabrication vs. Pre-Cut Patch Panels
Videos split roughly into two categories: those showing how to weld in commercially available patch panels, and those showing full fabrication of homemade replacement sections from raw sheet. Pre-cut patch panels are stamped to match specific vehicle profiles. The welding challenge is fit-up and blending the seam into the existing body line. Homemade panels require fabricating the shape first — usually with a shrinker/stretcher, English wheel, or simple hand forming — then welding the result into position. Videos covering homemade panels tend to be longer and more detailed, covering metal shaping before the welding even begins. The welding technique itself is largely the same, but homemade panels often have more variation in fit-up quality, which means more attention to gap management and tacking sequence. If you’re planning to use flux core for automotive repair more broadly, it’s worth understanding how MIG-based processes compare for automotive repair work so you know where flux core fits and where its limitations begin.Common Mistakes Shown in Lower-Quality Videos
Watching bad technique is still educational — if you know what you’re looking at. These are the errors that appear most often in poorly produced flux core panel tutorials. – Running the wire too fast — creates a cold, convex bead that sits on top of the metal instead of fusing into it – Voltage too high — blows through thin gauge steel almost immediately – No slag removal between passes — slag inclusions weaken the joint and cause porosity – Skipping the cool-down — warped panels that no amount of hammering will fully fix – Wrong polarity — excessive spatter and weak fusion, especially visible in close-up shots – Poor ground placement — erratic arc behavior that the creator often blames on the wire or machine When you spot these in a video, the creator may not even know they’ve made the mistake. Pay attention to the finished weld appearance: a properly run flux core stitch on thin steel should be relatively flat, consistent in width, and clean after slag removal.Push vs. Pull — A Technique Question Videos Often Debate
Self-shielded flux core typically runs with a drag (pull) technique — the torch angles back toward the completed weld as you travel forward. This keeps the slag behind the arc and allows the flux shielding to do its job properly. Some videos show a push angle being used. In practice, this can cause slag inclusions and a messier bead profile on flux core wire. The difference between pushing and pulling with flux core is worth understanding before you apply what you see on screen to your own panels.Safety Considerations Specific to Panel Welding
Flux core welding produces more fume than gas-shielded MIG, and working inside a vehicle body makes that worse. Car panels often have factory coatings, undercoating, seam sealer, and primer that burn and release toxic byproducts. Before welding any automotive panel: – Grind or strip all coatings within 2 inches of the weld area on both sides – Work in a ventilated space — outdoors or with active exhaust ventilation – Wear a half-face respirator rated for metal fumes, not just a dust mask – Keep a fire extinguisher within reach; undercoating and seam sealer are flammable Good tutorial videos mention this. When a creator jumps straight to welding over painted or coated metal without preparation, that’s another warning sign worth noting.FAQ
Can flux core wire actually weld thin automotive sheet metal without burning through? Yes, but technique matters more than the process itself. Self-shielded flux core on 0.030″ wire, dialed to a low voltage setting, can weld 18–20 gauge sheet cleanly when you use short stitch welds and allow adequate cooling between passes. Continuous beads at any heat level will cause blowthrough and warping on panels this thin. What gauge steel is typically used for homemade car panels? Most fabricators use 18 gauge cold-rolled steel for replacement body panels. It’s close to factory sheet thickness on most vehicles from the 1960s onward. Some older trucks and classic cars used 16 gauge in structural areas. Using thicker steel than the original makes the repair heavier and harder to shape but easier to weld without burning through. Why do some flux core panel welding videos show a lot of spatter while others look cleaner? Spatter level in flux core welding is primarily driven by voltage, wire speed, and polarity. Incorrect polarity (DCEP instead of DCEN on self-shielded wire) causes dramatic spatter. Voltage too high for the wire speed also increases spatter. Machine-specific tuning matters too — a well-dialed machine running E71T-11 wire on thin steel should produce moderate but manageable spatter. Is the Lincoln Electric Weld-Pak 140 suitable for homemade panel welding with flux core? The Lincoln Electric Weld-Pak 140 handles 0.030″ self-shielded flux core wire and 18–20 gauge sheet metal well within its capabilities. It runs on standard 120V household current and provides enough control for stitch welding automotive panels. It’s a machine that appears in several credible tutorial videos for exactly this type of work. How do I find reliable flux core panel welding videos versus misleading ones? Look for creators who show their machine settings clearly, use scrap test pieces before welding the actual panel, demonstrate stitch welding with cooling pauses, and show the finished result after slag removal and grinding. Channels affiliated with automotive restoration shops or vocational welding programs tend to be more technically accurate than general DIY channels. Do I need to grind the welds flush after flux core panel welding? Yes, in most cases. Flux core welds on body panels are typically ground flush before primer and body filler application. The slag layer must be fully removed first, otherwise paint and filler won’t adhere. A flap disc on an angle grinder is the standard tool. Take care not to grind through the weld itself — leave the grinder moving constantly rather than dwelling in one spot. What wire type appears most in flux core automotive panel videos? E71T-11 self-shielded flux core wire in 0.030″ diameter is the most commonly used wire in automotive panel tutorials. It’s an all-position wire that performs well on thin steel without shielding gas. Some creators also use E71T-GS, which is a single-pass wire best suited for lighter work and not designed for multi-pass buildup.Watching videos of flux core panel welding is genuinely useful — but treat them as demonstrations, not prescriptions. The settings, wire, and technique shown by one creator on their machine may not transfer directly to your setup without adjustment. Test on matching scrap steel first, verify your polarity, and stitch-weld in short sections. Those three habits alone will get you further than any single video tutorial.


