
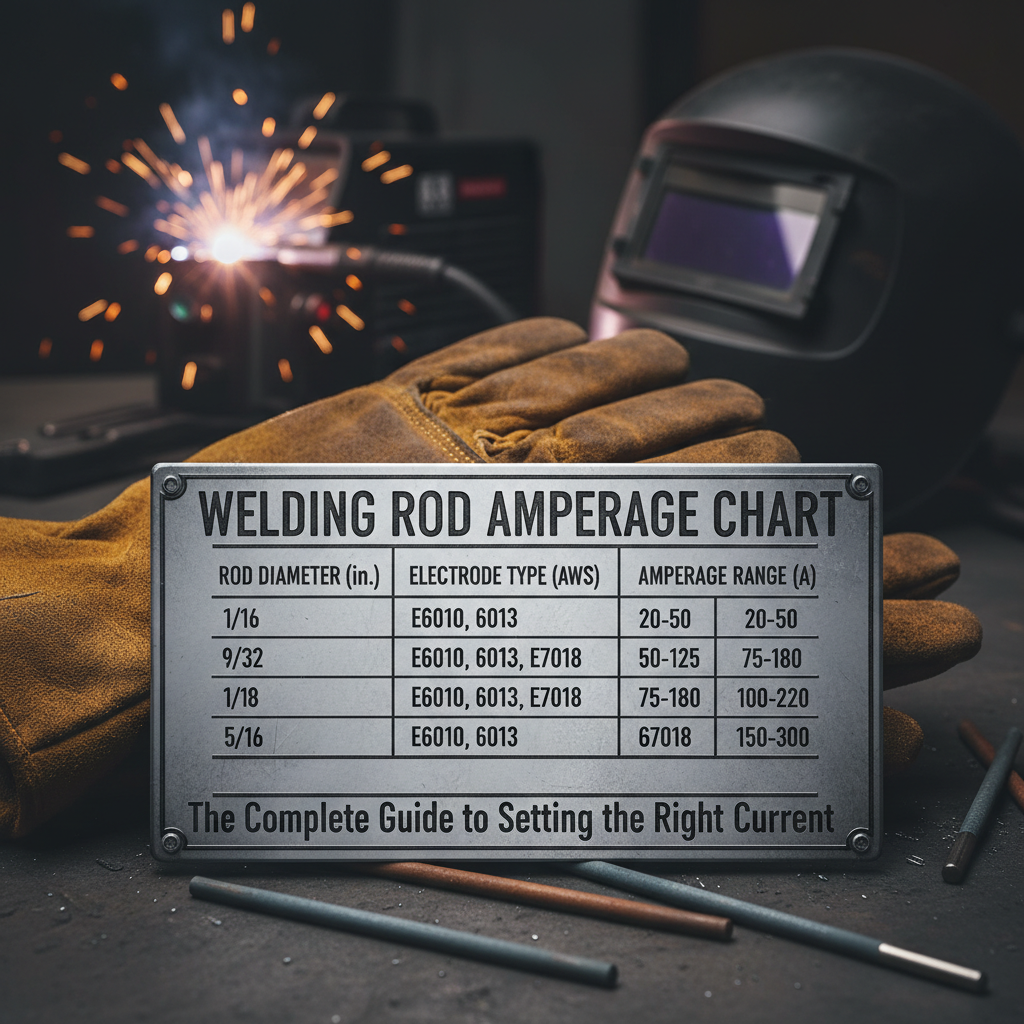
Each welding rod has a recommended amperage range based on its diameter. A 1/8-inch (3.2mm) 6013 rod typically runs between 80–130 amps. A 3/32-inch rod runs lower, around 40–85 amps. Always start at the middle of the recommended range and adjust based on your material thickness and position.
Selecting inappropriate welding settings for mig welders, such as the wrong amperage for your welding rod, can quickly lead to a failed weld. Too low and you get poor fusion. Too high and you burn through the base metal. This guide covers everything you need to set the correct amperage for common welding rods, including a detailed chart, key factors that affect your settings, and practical tips from real welding experience.
Welding Rod Amperage Chart by Rod Type and Diameter
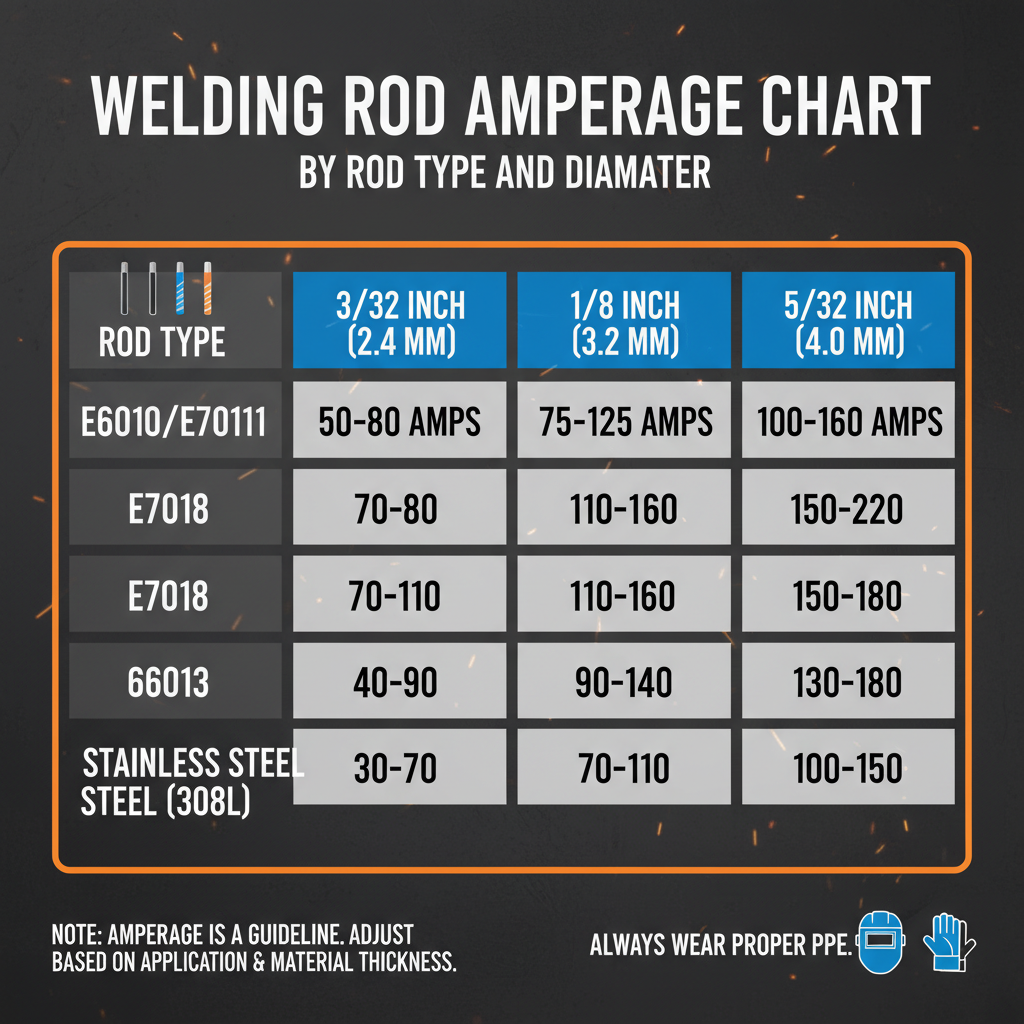
The table below covers the most commonly used stick welding electrodes. These ranges follow standard AWS guidelines and reflect real shop usage.
| Rod Type | Diameter (inches) | Diameter (mm) | Amperage Range |
|---|---|---|---|
| 6010 | 3/32″ | 2.4mm | 40–80 A |
| 6010 | 1/8″ | 3.2mm | 75–125 A |
| 6010 | 5/32″ | 4.0mm | 110–165 A |
| 6010 | 3/16″ | 4.8mm | 140–210 A |
| 6011 | 3/32″ | 2.4mm | 40–80 A |
| 6011 | 1/8″ | 3.2mm | 75–125 A |
| 6011 | 5/32″ | 4.0mm | 110–165 A |
| 6013 | 3/32″ | 2.4mm | 45–90 A |
| 6013 | 1/8″ | 3.2mm | 80–130 A |
| 6013 | 5/32″ | 4.0mm | 105–180 A |
| 6013 | 3/16″ | 4.8mm | 150–230 A |
| 7018 | 3/32″ | 2.4mm | 65–100 A |
| 7018 | 1/8″ | 3.2mm | 100–150 A |
| 7018 | 5/32″ | 4.0mm | 130–200 A |
| 7018 | 3/16″ | 4.8mm | 175–250 A |
| 7024 | 1/8″ | 3.2mm | 100–160 A |
| 7024 | 5/32″ | 4.0mm | 140–210 A |
| 7024 | 3/16″ | 4.8mm | 175–250 A |
These ranges are starting points. Your actual setting will depend on several variables covered in the next section.
—
What Actually Controls the Right Amperage Setting
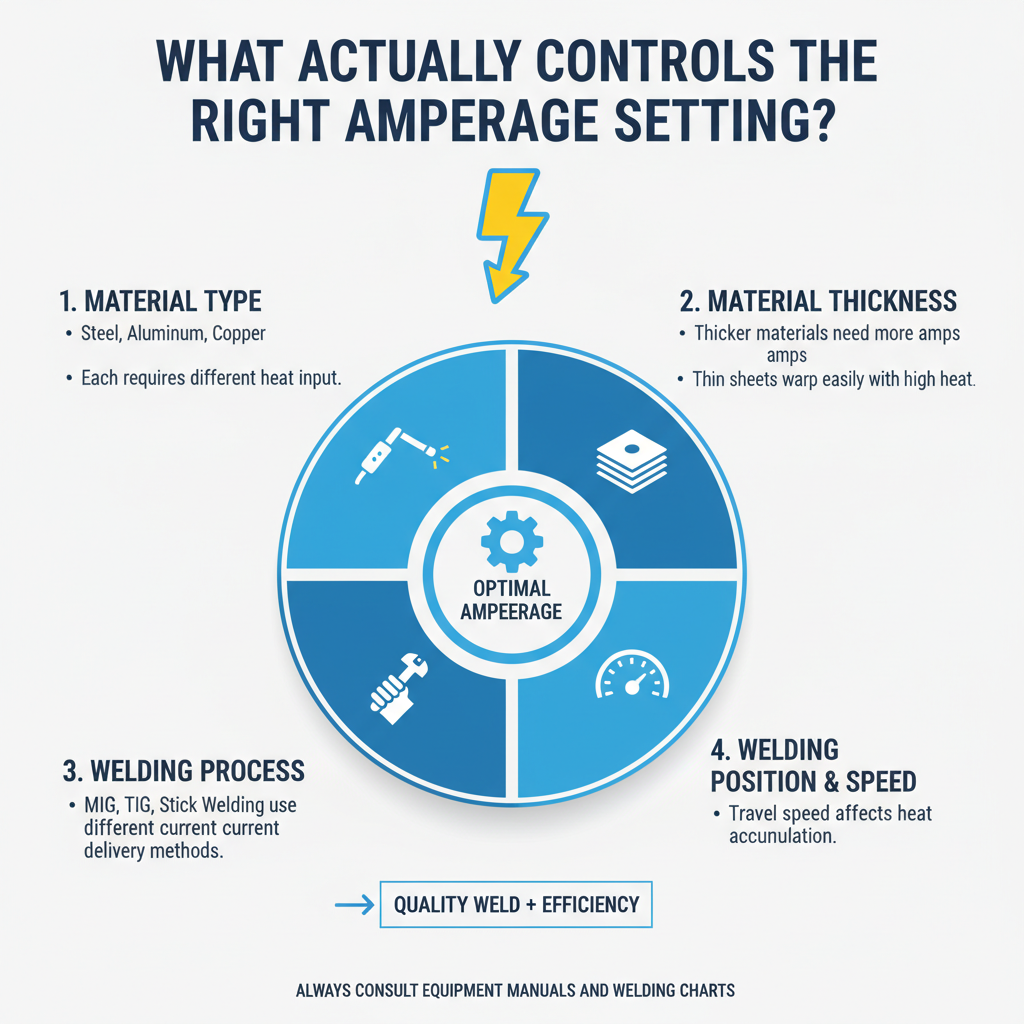
The chart gives you a range, but landing on the right number within that range requires understanding four key variables.
Material thickness is the biggest factor. Thicker steel needs more heat to achieve proper fusion. A general rule of thumb is 1 amp per 0.001 inch of material thickness, though this works better as a rough guide than a precise formula.
Welding position also matters significantly. Overhead and vertical welds typically need 10–15% less amperage than flat or horizontal welds. Gravity pulls the molten pool downward, so reducing heat helps maintain control.
Rod diameter directly sets your working range. Larger diameter rods carry more current and deposit more metal per pass. Never run a rod above its maximum rated amperage — the coating will overheat and break down, ruining arc stability.
Base metal type plays a role too. Cast iron, stainless steel, and high-carbon steels all behave differently under heat. Stainless steel, for example, conducts heat poorly, so it can warp at amperages that would be perfectly safe on mild steel.
—
How to Read the Signs of Correct vs. Incorrect Amperage
Field experience shows that your weld bead tells you almost everything you need to know about your amperage setting. Learning to read the bead is faster than guessing.
Signs your amperage is too low:
– Stubby, convex bead with poor tie-in at the edges
– Rod sticking to the base metal frequently
– Slag that is difficult to remove
– Lack of penetration visible on the back side of thin material
Signs your amperage is too high:
– Excessive spatter around the weld
– Undercut along the bead edges
– Burn-through on thinner material
– Rod overheating and flux coating cracking near the stub end
Signs you are in the correct range:
– Smooth, consistent bead with flat or slightly convex profile
– Slag lifts off cleanly with a chipping hammer
– Steady arc sound — often described as a consistent crackling or frying sound
– Good fusion visible at the toes of the weld
A common issue technicians encounter is setting amperage correctly for flat position and then forgetting to reduce it when switching to vertical. That single oversight causes more overhead weld failures than almost any other error.
—
Rod-Specific Characteristics That Affect Your Settings
Not all rods behave the same way even at identical amperage. Understanding each rod’s character helps you fine-tune your settings.
6010 and 6011 are deep-penetrating rods designed for DC and AC current respectively. They run a tight, forceful arc and are commonly used on pipe, dirty metal, and root passes. In practice, these rods feel more aggressive and require a slightly shorter arc length than 6013.
6013 is the most forgiving rod for beginners. It produces a soft arc, minimal spatter, and easy slag removal. It works well on thin sheet metal and general fabrication. However, it has shallower penetration than 6010, making it a poor choice for structural welds on thick plate.
7018 is a low-hydrogen rod used for structural and high-strength applications. It requires dry storage — moisture in the flux causes hydrogen cracking in the finished weld. Field experience shows that 7018 benefits from being stored in a rod oven at 250–300°F when not in active use. It runs smoothly and produces excellent bead appearance.
7024 is a high-deposition rod designed for flat and horizontal positions only. It is not suitable for vertical or overhead work. It runs at higher amperages and deposits metal quickly, making it popular in production environments.
—
Adjusting for Polarity and Current Type
Polarity affects heat distribution and penetration depth. Most stick welding uses DC current, but some rods work on AC as well.
DCEP (DC Electrode Positive) — also called reverse polarity — puts about two-thirds of the heat at the electrode. This produces deeper penetration and is the standard for 6010, 7018, and most structural rods.
DCEN (DC Electrode Negative) — straight polarity — puts more heat into the base metal. This is used less frequently in stick welding but can reduce burn-through on thin material.
AC current alternates polarity 60 times per second. Rods like 6011 and 6013 are designed to maintain a stable arc on AC. If your machine only outputs AC, stick to rods rated for it.
Running a DCEP rod on DCEN at the same amperage will produce a noticeably different result — shallower penetration and a wider, flatter bead. Always check the rod manufacturer’s polarity recommendation.
—
Common Mistakes When Setting Amperage
Even experienced welders make these errors when switching rod types or working on unfamiliar material.
Starting too high is the most common mistake. Many welders assume more heat means better fusion. In practice, excess heat causes undercut, distortion, and burn-through — especially on material under 3/16 inch thick.
Ignoring ambient temperature is another oversight. Cold base metal acts as a heat sink. On a cold day or when welding thick material that has been sitting outdoors, you may need to preheat the base metal and run slightly higher amperage to compensate.
Not adjusting for joint type also causes problems. A butt joint on thin plate needs less amperage than a fillet weld on the same material because the heat has fewer paths to dissipate.
Using worn or damaged rods throws off your settings entirely. A rod with cracked or chipped flux coating will produce an unstable arc regardless of amperage. Always inspect rods before use.
—
FAQ
What amperage should I use for a 1/8-inch 7018 rod?
The standard range is 100–150 amps on DCEP. Start at 120 amps for flat position and reduce by 10–15% for vertical or overhead work.
Can I use the same amperage for different rod types of the same diameter?
No. Different rod types have different flux compositions and penetration characteristics. A 1/8-inch 6013 and a 1/8-inch 7018 both have recommended ranges, but those ranges do not fully overlap.
Why does my rod keep sticking even at the recommended amperage?
The most likely cause is arc length. If you hold the rod too close to the base metal, the arc extinguishes and the rod sticks. Maintain an arc length roughly equal to the rod diameter.
Does electrode amperage change for stainless steel?
Yes. Stainless steel has lower thermal conductivity than mild steel. Reduce your amperage by approximately 10–20% compared to what you would use on mild steel of the same thickness.
What happens if I run a 7018 rod with moisture in the flux?
Moisture causes hydrogen to enter the weld pool, leading to hydrogen-induced cracking — sometimes called cold cracking. This can appear hours or even days after welding. Always store 7018 rods in a sealed container or rod oven.
Is a higher amperage always better for thick material?
Not necessarily. Thick material benefits from higher amperage, but exceeding the rod’s maximum rating degrades the flux coating and arc stability. Use a larger diameter rod instead of pushing a smaller rod beyond its limit.
How do I know if my welder’s amperage dial is accurate?
Many older machines have dials that drift over time. A clamp-style amp meter placed on the electrode cable gives you a real reading. This is especially useful when troubleshooting inconsistent results.
—
Final Thoughts
Matching your welding rod to the correct amperage is a skill that combines chart knowledge with real-time observation. The amperage chart gives you a reliable starting range, but reading your bead and adjusting based on position, material, and rod type is what separates consistent welds from guesswork. Keep your rods dry, check your polarity, and always start in the middle of the recommended range before dialing up or down. With practice, setting the right amperage becomes second nature.


