
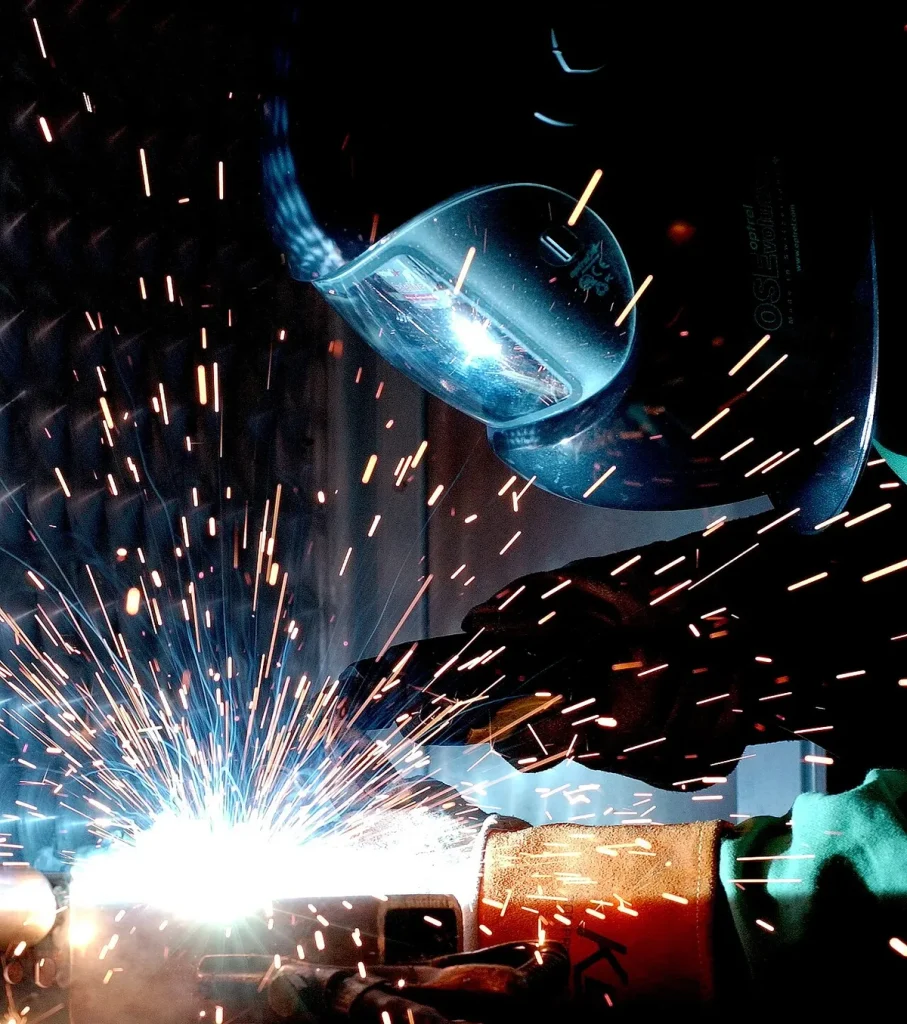
Choosing the right shade for MIG welding is more than just a preference; it's your first line of defense for eye safety and clear vision. Getting this wrong can lead to anything from a painful headache to long-term vision damage. We’ve researched the key factors that determine the optimal shade number, helping you avoid common mistakes and weld with confidence.
Our research confirms that shade selection directly correlates to the intensity of the welding arc, which is largely dictated by amperage and welding process. Manufacturer specifications for welding helmets and lenses often recommend shade ranges based on these parameters, aligning with industry standards like ANSI Z87.1 for eye protection. Let’s break down exactly what you need to know.
Image source: Wikimedia Commons / William M. Plate Jr.
The Big Picture: What Affects the Shade You Need?
Picking the right shade for your welding helmet isn't about picking your favorite color; it's about matching the lens's filtering capability to the specific intensity of the arc you're creating. This intensity, and therefore the shade you need, changes based on a few key variables. Think of it like adjusting the volume on a stereo, you turn it up for a concert, but down for a quiet conversation.
Amperage: The Brightness Driver
The amperage setting on your MIG welder is the single biggest factor influencing arc brightness. Higher amperage means a hotter, more intense arc, which in turn emits a lot more light and harmful radiation. This is why your shade needs increase as you turn up the power. For instance, if you're just tacking thin sheet metal at low amps, you won't need nearly the protection as when you're welding thick structural steel at high amps.
Material Thickness and Weld Type Factors
While amperage is king, the material you're welding and the specific type of welding process also play a role. Welding thicker materials often requires higher amperages. Additionally, different welding consumables and shielding gases can subtly affect arc characteristics. For example, flux-cored wire, particularly self-shielded varieties, tends to create a more vigorous and spatter-heavy arc compared to solid wire MIG welding.
This often means you'll need a slightly darker shade for flux-cored work at the same amperage.
Let's Get Down to Business: A Practical Guide
Understanding the variables is great, but you need actionable guidance. We've put together a straightforward approach to help you select the correct shade for your MIG welding tasks. This guide focuses on common scenarios you'll encounter, from light hobby work to heavier industrial applications.
For Standard MIG Welding (GMAW)
Standard MIG welding, also known as Gas Metal Arc Welding (GMAW), typically involves solid wire and a shielding gas. This process generally produces a consistent and controllable arc. The recommendations here are based on the amperage settings commonly used for different thicknesses and types of steel.
Up to 50 Amps: Thin Materials and Tacking
When you're working with thin sheet metal, performing tack welds, or dealing with very low amperage situations, the arc is relatively less intense. You need enough protection to prevent eye strain, but it's crucial to have good visibility to accurately place your welds. In these situations, a shade that filters out a good portion of the light but still allows you to see fine details is ideal.
50 to 150 Amps: General Fabrication
This amperage range covers a broad spectrum of everyday welding tasks. You'll likely find yourself here when fabricating parts, joining medium-thickness materials, or working on repairs that require more than just a tack. The arc intensity significantly increases in this range, requiring a more substantial level of protection. This is common for many shop projects and general repairs.
150 to 250 Amps: Thicker Materials
As you move into welding thicker sections of metal, your amperage needs to go up to ensure proper fusion and penetration. This higher amperage creates a much brighter and more intense arc. If you're welding structural components, frames, or larger projects where you're burning more heat into the metal, you'll definitely need to increase your shade.
Above 250 Amps: Heavy Fabrication
This is the territory of heavy industrial work, large pipe welding, or tackling very thick materials. The arc brightness at these high amperages is extreme. Without adequate shade protection, even brief exposure can be harmful. This is where the darkest recommended shades become essential for maintaining safety and preventing eye damage.
What About Flux-Cored (FCAW)?
Flux-cored arc welding (FCAW) can be a bit different from standard MIG welding. While it also uses a continuous wire feed, the flux in the wire creates a more energetic arc, often producing more spatter. This increased intensity usually means you'll need a shade that's one step darker than you might use for MIG welding at the same amperage.
Lighter Flux-Cored Work
When you’re using flux-cored wire for lighter gauge materials or lower amperage applications, the arc can still be more intense than a comparable MIG setup. It’s a good practice to start one shade darker than you would for MIG welding. For example, if a MIG weld at 100 amps calls for a shade 11, a flux-cored weld at 100 amps might benefit from a shade 12.
Image source: Wikimedia Commons / The original uploader was Oxygen13 at German Wikipedia. (CC BY-SA)
Heavier Flux-Cored Work
For more demanding flux-cored applications, especially those involving higher amperages to weld thicker materials, the arc intensity is significantly greater. You’ll be looking at the upper end of the shade recommendations. Always prioritize a darker shade to ensure complete protection against the brighter, more volatile arc.
Auto-Darkening Helmets (ADF) vs. Passive Lenses
The type of welding helmet you use impacts how you select and adjust your shade. Auto-darkening helmets (ADF) are equipped with electronic lenses that automatically darken when they detect the arc. Passive lenses, found in traditional helmets, require you to manually select and install a fixed-shade lens before you begin welding.
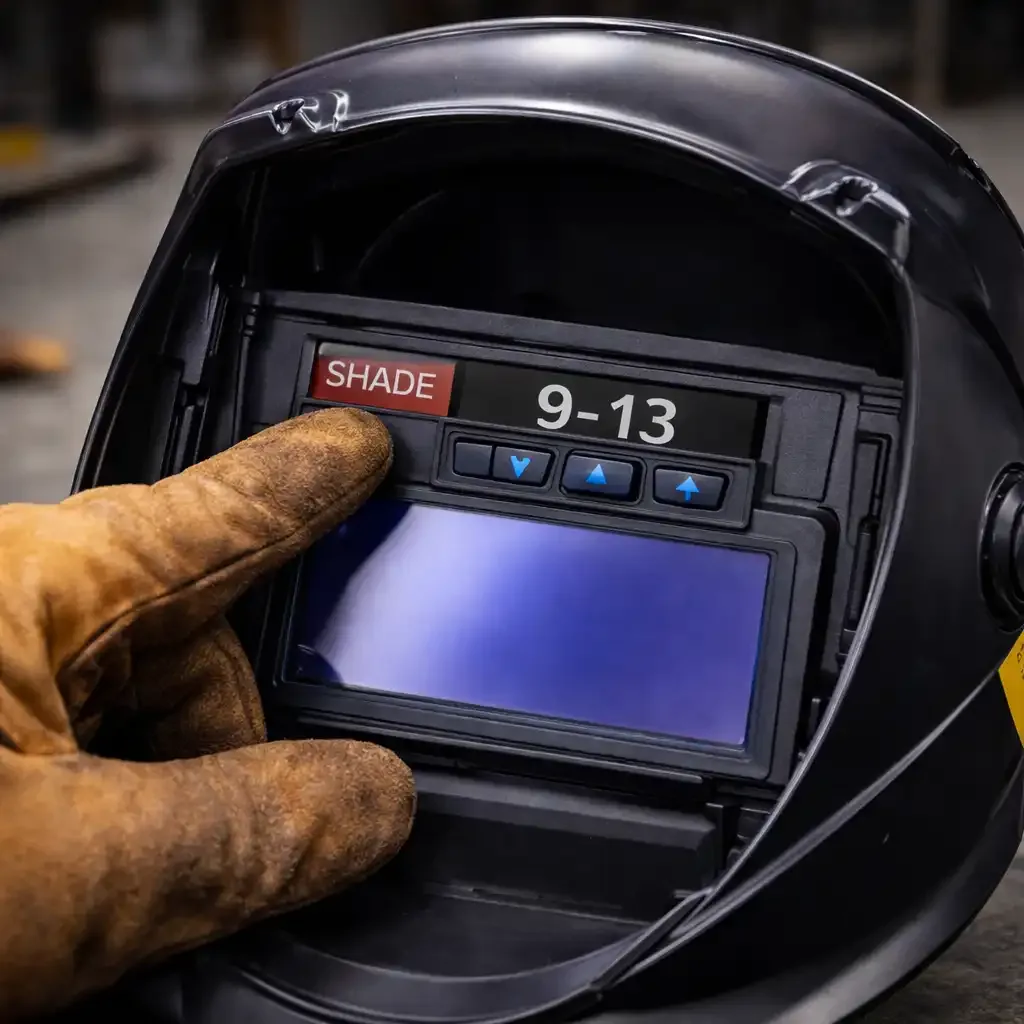
Image source: Bing (Web (fair-use with source credit))
On an ADF helmet, you’ll typically have a control to set the darkened shade number, ranging from 9 to 13, and sometimes 14. This allows for quick adjustment as your amperage or welding process changes. Passive helmets mean you have to physically swap lenses to change your shade. Many experienced welders keep a few different fixed-shade lenses on hand to swap out for different jobs.
For MIG welding, the shade numbers we’ll discuss are your target darkened shade on an ADF or your selected passive lens.
A Quick Cheat Sheet: Shade Recommendations by Amperage
To make things simple, here's a quick reference table. Remember, these are starting points. Your specific setup, the lighting conditions, and personal comfort can influence the exact shade you’ll ultimately prefer. Always perform a test weld to confirm your comfort and safety.
| Welding Process & Amperage Range | Recommended Shade | Notes |
|---|---|---|
| MIG (GMAW) < 50 Amps | 9-10 | Thin metal, tacking, less intense arc |
| MIG (GMAW) 50-150 Amps | 11 | General fabrication, medium thickness, common workshop tasks |
| MIG (GMAW) 150-250 Amps | 12-13 | Thicker materials, heavier duty fabrication, higher heat input |
| MIG (GMAW) > 250 Amps | 13-14 | Heavy industrial, very thick steel, extremely bright arc |
| Flux-Cored (FCAW) < 150 Amps | 11-12 | Often needs slightly darker than MIG at the same amperage |
| Flux-Cored (FCAW) > 150 Amps | 12-14 | More vigorous arc, higher spatter likelihood, requires maximum protection |
How to Dial It In: The Test Weld
The best way to ensure you've got the right shade is by doing a quick test weld on a scrap piece of metal before you start your actual project. This step is non-negotiable for optimal safety and comfort. You're looking for a balance: enough darkness to prevent glare and eye strain, but clear enough visibility to see the weld puddle and the surrounding area accurately.
Here's the simple workflow:
- Set your helmet's shade. Based on the table above, select the recommended shade for the amperage and process you're about to use. If you have an auto-darkening helmet, ensure it's set to the appropriate shade number.
- Strike an arc. Just briefly ignite the arc on your scrap metal, as if you were starting a real weld. Keep it going for a second or two.
- Observe the arc and puddle. After the arc extinguishes, assess the clarity. Can you clearly see the details of the molten puddle? Does the light feel "just right", protected but not causing you to squint?
- Adjust if needed.
- If the arc felt too bright, painful to look at even through the lens, and left spots in your vision after it went out, your shade is too light. Increase the shade number by one.
- If you could barely see the weld puddle, or if it felt like you were looking through thick fog, your shade is too dark. Decrease the shade number by one.
- Repeat until the view is comfortable and clear. Remember that as of 2026, many safety standards emphasize precise shade selection for reducing eye fatigue.
A Word on Safety First and Foremost
Your eyesight is arguably your most critical tool as a welder, and protecting it should be your absolute top priority. The light generated by a welding arc isn't just bright; it's intensely energetic. Manufacturer specifications and safety guidelines consistently highlight the dangers of overexposure.
Understanding UV and IR Radiation Dangers
The welding arc emits ultraviolet (UV) and infrared (IR) radiation, along with visible light. Extended or unprotected exposure to UV radiation can cause painful photokeratitis, commonly known as "arc eye" or "arc flash," which feels like grit in your eyes. While less immediately painful, chronic UV exposure can contribute to long-term issues like cataracts. IR radiation can also affect your eyes and skin.
This is why selecting the correct shade is paramount; it filters out these harmful wavelengths.
Image source: Bing (Web (fair-use with source credit))
Mistakes to Avoid: Common Errors in Shade Selection
Even with clear guidelines, it's easy to make a mistake when choosing your welding shade. Often, these errors stem from prioritizing the wrong factor or not understanding how different settings affect your vision and safety. Being aware of these common pitfalls can save you a lot of discomfort and potential injury.
- Going Too Light: This is probably the most frequent and dangerous mistake. Welders might choose a lighter shade to try and see the weld puddle better, especially in low light conditions or when working on intricate joints. However, even a shade too light can cause eye strain, headaches, and subtle, cumulative damage over time. Manufacturers of welding safety gear consistently advise against this compromise.
- Assuming One Shade Fits All: Your amperage, the type of wire you use, and even the specific gas shielding can change the arc's intensity. Relying on a single shade for all your MIG welding, regardless of the parameters, is a recipe for trouble. The goal is to match the shade to the specific arc you are creating at that moment.
- Ignoring Personal Comfort: While objective guidelines are essential, how a shade feels to you is also important. If a recommended shade consistently feels too dark, hindering your ability to see the puddle, it might be worth trying a shade one number lighter (if your amperage allows) or investigating if your helmet's auto-darkening filter needs calibration or replacement.
Who is Each Shade For? Use Cases for Different Amperages
Different welding applications demand different levels of protection. The shade number you select should directly correspond to the intensity of the arc produced by your specific amperage and welding process. Understanding these use cases helps you make an informed decision every time you set up your equipment.
For example, if you're a hobbyist welding light gauge steel for automotive repair, you'll likely operate in the lower amperage ranges. This means a shade around 10 or 11 is often suitable. You can find more general guidance on welder settings at Mig Welder Settings.
On the other hand, if you're a professional welder working on structural steel frames where you might be running anywhere from 150 to 250 amps or more, you'll need a shade of 12 or 13 to adequately protect your eyes from the intense arc. For specialized high-amperage applications, a shade 14 might even be necessary. Always refer to your equipment’s manual and the general shade charts for the best starting point.
When Shade Adjustments Are Necessary
Sometimes, the standard shade recommendations need fine-tuning. This isn't about guesswork, but about adapting to slightly different welding conditions. Our research and manufacturer data indicate that minor adjustments are sometimes required for optimal results and safety, especially when bridging between different welding scenarios.
If you're welding outdoors in bright sunlight, the ambient light can make your arc appear less bright. This might tempt you to use a lighter shade, but you must resist. The UV and IR radiation from the arc remain constant, regardless of the surrounding light. Your helmet’s job is to filter that, not just the visible light.
Conversely, if you're welding in a very dimly lit shop, the arc might seem overwhelmingly bright against the darkness. In this case, you might feel the need for a darker shade. However, always stick to the recommended shade for your amperage. If you can't see the puddle, it’s more likely an issue with your helmet's clarity or your welding technique rather than a need for a significantly darker shade than what’s specified.
For more on technique, you might find How To Mig Weld Auto Body Panels useful if you’re working on lighter projects.
How to Choose a Welding Shade Based on Your Equipment
Your choice of welding helmet, specifically, whether it's auto-darkening or passive, will influence how you select and adjust your shade. Both types aim to provide adequate protection, but they do so through different mechanisms. Understanding your equipment helps you effectively manage shade settings.
Auto-darkening helmets (ADF) feature electronic lenses with adjustable shade controls. These are incredibly convenient for MIG welding, as you can easily dial in the correct shade for varying amperages without stopping. Most quality ADF helmets offer a range, typically from shade 9 to 13, with some professional models extending to shade 14. This versatility makes them ideal for welders who work on a wide variety of projects.
For more information on choosing one, check out Best Auto Darkening Welding Helmet For The Money.
Passive lens helmets are simpler and often more cost-effective. You manually select and insert a fixed-shade lens (e.g., shade 11) before welding. If you frequently change amperage or welding processes, you might need to keep multiple lenses on hand. For instance, you might have a shade 10 for light tacking and a shade 12 for heavier passes, swapping them as needed.
This method requires more pre-planning but offers reliable protection when the correct lens is chosen for the job.


