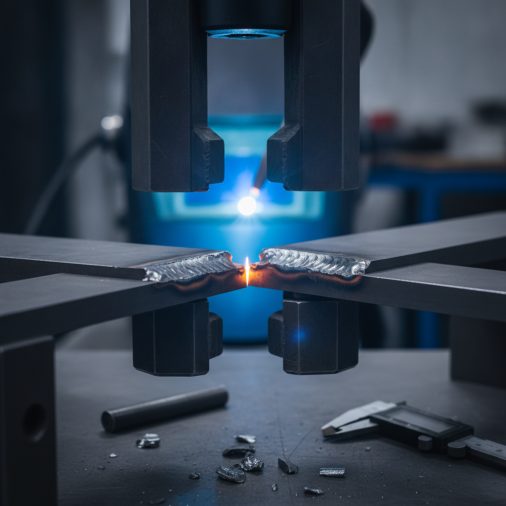
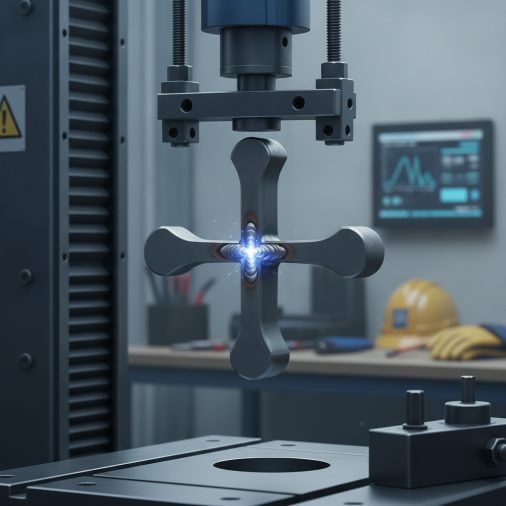
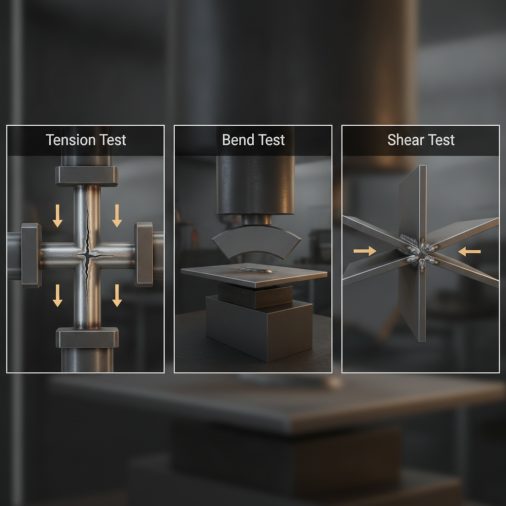
Knowing whether a MIG weld is structurally sound isn’t just a quality control formality — it directly affects whether a part holds up under load, stress, or repeated use. Whether you’re preparing for a shop qualification or checking your own work, understanding weld strength testing gives you a clear picture of what’s actually happening inside that bead.
MIG weld strength is typically evaluated through destructive tests like bend tests, tensile tests, and nick-break tests, or non-destructive methods like visual inspection and dye penetrant testing. The right method depends on the application. For most shop qualifications and structural work, a combination of visual inspection followed by a bend or tensile test is standard practice.
Why Weld Strength Testing Matters
A weld can look clean on the surface and still fail internally. Porosity, lack of fusion, cold laps, and undercutting are all defects that may not be visible to the naked eye — but each one reduces load-bearing capacity.
Strength testing removes guesswork. It confirms the weld can handle real-world stress without relying on appearance alone. This is especially critical in structural fabrication, automotive manufacturing, and pressure vessel work where a failed weld has serious consequences.
The Main Types of MIG Weld Strength Tests
Bend Test
The bend test is one of the most common methods used to evaluate MIG weld quality. A sample coupon is cut from the welded joint and bent around a mandrel to a specified angle — typically 180 degrees.
There are three primary variations:
– Face bend — the weld face is placed in tension
– Root bend — the weld root is placed in tension
– Side bend — the cross-section of the weld is placed in tension
A passing result means the bent coupon shows no cracks longer than 1/8 inch (3mm) on the tension surface. Cracking indicates lack of fusion, porosity, or inadequate penetration.
Tensile Test
The tensile test measures how much pulling force a weld joint can withstand before it breaks. The coupon is gripped at both ends and pulled apart using a tensile testing machine.
Results are reported in pounds per square inch (PSI) or megapascals (MPa). For mild steel MIG welds using ER70S-6 wire, the minimum tensile strength is typically around 70,000 PSI. A properly made weld should meet or exceed the base metal’s strength — meaning the base metal should fracture before the weld does.
If the weld zone breaks first and shows a shiny, glassy fracture surface, it usually points to inadequate fusion or contamination.
Nick-Break Test
The nick-break test is a fast, practical method commonly used in production and field environments. A notch is cut into the weld face, and the coupon is broken apart — usually by hammering or in a vise.
The broken surfaces are then examined for:
– Porosity (visible gas pockets)
– Incomplete fusion
– Slag inclusions
– Worm tracks or piping
This test is particularly useful for checking root pass quality and is often required in pipe welding qualifications.
Fillet Weld Break Test
Fillet welds are tested differently because they aren’t full-penetration joints. A fillet weld break test involves making a T-joint, then forcing the vertical member over until the weld fractures.
The fractured surfaces reveal fusion quality, throat size, and any internal discontinuities. A good fillet weld will typically fracture through the base metal or show full fusion across the throat — not pull apart cleanly at the fusion line.
Non-Destructive Testing Methods
Destructive tests consume the workpiece, so they’re used on sample coupons rather than finished parts. When testing the actual production weld is necessary, non-destructive evaluation (NDE) methods are used instead.
Method
What It Detects
Best For
Visual Inspection (VT)
Surface defects, profile issues
All welds, first step always
Dye Penetrant Testing (PT)
Surface cracks, porosity
Nonporous metals
Magnetic Particle Testing (MT)
Surface and near-surface flaws
Ferromagnetic metals
Ultrasonic Testing (UT)
Internal discontinuities
Thick structural welds
Radiographic Testing (RT)
Internal defects, voids
Pipe and pressure vessels
Visual inspection always comes first. A weld that fails visual — poor profile, undercut, overlap, or obvious porosity — doesn’t need further testing. It needs to be repaired or remade.
If you’re curious about what a good MIG weld should look like before it ever reaches a formal test, understanding the visual standards helps you catch problems early.
How a Weld Coupon Is Prepared
Test results are only as reliable as the preparation. A poorly prepared coupon introduces variables that make it impossible to isolate weld quality from testing error.
Standard coupon preparation steps:
1. Cut the coupon from the correct location — typically from the center of the weld, avoiding the start and stop points
2. Machine or grind the coupon to specified dimensions — AWS and other codes specify exact widths and thicknesses
3. Remove the weld reinforcement if required by the test standard — grinding it flush prevents stress concentration during bending
4. Mark the tension surface clearly before testing
5. Inspect the coupon visually before mechanical testing
Rushing preparation is a common mistake. Coupon edges that aren’t smooth or dimensions that are off spec can cause premature cracking during bending that has nothing to do with weld quality.
Welding Codes and Acceptance Criteria
MIG weld strength tests don’t exist in a vacuum — they’re evaluated against published codes and standards. The most widely referenced include:
– AWS D1.1 — Structural Welding Code (Steel)
– AWS D1.2 — Structural Welding Code (Aluminum)
– ASME Section IX — Welding and Brazing Qualifications (pressure vessels and piping)
– AWS D1.8 — Seismic Supplement for structural steel
Each code defines:
– Minimum tensile strength values
– Acceptable bend test results
– Coupon dimensions and preparation requirements
– Visual inspection acceptance criteria
If you’re preparing for a typical MIG weld test at a manufacturing company, the employer will specify which code applies — and your test coupons will be evaluated directly against it.
Common Reasons MIG Welds Fail Strength Tests
Lack of Fusion
This is probably the most frequent cause of failure. Lack of fusion means the weld metal didn’t fully bond with the base metal or a previous weld pass. It typically results from travel speed that’s too fast, voltage that’s too low, or improper gun angle.
Porosity
Gas pockets trapped inside the weld reduce its cross-sectional area and create stress risers. Porosity usually comes from contaminated base metal, insufficient shielding gas coverage, or a damaged gas nozzle.
Incomplete Penetration
When the weld doesn’t reach the root of the joint, tensile and bend tests will expose the weak zone immediately. This is common when amperage is too low or joint fit-up is too tight.
Cold Lap / Overlap
The weld metal rolls over the base metal without fusing. It’s a surface defect that looks like a fold and creates a sharp notch that concentrates stress during bending.
What Strong MIG Weld Results Actually Look Like
A passing tensile test for mild steel MIG welding typically means:
– Fracture occurs in the base metal, not the weld zone
– Ultimate tensile strength meets or exceeds the filler metal classification (e.g., 70,000 PSI for ER70S-6)
A passing bend test shows:
– No cracks longer than 1/8 inch (3mm) on the tension surface
– No corner cracks longer than 1/4 inch (6mm)
A passing nick-break shows:
– No visible porosity larger than 3/32 inch
– No incomplete fusion at the sidewalls
– Full, gray, consistent fracture surface
Practical Tips for Better Test Results
– Clean the base metal thoroughly — mill scale, rust, oil, and paint all contribute to porosity and fusion problems
– Set parameters correctly — refer to your wire manufacturer’s chart for voltage, amperage, and wire speed based on material thickness
– Maintain consistent travel speed — inconsistent speed leads to uneven penetration, which shows up in bend tests
– Check shielding gas flow — 20–25 CFH is typical for most MIG applications with 75/25 Ar/CO₂
Machines like the Lincoln Electric Power MIG 210 MP make it easier to dial in parameters accurately across different material thicknesses, which directly reduces the chance of strength-related defects before testing.
FAQ
What is a MIG weld bend test used for?
A bend test evaluates weld ductility and fusion quality by bending a coupon to a specified angle — usually 180 degrees. It reveals internal defects like porosity and lack of fusion that visual inspection can’t detect. Face, root, and side bend variations are used depending on the joint type and applicable welding code. It’s one of the most commonly required tests for welder qualification.
How strong is a MIG weld compared to the base metal?
A properly made MIG weld using the correct filler metal should match or exceed the tensile strength of the base metal. For mild steel with ER70S-6 wire, minimum tensile strength is around 70,000 PSI. In a tensile test, the base metal should fracture before the weld — if the weld breaks first, it indicates a defect or incorrect filler selection.
Can I test MIG weld strength without special equipment?
A basic fillet weld break test and nick-break test can be performed with simple tools like a hammer, vise, and angle grinder. These methods won’t give you numerical tensile values, but they reveal fusion quality, porosity, and internal discontinuities effectively. For formal qualification testing against codes like AWS D1.1 or ASME IX, calibrated equipment and witnessed testing are required.
What causes a MIG weld to fail a bend test?
Common causes include lack of fusion (the most frequent issue), porosity from shielding gas problems or contaminated metal, incomplete root penetration, and cold lap. Improper coupon preparation — such as rough cut edges or incorrect dimensions — can also cause premature cracking that doesn’t reflect actual weld quality.
How is tensile strength measured in a weld test?
A machined coupon is pulled apart in a calibrated tensile testing machine that records the maximum load before fracture. The result is calculated as load divided by cross-sectional area, expressed in PSI or MPa. The test also reveals where failure occurs — in the weld zone, the heat-affected zone (HAZ), or the base metal — which tells you a lot about weld quality.
What shielding gas gives the best MIG weld strength?
For mild steel, a 75% argon / 25% CO₂ mix (C25) generally produces the best combination of arc stability, bead profile, and mechanical properties. Pure CO₂ gives deeper penetration but a rougher bead and more spatter. Higher argon percentages reduce penetration. The gas blend affects the weld microstructure, which in turn affects tensile and bend test performance.
How do I know if a MIG weld has good penetration before testing?
Visual signs of good penetration include a slightly raised weld bead with smooth tie-ins at the toes, consistent width along the weld, and no visible undercut or cold lap. On a finished joint, cutting a cross-section and etching it with a chemical like nital reveals fusion depth clearly. In production settings, manufacturers use defined test coupon procedures to qualify both the process and the welder before production begins.
Putting It Together
Weld strength testing confirms what visual inspection can only suggest. The bend test and tensile test are your most reliable tools for evaluating MIG weld quality in a meaningful, measurable way — and the results tell you exactly where a weld succeeded or failed.
Getting parameters right from the start is the most effective way to pass any weld test. Clean metal, correct settings, consistent technique, and proper shielding gas coverage address the majority of strength-related defects before the coupon ever reaches a testing fixture.