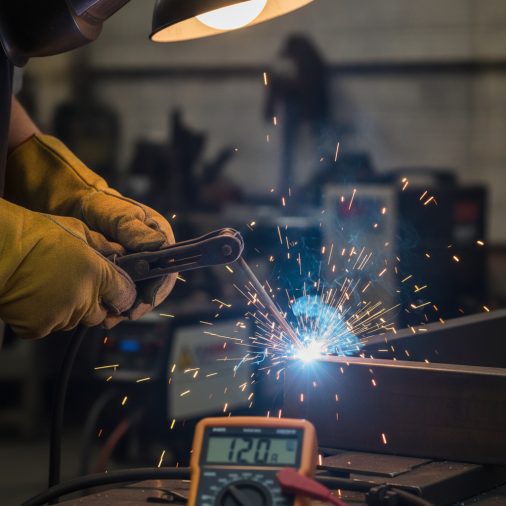
Picking up a 1/8″ rod and not knowing where to set your amperage is one of the most common situations new stick welders face. Set it too low and the arc stutters. Set it too high and you’re burning through metal or fighting spatter the whole time.
For a 1/8″ (3.2mm) welding rod, the standard amperage range is 75 to 125 amps, depending on the rod type, base metal thickness, and welding position. A practical starting point for flat position welding on mild steel is around 90–100 amps. E6013 rods typically run on the lower end of that range, while E6010 and E6011 rods perform better toward the higher end.
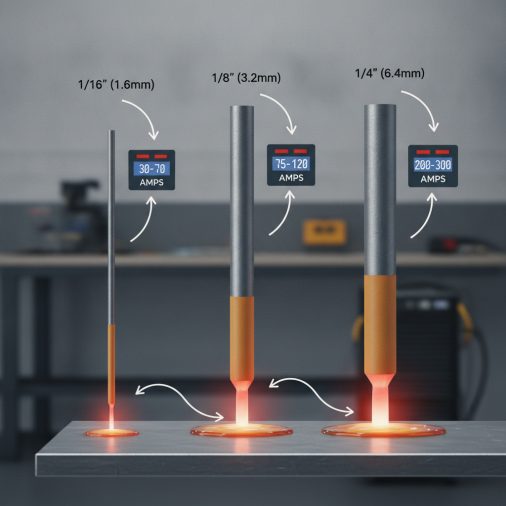
Why Rod Diameter Directly Determines Amperage Needs
Every electrode has a maximum current capacity based on its core wire diameter. Run too little current and the arc can’t sustain itself properly. Run too much and the flux coating breaks down before it can do its job.
The 1/8″ diameter is one of the most versatile rod sizes available. It’s thick enough to weld heavier material but small enough that a mid-range stick welder can handle it comfortably without needing 200+ amp output.
A general rule of thumb in stick welding is roughly 1 amp per 0.001 inch of electrode diameter — so a 1/8″ (0.125″) rod starts around 125 amps as a ceiling, with real-world settings often slightly lower depending on conditions.
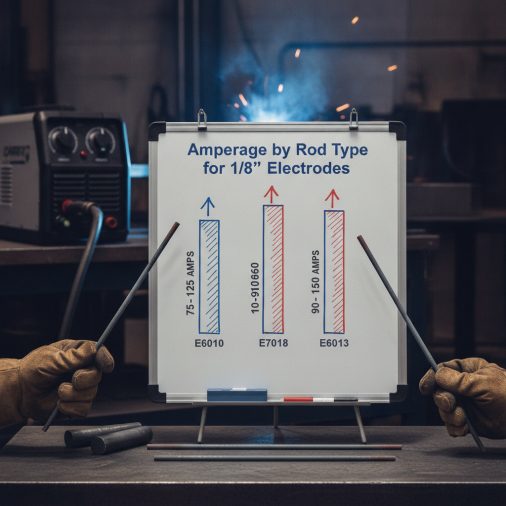
Amperage by Rod Type for 1/8″ Electrodes
Different rod classifications run at different temperatures and arc characteristics, which directly affects the amperage range you’ll use.
Rod Type
Recommended Amperage Range
Common Use
E6010
75–125 amps
Pipe, root passes, DC only
E6011
75–125 amps
AC or DC, general purpose
E6013
60–110 amps
Sheet metal, mild steel, beginners
E7018
90–165 amps
Structural, low hydrogen
E7024
115–200 amps
Flat/horizontal only, high deposition
E6013 is often the first rod beginners practice with because it runs smoothly at lower amperages and is forgiving on imperfect joints. E7018 requires more amperage and a dry storage environment to perform correctly, but it produces cleaner, stronger welds on structural steel.
If you’re working with an E7018 rod and wondering why your beads look rough, you may be running it too cold. That rod genuinely needs to be toward the upper part of its range to perform well.
How Metal Thickness Affects Your Amperage Setting
The metal you’re welding into matters just as much as the rod itself. Thicker material absorbs heat faster, which means you’ll need more amperage to achieve proper fusion. Thinner material can warp or burn through at higher settings.
– 3/16″ to 1/4″ steel: Use the upper range — 100–125 amps
– 1/8″ steel: Mid-range works well — 85–100 amps
– 3/32″ steel or thinner: Stay toward 70–85 amps, or consider a smaller rod
For work on thicker plate — say 1/4″ steel and above — you may eventually find that a 1/8″ rod isn’t quite enough for a single-pass weld. welding requirements for quarter-inch steel typically push you toward larger electrodes or multiple passes.
Welding Position Changes Everything
Your amperage setting shouldn’t stay the same when you change positions. Heat pools differently depending on the angle, and gravity affects the molten puddle.
– Flat position: Use the full recommended range. Heat control is easiest here.
– Horizontal position: Drop amperage by about 10–15%.
– Vertical position: Drop by 15–20%. A smaller, faster puddle is easier to control.
– Overhead position: Drop 20–25% from your flat setting. Too much amperage and the puddle falls on you.
In practice, if you’re running 100 amps flat and need to move to vertical, dialing back to around 80–85 amps is a reasonable adjustment to start with and fine-tune from there.
Reading the Arc: What Your Weld Tells You
Your bead appearance is immediate feedback on whether your amperage is dialed in. Most experienced welders make small adjustments based on what they see and hear during the weld.
Signs your amperage is too low:
– Arc is difficult to start or keeps sticking
– Bead looks narrow and piled up (convex profile)
– Slag is difficult to remove
– Incomplete fusion at the toes of the weld
Signs your amperage is too high:
– Excessive spatter around the bead
– Bead is wide and flat, with undercut along the edges
– The rod burns away faster than expected
– Burn-through on thinner sections
A properly set amperage produces a consistent crackling sound — like frying bacon — and a bead with even, slightly convex ripples and clean slag that chips off easily.
For a broader look at how to fine-tune your machine settings beyond just amperage, stick welding settings that every welder needs to know covers arc length, travel speed, and electrode angle in detail.
What Welder Output Do You Actually Need?
A 1/8″ rod at 90–125 amps is well within the range of most portable and home-use stick welders. You don’t need a shop-grade 300-amp machine for this.
A welder with 140–160 amp output capacity is comfortable for 1/8″ rods across all common rod types. If you’re running E7018 rods on heavier plate, you’ll want at least 150 amps of reliable output — not just peak capacity.
For context, the Lincoln Electric AC-225 is a classic transformer-based stick welder that handles 1/8″ rods effortlessly across the full amperage range. If you prefer an inverter-based machine, the ESAB Miniarc 161 LTS runs 1/8″ E6010 and E7018 rods cleanly and is compact enough for jobsite use.
When setting up your welder at home, it’s also worth considering what kind of electrical circuit the machine requires. setting up a welder safely in your garage walks through circuit sizing, outlet requirements, and ventilation — all of which affect whether your machine can actually deliver consistent output at higher amperages.
Amperage Quick Reference for 1/8″ Rod
Condition
Starting Amperage
E6013, flat position, 1/8" steel
80–95 amps
E6011, flat position, 3/16" steel
90–110 amps
E7018, flat position, 1/4" steel
110–125 amps
E6010, vertical position
75–90 amps
E7018, overhead position
80–95 amps
Use this as a starting point, then adjust based on what you see in the bead. Every machine, rod brand, and base metal combination behaves slightly differently.
A stick welder settings chart covering amps, rods, and technique can serve as a useful shop reference when you’re switching between rod sizes and positions frequently.
FAQ
What happens if I use too low amperage with a 1/8″ rod?
Running insufficient amperage causes a sluggish arc that’s hard to maintain. The bead will sit on top of the base metal rather than fusing into it, and slag removal becomes a struggle. Cold lapping — where the bead doesn’t bond at the edges — is a common result and creates a structurally weak weld that can crack under load.
Can a 90-amp flux core welder run a 1/8″ stick rod?
No. Flux core MIG welders and stick welders use entirely different processes. A flux core machine uses wire feed with a built-in flux coating and doesn’t accept stick electrodes at all. For 1/8″ stick rods, you need a dedicated stick (SMAW) welder or a multi-process machine with a stick output of at least 90–100 amps.
What’s the best 1/8″ rod for a beginner?
The E6013 is consistently the most recommended starting rod. It runs on both AC and DC, tolerates imperfect technique, produces smooth arcs at moderate amperages (around 80–100 amps for 1/8″), and the slag chips off cleanly. It’s not ideal for critical structural welds, but for learning bead control and settings, it’s the most forgiving option available.
Does rod brand affect the amperage I should use?
To a small degree, yes. The flux coating formulation varies between manufacturers, and some rods run slightly hotter or cooler at the same dial setting. Always check the manufacturer’s data sheet for the specific rod you’re using, and treat the range printed on the box as your primary reference rather than a generic chart.
Why does my 1/8″ E7018 rod keep sticking even at 100 amps?
E7018 rods are low-hydrogen electrodes and require a slightly higher arc voltage to run smoothly. At 100 amps with some machines, the arc is too cold for E7018’s coating to ionize correctly. Try increasing to 110–120 amps. Also verify the rod isn’t moisture-damaged — E7018 rods absorb moisture easily and must be stored in a sealed container or rod oven when not in use.
Is 1/8″ the right rod size for all thicknesses of steel?
Not quite. A 1/8″ rod works well on steel from about 3/32″ to 3/8″ thick. On metal thinner than 3/32″, you risk burn-through even at low amperage settings and would be better served by a 3/32″ rod instead. For plate thicker than 3/8″ to 1/2″, moving up to a 5/32″ rod with a higher amperage machine gives better deposition rates and penetration.
The Bottom Line
For most work with a 1/8″ stick electrode, 90–110 amps is where you’ll spend most of your time. The rod type, base metal thickness, and welding position each shift that number up or down. Start in the middle of the manufacturer’s recommended range, run a test bead, and adjust based on what you see. The arc sound, bead profile, and slag behavior tell you everything you need to know.