
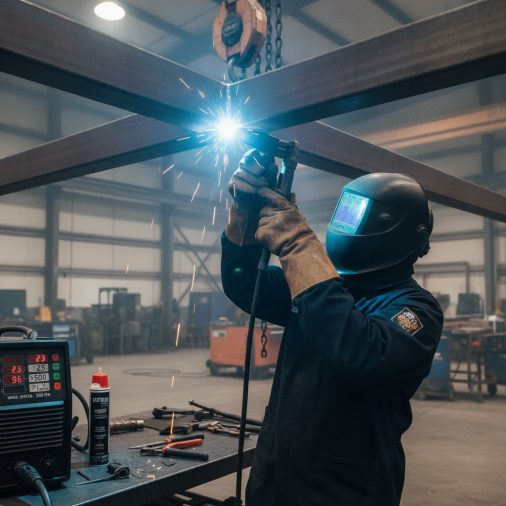
Why Overhead Welding Is Genuinely Difficult
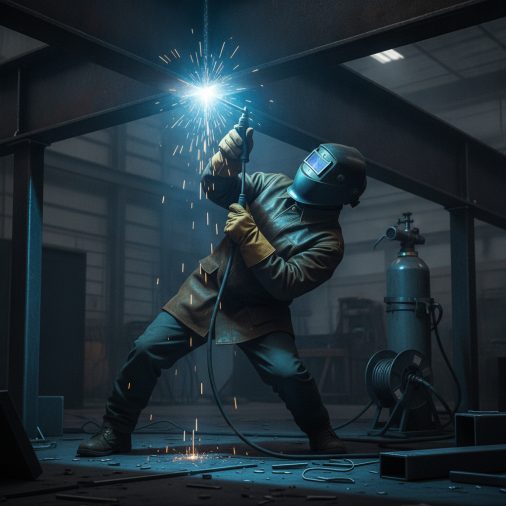
Safety Setup Before You Strike an Arc
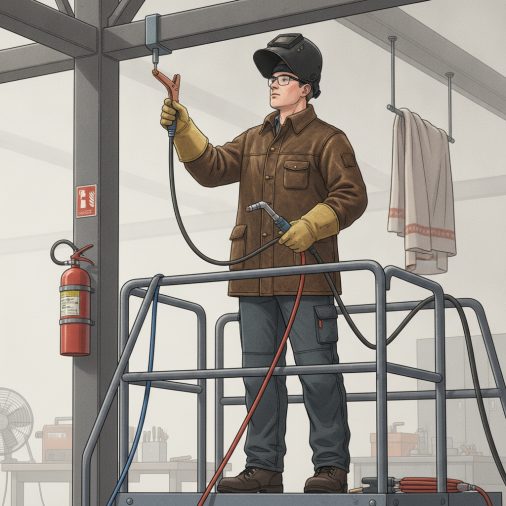
Machine Settings for Overhead MIG Welding
Overhead welding requires a slightly cooler machine setup compared to flat position welding on the same material. This reduces puddle fluidity and minimizes dripping.| Parameter | Flat Position | Overhead Position |
|---|---|---|
| Voltage | Standard for material | Reduce by 1–2V |
| Wire Feed Speed | Standard for material | Reduce by 5–15% |
| Contact Tip to Work Distance (CTWD) | 3/8–1/2 inch | Maintain same range |
| Travel Speed | Moderate | Slightly faster |
| Shielding Gas Flow | 15–25 CFH | Same, check for drafts |
Body Position and Gun Angle
Your body position determines how long you can hold a bead and how stable your hand is during it. Fatigue sets in fast when your arms are raised, and a shaky hand overhead translates directly into a bad weld. Practical positioning tips: – Brace your elbow against your torso or against a fixed surface when possible – Keep your gun arm close to your body rather than fully extended – Use your non-gun hand to stabilize the gun whenever the joint allows it – Position your body so you’re looking along the joint, not across it – Avoid craning your neck backward at a sharp angle — reposition your stance For gun angle, hold the gun nearly perpendicular to the joint with a slight 5–15 degree drag or push angle depending on your preference. Whether you push or pull in MIG welding affects penetration and bead profile — overhead, a slight push angle tends to give better visibility and a flatter bead profile that’s less likely to sag.How to Run the Bead: Step-by-Step
1. Clean the base metal. Remove mill scale, rust, paint, and oil. Contamination causes porosity in any position, and it’s harder to see overhead. 2. Tack weld the joint from a comfortable position before committing to the overhead run. Confirm fit-up is solid before you’re lying on your back staring upward. 3. Position yourself. Get comfortable before striking the arc. Test your range of motion without the arc running. 4. Set your shielding gas. Verify flow rate. Wind or HVAC airflow can blow shielding gas away from the puddle overhead — cover or block drafts if necessary. 5. Strike the arc and establish the puddle. Start at one end of the joint. Let the puddle form before moving. 6. Travel along the joint using a stringer bead or very tight weave. Keep your travel speed consistent and slightly faster than you’d use flat. 7. Watch the back edge of the puddle, not the arc itself. This is where fusion is happening, and it tells you whether you’re moving too fast or slow. 8. End the bead by pausing briefly at the crater, then pulling back along the weld slightly to fill it before releasing the trigger.Stringer Beads vs. Weave Patterns Overhead
For most overhead MIG work, stringer beads are the safer choice. A stringer bead deposits less metal at once, which means less weight in the molten puddle and less risk of sagging or dripping. Weave patterns deposit more metal per pass and can work well on wider joints or for filling a groove, but they require more skill and slower travel speeds that can cause the puddle to overheat and sag. If you need to fill a wide joint overhead, run multiple stringer passes side by side rather than attempting a wide weave. This gives you better control over heat input and puddle size throughout the joint. Understanding what a good MIG weld looks like helps you recognize when your stringer bead overhead is properly fused versus just sitting on the surface.Common Mistakes and How to Fix Them
Puddle sagging or dripping This is almost always a heat issue. Reduce voltage by 1–2V and increase travel speed slightly. If it’s still happening, also check that your wire feed speed isn’t too high. Lack of fusion at the toes You’re moving too fast or the voltage is too low. The bead may look okay on the surface but isn’t bonded into the base metal. Slow down slightly and ensure the arc is actually melting into the joint, not just piling wire on top. Excessive spatter This typically points to voltage being too low for the wire feed speed, or a contact tip that needs replacing. Overhead spatter is a real burn hazard, so address it before continuing. Also check your CTWD — holding the gun too far from the work increases spatter. Porosity in the weld Usually caused by contaminated base metal or shielding gas disruption. Clean the joint thoroughly and check for drafts near the weld area. Increase gas flow rate slightly if you’re working near air movement. Weld bead too convex (high crown) A convex bead overhead means the puddle cooled before it spread out. This can indicate low heat or fast travel. A weld bead with excessive crown can also crack under stress. Adjust voltage upward by half a volt and slow travel slightly.Overhead Welding on Different Joint Types
– Butt joints overhead: Use a slight keyhole technique on thinner material to ensure full penetration. Stringer beads only. On thicker material, run multiple passes and let each pass cool briefly before continuing. – T-joints (fillet welds) overhead: Keep the gun aimed at the root of the joint, not the face. A common mistake is laying the bead on the flat plate face instead of fusing into the corner. Travel straight along the joint without weaving. – Lap joints overhead: Similar to T-joints — aim at the edge of the top plate and the surface of the bottom plate simultaneously. Gravity will pull the puddle toward the lower plate, so adjust gun angle slightly toward the upper plate to compensate. For more complex joint shapes on thin material, the technique required for MIG welding sheet metal overlaps significantly with overhead work — both demand tight heat control and short, controlled passes.A Note on Vertical vs. Overhead
Many welders confuse vertical and overhead welding when they’re learning position welding. Vertical welding means the weld joint runs up and down while you travel upward or downward along it. Overhead means the joint is above you and you’re welding along a horizontal seam while looking up. Both are challenging for similar reasons — gravity and puddle control — but the techniques differ. Welding vertical MIG joints has its own specific approach, particularly the decision between uphill and downhill travel.FAQ
What wire size should I use for overhead MIG welding? For most overhead MIG work on mild steel, .030″ wire suits lighter material (up to about 3/16″) and .035″ works well on heavier plate. Larger wire diameters like .045″ deposit more metal and increase puddle management difficulty overhead. Stick with the smallest wire that provides adequate deposition for your material thickness. Do I need to change my shielding gas for overhead welding? Not necessarily. A 75/25 argon/CO₂ mix handles overhead mild steel welding well. It produces a stable arc, lower spatter, and better puddle control than pure CO₂. What does matter overhead is protecting the gas coverage from drafts — even a small air current can disrupt the shielding envelope and cause porosity. Why does my overhead weld keep dripping? Dripping is almost always a heat input problem. Reduce voltage by 1–2 volts and move slightly faster along the joint. Also check that you’re not holding too long in one spot. The puddle overhead has no surface to sit in, so it drips when it gets too fluid from excessive heat. Can a beginner learn overhead MIG welding? Yes, but it should come after flat, horizontal, and vertical positions. Each position builds the puddle-reading and travel-speed skills that carry over to overhead. Attempting overhead MIG welding without those fundamentals typically leads to poor fusion, unsafe spatter, and frustration. Practicing on scrap metal flat first to dial in your settings is always worthwhile. How do I prevent burns from overhead spatter? Full leather coverage is the most effective protection. A leather welding jacket like the Lincoln Electric Traditional MIG/Stick Welding Jacket covers the arms and torso. Pair it with a welding beanie or leather cap under your helmet to protect your head and neck. Tuck collar gaps closed and ensure no bare skin is exposed on your arms or neck before starting. What travel speed is correct for overhead MIG welding? There’s no single correct speed — it depends on material thickness, wire speed, and voltage. The practical rule is to travel fast enough that the puddle doesn’t sag, but slow enough that fusion into the base metal is visible at the back edge of the puddle. Typically this is 10–20% faster than your flat position travel speed on the same settings. Is overhead MIG welding possible on structural steel? Yes, and it’s common in construction and fabrication. On structural applications, the weld procedure often specifies minimum preheat, interpass temperature, and filler classification. A Lincoln Electric Weld-Pak 180HD handles typical structural overhead work on mild steel in the shop environment. Always follow the applicable welding procedure specification for structural work.Overhead MIG welding comes down to three things you control: heat input, travel speed, and body stability. Get those right and the position becomes manageable. The biggest mistake most welders make is using flat-position settings without adjusting — that alone causes most of the dripping and lack-of-fusion problems people encounter. Start with lower heat than you think you need, move faster than feels comfortable, and build from there.


