
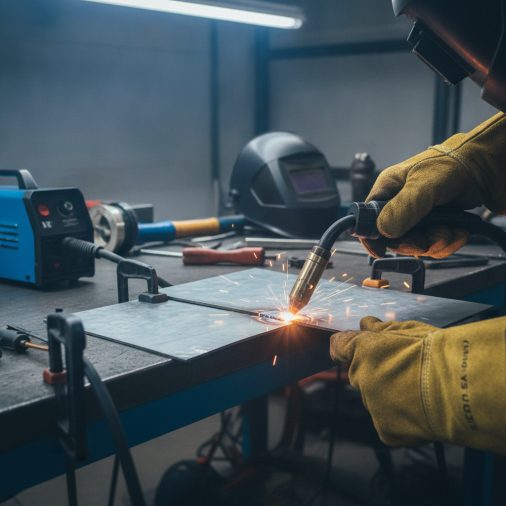
What Counts as Sheet Metal for MIG Welding
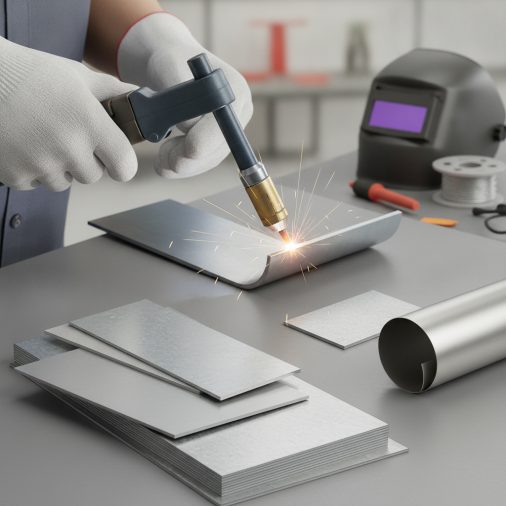
Machine Settings for Sheet Metal MIG Welding
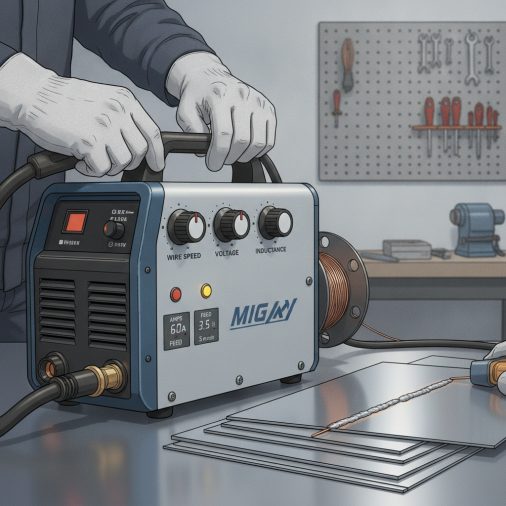
| Gauge | Thickness (inch) | Wire Diameter | Voltage | Wire Speed (IPM) |
|---|---|---|---|---|
| 18 ga | 0.048" | 0.025" | 16–18V | 180–220 |
| 20 ga | 0.036" | 0.023" | 14–16V | 160–190 |
| 22 ga | 0.030" | 0.023" | 13–15V | 140–170 |
| 24 ga | 0.024" | 0.023" | 12–14V | 120–150 |
Wire and Gas Selection
Wire diameter matters more on sheet metal than on heavier stock. A 0.030-inch wire carries more current than necessary for most sheet metal gauges, which increases the risk of burn-through. – 0.023 inch ER70S-6 — best choice for 20–24 gauge sheet metal – 0.025 inch ER70S-6 — good for 18–20 gauge; offers slightly more deposition – 0.030 inch ER70S-6 — acceptable for 18 gauge at minimum settings, but harder to control For shielding gas, a 75% argon / 25% CO2 (C25) blend is the most practical option. It produces a stable arc, manageable spatter, and a smooth bead profile on mild steel sheet metal. Pure CO2 runs hotter and increases spatter, making burn-through more likely on thin material. Flow rate should be set between 15–20 CFH. In a drafty environment, increase to 20–25 CFH to maintain adequate shielding.The Stitch Welding Technique
Running a continuous bead on sheet metal is a reliable way to warp it. Heat accumulates rapidly along the joint, and the metal distorts before you reach the end of the seam. Stitch welding — also called skip welding — is the standard approach for MIG welding thin metal without burning through. The process involves short, intermittent welds placed along a seam, allowing each section to cool before continuing. Basic stitch weld sequence: 1. Tack weld the joint every 2–3 inches to hold alignment. 2. Weld a short bead (0.5–1 inch) at one end of the seam. 3. Move to the opposite end and weld another short section. 4. Continue alternating positions, skipping sections to distribute heat. 5. Fill in the gaps after the previous sections have cooled to near ambient temperature. 6. Grind flush when complete if a smooth finish is required. The alternating sequence prevents the joint from pulling in one direction due to thermal contraction. This is especially important on automotive panels where panel gap and alignment matter.Preparing Sheet Metal Before Welding
Clean metal welds better, every time. Surface contamination — rust, paint, oil, primers — all introduce porosity, spatter, and inconsistent arc behavior. – Remove mill scale, rust, or paint with a flap disc or angle grinder – Wipe both sides of the joint with acetone or metal prep solvent – Fit the pieces tightly — sheet metal does not tolerate large gaps well – Back the joint with copper backing bars if gaps are unavoidable; copper does not fuse to steel and acts as a heat sink Joint fit-up is often more important than welder settings. A tight, clean butt joint or lap joint with zero gap welds reliably. A poor fit with uneven gaps forces the welder to compensate with technique, which rarely ends cleanly. For automotive repairs, many experienced fabricators use proven prep and fit-up practices for automotive sheet metal before making a single tack.Torch Angle, Travel Speed, and Position
Torch angle influences heat input and bead shape. For sheet metal MIG welding: – Hold the torch at 5–15 degrees from vertical (slight push or drag angle) – A push angle (torch angled slightly forward in the direction of travel) reduces penetration — useful on thin material – Keep the contact tip to work distance (CTWD) between 3/8 and 1/2 inch – Travel speed should be fast and consistent — hesitating allows heat to build and burn-through follows quickly Many beginners travel too slowly. If the puddle looks large and fluid, the travel speed is too slow. A healthy sheet metal bead should look narrow and slightly raised, not wide and flat. For butt joints on panels, MIG welding auto body panels requires particularly consistent travel speed since panel distortion is visible after finishing.Common Problems and How to Fix Them
Burn-through – Cause: Voltage too high, wire speed too low, travel speed too slow, or pausing over one spot – Fix: Reduce voltage by 1–2V, increase travel speed, use stitch technique Warping and distortion – Cause: Excess continuous heat along the joint – Fix: Use stitch welding, add tacks before full welding, allow cooling, use copper backing bars as heat sinks Porosity (holes or pits in the weld) – Cause: Contaminated base metal, insufficient shielding gas, or gas flow disrupted by drafts – Fix: Clean the metal thoroughly, check gas flow rate, shield the work area from wind Cold lap / lack of fusion – Cause: Voltage too low, travel speed too fast, or inadequate wire speed – Fix: Increase voltage slightly, slow down, ensure proper contact tip to work distance Spatter – Cause: CO2-heavy gas mix, voltage too low, dirty metal – Fix: Switch to C25 gas, fine-tune voltage, clean the base metal If you regularly encounter problems on lighter gauges, it helps to review targeted techniques for welding sheet metal without burning through.Knowing What a Good Sheet Metal Weld Looks Like
A proper MIG weld on sheet metal should be: – Consistent width, roughly 2–3 times the wire diameter – Slightly convex but not excessively raised – Free of porosity, cracks, or undercut along the toes – Uniform color — typically a light gold or straw hue with minimal oxidation on the surrounding metal Recognizing the visual signs of a quality MIG weld helps you quickly diagnose whether your settings need adjustment after the first test bead. A weld that looks gray, rough, and heavily spattered usually indicates low voltage or insufficient heat. One that’s wide, sunken, or has irregular edges signals excessive heat or a slow travel speed.Welding Positions on Sheet Metal
Flat position is the easiest and most forgiving. Gravity keeps the puddle in place and allows slightly slower travel without the risk of the puddle running. Vertical and overhead welding on sheet metal is significantly harder. The puddle is more likely to sag, and burn-through risk increases. For vertical MIG welding technique, reduce voltage by 1–2V compared to flat position settings and use a faster travel speed. Horizontal welds on sheet metal benefit from a slight uphill work angle, which helps control the puddle against gravity.FAQ
What is the best wire size for MIG welding sheet metal? For most sheet metal work between 18 and 24 gauge, 0.023-inch ER70S-6 wire is the best choice. It carries less current at a given wire speed, which reduces heat input and burn-through risk. For 18 gauge at the thicker end of the sheet metal range, 0.025-inch wire provides slightly better deposition without significantly increasing heat. Avoid 0.030-inch wire on anything thinner than 18 gauge. Can you MIG weld sheet metal without shielding gas? Flux-core wire (FCAW) can be used on sheet metal without external shielding gas, but it produces more heat and spatter than gas-shielded MIG. For 18–20 gauge material, flux-core is manageable with proper technique. Below 20 gauge, the risk of burn-through increases substantially. For clean, precise work on thin sheet metal, gas-shielded MIG with C25 is always the better option. How do I stop sheet metal from warping when MIG welding? Use stitch welding rather than continuous beads. Tack the joint first at multiple intervals, then alternate short welds at opposite ends of the seam. Allow each tack or bead to cool before continuing. Clamping the panels to a rigid fixture or using backing bars also helps maintain alignment and reduces thermal distortion significantly. What’s the difference between butt welding and lap welding sheet metal? A butt joint places two panels edge-to-edge for a flush finish — ideal for panel replacement work but requires tight fit-up. A lap joint overlaps the panels, which is easier to fit and weld but adds thickness and can trap moisture. Both are common in automotive and fabrication work. Butt joints are preferred for structural appearance; lap joints are faster and more forgiving for structural repairs. Can I MIG weld galvanized sheet metal? Yes, but with significant caution. The zinc coating on galvanized steel produces zinc oxide fumes when heated, which are hazardous. Grind the zinc coating off the weld zone before welding, work in a well-ventilated area, and use respiratory protection. Welding through zinc also causes porosity and poor fusion if the coating isn’t removed. Never weld galvanized metal in an enclosed space without proper ventilation. What is the best MIG welder for sheet metal work? For hobby and light shop use, the Lincoln Electric Weld-Pak 140 HD is a well-regarded option that handles 18–24 gauge sheet metal reliably. It supports 0.023-inch wire and runs on standard 120V household power. For more demanding work, a 220V machine with pulse MIG capability provides significantly better control over heat input on thin material. How do I set up a MIG welder for 22 gauge sheet metal specifically? For 22 gauge (0.030 inch) mild steel, start with 0.023-inch ER70S-6 wire, C25 shielding gas at 15–18 CFH, voltage around 13–15V, and wire speed around 140–160 IPM. Use stitch welding with no more than 1-inch beads at a time. Test on scrap first and adjust voltage in 0.5V increments until the arc sounds smooth and the bead width looks consistent.Sheet metal leaves almost no margin for sloppy settings or rushing through setup. Get the wire diameter right, dial in a conservative voltage, and commit to stitch welding rather than forcing a continuous bead. The patience required for proper heat management is exactly what separates clean, flat welds from warped, burned panels.


