
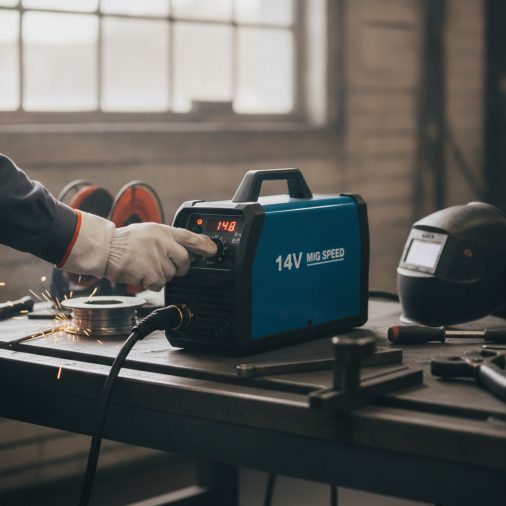
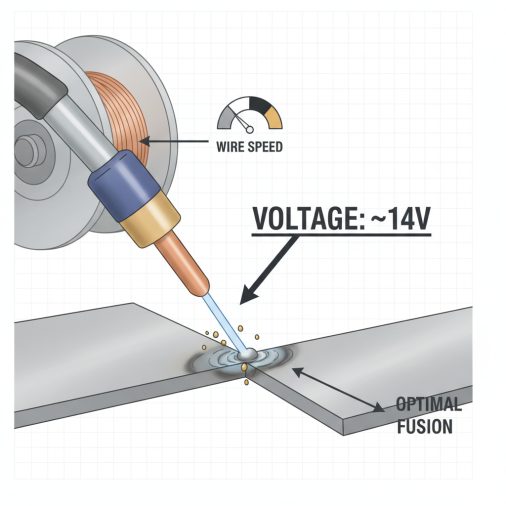
Why 14 Volts Is a Common Operating Point
Wire Speed by Wire Diameter at 14 Volts
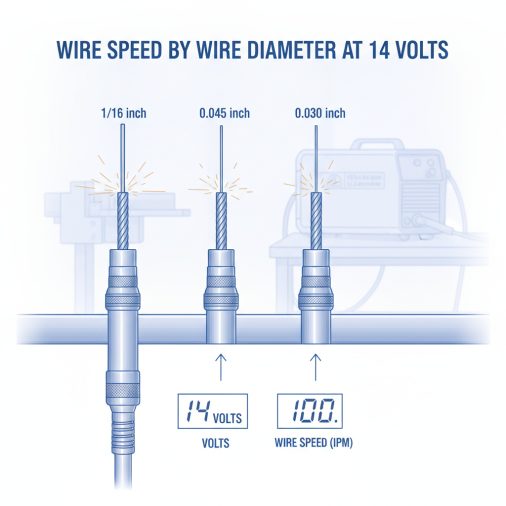
| Wire Diameter | Material Thickness | Starting Wire Speed (IPM) |
|---|---|---|
| 0.023" solid | 18–22 gauge (sheet metal) | 100–130 IPM |
| 0.030" solid | 16–18 gauge | 140–180 IPM |
| 0.035" solid | 14–16 gauge | 170–210 IPM |
| 0.030" flux core | 18–16 gauge | 130–170 IPM |
| 0.035" flux core | 16–14 gauge | 160–200 IPM |
How Voltage and Wire Speed Are Connected
Voltage and wire feed speed aren’t independent knobs you can adjust in isolation. They work as a matched pair. At 14 volts, if your wire speed is too low, the wire won’t feed fast enough to sustain the arc — it’ll burn back toward the contact tip. If wire speed is too high, the wire won’t have enough heat to melt properly, and it will start stubbing into the weld pool, causing a harsh, spattery arc. The general rule: increase wire speed when you increase voltage, and decrease wire speed when you reduce voltage. At 14 volts specifically, you’re working in a range that suits thin material, so resist the temptation to push wire speed too high expecting more penetration — you’ll just create heat problems.Flux Core vs. Solid Wire at 14 Volts
Flux core and solid wire behave differently at the same voltage setting, which is worth understanding before you start adjusting. Solid wire with shielding gas: – Runs cleaner with less spatter – Slightly lower wire speeds needed for same amperage output – Better arc stability at lower voltages – Preferred for thin sheet metal at 14V Self-shielded flux core wire: – Generates more heat at the same settings – Typically requires slightly lower wire speed for comparable results – More spatter is normal — it’s not necessarily a settings problem – Better suited for outdoor work or situations where wind affects shielding gas coverage In practice, when switching from solid wire to flux core at 14 volts, dropping wire speed by 10–20 IPM is a reasonable starting adjustment. You’ll also want to verify correct polarity for your wire type, since flux core typically runs on DC electrode negative (DCEN), while solid MIG wire runs on DC electrode positive (DCEP).Recognizing the Right Wire Speed by Arc Sound
One of the most reliable calibration tools you have costs nothing: your ears. A properly tuned MIG arc at 14 volts should produce a steady, consistent crackling sound — often described as frying bacon or a constant hiss. That sound means wire speed and voltage are balanced. What different sounds mean: – Loud popping or sputtering — Wire speed is too low. The arc is struggling to maintain itself. – Loud, harsh crackle with heavy spatter — Wire speed is too high. The wire is stubbing into the pool. – Smooth, tight crackle — Settings are in the right ballpark. – Soft, inconsistent hiss — Voltage may be slightly low for the wire speed selected. This audio feedback method is something experienced welders rely on constantly, especially when welding in positions where they can’t see the puddle clearly.Common Mistakes When Setting Wire Speed at 14 Volts
Most dialing-in problems at this voltage range come from a handful of predictable errors. Starting with wire speed too high. Many beginners assume faster wire = better welds. At 14 volts, excess wire speed creates a cold, spattery weld. Start conservatively and work up. Ignoring contact tip condition. A worn or partially clogged contact tip disrupts wire feed consistency, making it seem like your settings are off when the real problem is mechanical. If you’re getting an erratic arc, check the tip first. Not accounting for travel speed. Wire speed alone doesn’t determine heat input — how fast you move the torch matters too. At 14 volts with 150 IPM wire speed, a slow travel speed can still burn through thin material. Excessive spatter is often a travel speed or wire speed imbalance, not just a gas coverage problem. Skipping a test weld on scrap. Always run a few test beads on scrap of the same thickness and material before committing to the actual workpiece. Even experienced welders do this.A Simple Starting Method for Dialing In at 14 Volts
If you’re starting from scratch, here’s a reliable approach: 1. Set voltage to 14V on your welder’s control panel. 2. Based on your wire diameter, select the starting IPM from the reference table above. 3. Run a 2–3 inch test bead on scrap metal. 4. Listen to the arc and observe the bead profile. 5. If the bead is tall and narrow with spatter, increase wire speed by 10 IPM. 6. If the wire stubs or burns back, decrease wire speed by 10 IPM. 7. Repeat until the arc sounds smooth and the bead is flat with good fusion. For a more structured reference, a MIG wire settings chart can give you a solid baseline to start from, especially when working with unfamiliar material or wire combinations.FAQ
What wire speed should I use for 14 gauge steel at 14 volts? For 14 gauge mild steel at 14 volts, wire speed typically ranges from 160–200 IPM with 0.030″ or 0.035″ solid wire and 75/25 Argon/CO₂ gas. This is near the upper end of what 14 volts can comfortably handle. If you find the weld pool is cold or lacks fusion at this thickness, consider stepping up to 16 volts instead and adjusting wire speed accordingly. Can I weld thin sheet metal at 14 volts without burning through? Yes, 14 volts is actually well-suited for thin sheet metal in the 18–22 gauge range. Use 0.023″ wire, keep wire speed around 100–130 IPM, and move at a steady pace. Tacking in short intervals rather than running long continuous beads also reduces the risk of burn-through on very thin panels. How do I know if my wire speed is too fast at 14 volts? The most obvious signs are heavy spatter, a harsh crackling sound, and wire that seems to push against the puddle rather than melt smoothly into it. The bead may also appear convex and poorly fused at the edges. Reduce wire speed by 10–15 IPM increments until the arc settles into a smooth, consistent crackle. Does wire feed speed affect penetration at 14 volts? Yes, indirectly. Higher wire feed speed draws more amperage from the machine, which increases heat and can improve penetration slightly. However, at 14 volts, you’re operating within a relatively narrow range. Voltage is the bigger driver of penetration. If you need deeper fusion, increasing voltage is more effective than pushing wire speed alone. Understanding how to calculate wire feed speed correctly helps clarify this relationship. Is 14 volts enough for 1/8-inch steel with 0.030″ wire? It’s marginal. At 14 volts with 0.030″ wire, you can weld 1/8-inch steel, but penetration may be shallow and multiple passes could be needed. For single-pass welding on 1/8-inch stock, 16–18 volts is generally more appropriate. If 14 volts is your machine’s upper limit, prep the joint carefully (clean edges, good fit-up) and use 0.035″ wire for better deposition. What’s the difference between wire speed settings for solid wire vs. flux core at 14 volts? Self-shielded flux core wire generally runs at slightly lower wire speeds than solid wire at the same voltage, because it generates more inherent heat from the flux reaction. As a starting point, drop wire speed by 10–20 IPM when switching from solid to flux core at 14 volts, then fine-tune from there based on arc sound and bead appearance. Why does my wire keep burning back to the tip at 14 volts? Burn-back happens when wire speed is too low relative to the voltage setting — the wire melts faster than it feeds. Increase wire speed in 10 IPM increments. Also check that your contact tip isn’t worn or partially fused, that the liner isn’t kinked, and that the wire spool feeds smoothly without drag. Mechanical feed issues are a frequent cause of burn-back that gets misdiagnosed as a settings problem.At 14 volts, wire speed is your primary tuning lever — and the right range is narrower than many people expect. Start with the wire diameter and material thickness reference table, trust your ears during the test weld, and make small adjustments. Most settings problems at this voltage resolve quickly once you understand that voltage and wire speed need to move together, not independently.


