
Choosing what size MIG welding wire to use is one of those fundamental decisions that can make or break your project before you even strike an arc. Getting it wrong means frustration, weak welds, and sometimes even damaged materials. It’s not just about picking a wire; it’s about picking the right wire for the job at hand.
In our research, we've found that experienced welders intuitively understand the relationship between wire diameter, metal thickness, and machine settings. As of 2026, manufacturer specifications for common welding wires, like Lincoln Electric's Innershield NR-211-MP flux-cored wire, indicate specific optimal material thickness ranges for each diameter. Understanding these connections ensures you get the clean, strong welds everyone aims for.
Why Wire Size Matters for Your MIG Welds
The diameter of your MIG welding wire is a critical variable in achieving a successful weld. Think of it as the fuel line for your welding torch; the size of that line determines how much material, and therefore heat, you can deliver to the joint. A wire that's too small for thick material won't deliver enough heat, resulting in a shallow, weak bond. Conversely, a wire that's too large for thin metal will blast too much heat, burning right through your workpiece.
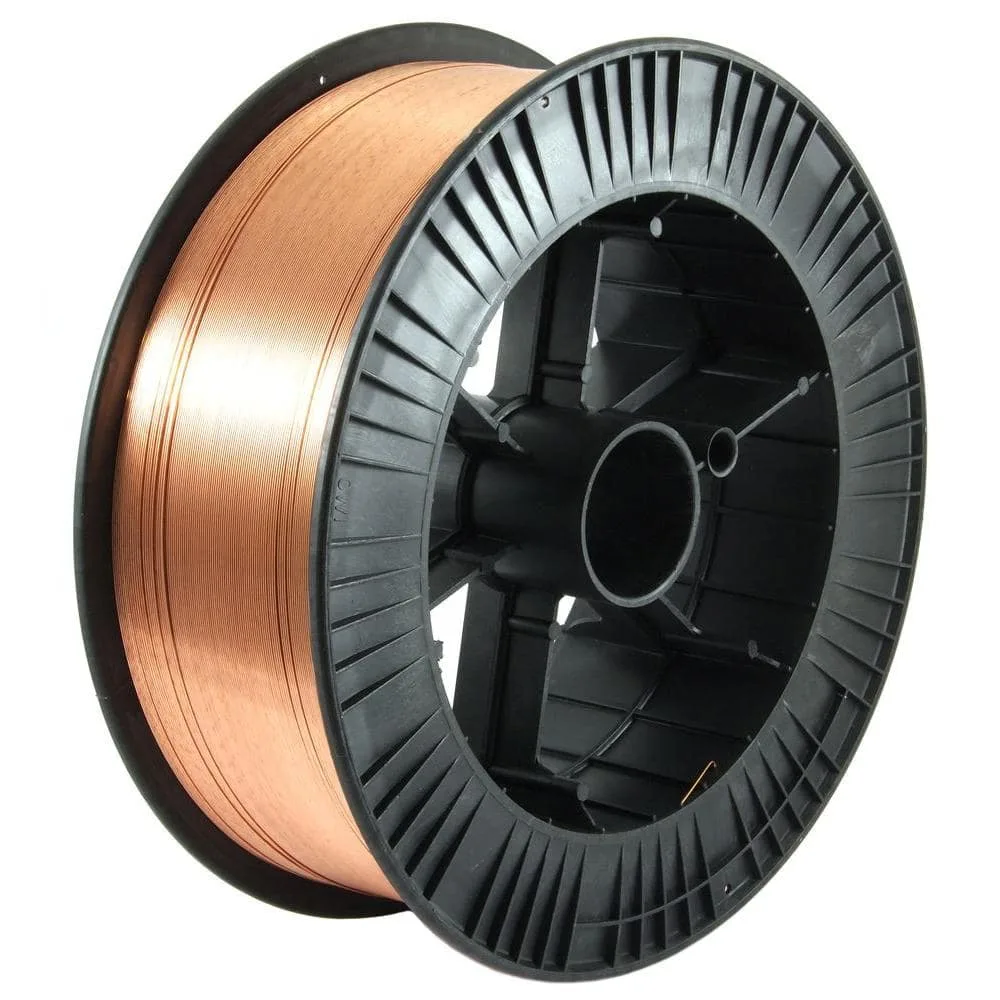
This isn't just about aesthetics; it directly impacts the structural integrity of your weld. The aim is to achieve proper fusion, where the base metal and filler metal melt together to form a strong, cohesive joint. The wire size, paired with the correct amperage and voltage, is what allows you to control that fusion process precisely. For those getting started, navigating mig welder settings can seem daunting, but wire size is a key piece of that puzzle.
Picking the Right Wire Size: It's All About Your Metal
When you're trying to figure out what size MIG welding wire to use, your first question should always be: "What thickness of metal am I welding?" This single factor is the biggest driver in selecting the appropriate wire diameter. Wire manufacturers typically provide charts that correlate wire size with recommended material thickness ranges.
For instance, a common starting point for thin sheet metal applications is 0.023-inch or 0.025-inch wire. For more general fabrication on slightly thicker steel, 0.030-inch or 0.035-inch wires are often the go-to. When you're dealing with heavy plate, you'll likely need to step up to 0.045-inch wire or even larger diameters for industrial applications.
How Metal Thickness Dictates Wire Diameter
The relationship between metal thickness and wire diameter is direct and crucial for weld quality. Thicker metals require more heat input to melt effectively and achieve adequate penetration. A thicker wire carries more current and melts at a higher rate, delivering that necessary heat.
If you try to weld thick steel with a thin wire, you'll likely end up with a weld that sits on the surface rather than fusing into the base metal. This results in a weld that looks okay but is structurally weak and prone to failure. This is why understanding how to measure a fillet weld size is important, as it relates directly to the metal you're joining and the wire you used.
1/16" (1.6mm) and thinner steel:
- Recommended Wire Size: 0.023" (0.6mm) or 0.025" (0.63mm).
- Why: These small diameters provide precise heat control, minimizing the risk of burning through thin materials common in auto body work or light fabrication.
1/8" to 3/16" (3.2mm to 4.8mm) steel:
- Recommended Wire Size: 0.030" (0.75mm) or 0.035" (0.9mm).
- Why: This is a sweet spot for general-purpose welding. These sizes offer a good balance, delivering enough heat for solid penetration without easily burning through. If you're unsure, 0.035" is often a solid choice for this range.
1/4" (6.4mm) and thicker steel:
- Recommended Wire Size: 0.045" (1.1mm).
- Why: For substantial material, you need a wire that can handle higher amperages and deliver significant heat for deep fusion. This size is essential for structural welding and heavy equipment repair.
Steel vs. Stainless vs. Aluminum: Wire Considerations
While metal thickness is the primary guide, the type of metal you're welding also plays a role, particularly with stainless steel and aluminum.
- Mild Steel: This is the most common material and what the standard charts are primarily based on. It's generally forgiving across various wire sizes and settings.
- Stainless Steel: This alloy has different thermal conductivity and melting properties than mild steel. While you might use a similar wire diameter to steel for a given thickness, achieving a good stainless weld often requires more precise heat control to avoid warping and the characteristic discoloration known as "sugaring." Using specific shielding gases designed for stainless steel is as critical as selecting the correct wire size for MIG welding stainless steel. You can find specific guidance in resources detailing mig welding stainless steel settings.
- Aluminum: Aluminum conducts heat much more rapidly than steel. This means you often need to run hotter settings to achieve the same level of fusion. You might find that a slightly smaller wire diameter can work effectively for aluminum compared to steel of the same thickness, or you'll need to adjust your technique significantly. Aluminum also tends to be more challenging on your welder's drive system, often necessitating specialized rollers and liners to prevent jamming.
Flux-Cored vs. Solid Wire: Which Path to Take?
The type of wire you choose, solid wire with shielding gas, or flux-cored wire, will also influence your size selection and application.
- Solid Wire (Gas-Shielded MIG): This is your conventional MIG setup, using a continuous strand of solid metal wire fed through the torch, protected by an external shielding gas (usually a mix of argon and CO2). Common diameters include 0.023", 0.025", 0.030", 0.035", and 0.045". This method typically produces cleaner welds with less spatter and a more aesthetically pleasing bead.
- Flux-Cored Wire (Self-Shielded or Dual-Shielded): Flux-cored wire has a tubular construction with a fluxing agent in the core.
- Self-Shielded Flux-Cored (FCAW-S): This type generates its own shielding gas and slag as the flux burns, making it ideal for windy conditions or outdoor work where a gas shield might be blown away. It tends to run hotter, produces more spatter than solid wire, and is excellent for welding dirtier or rusty materials. Common sizes for self-shielded flux-cored wire are typically 0.030", 0.035", and 0.045".
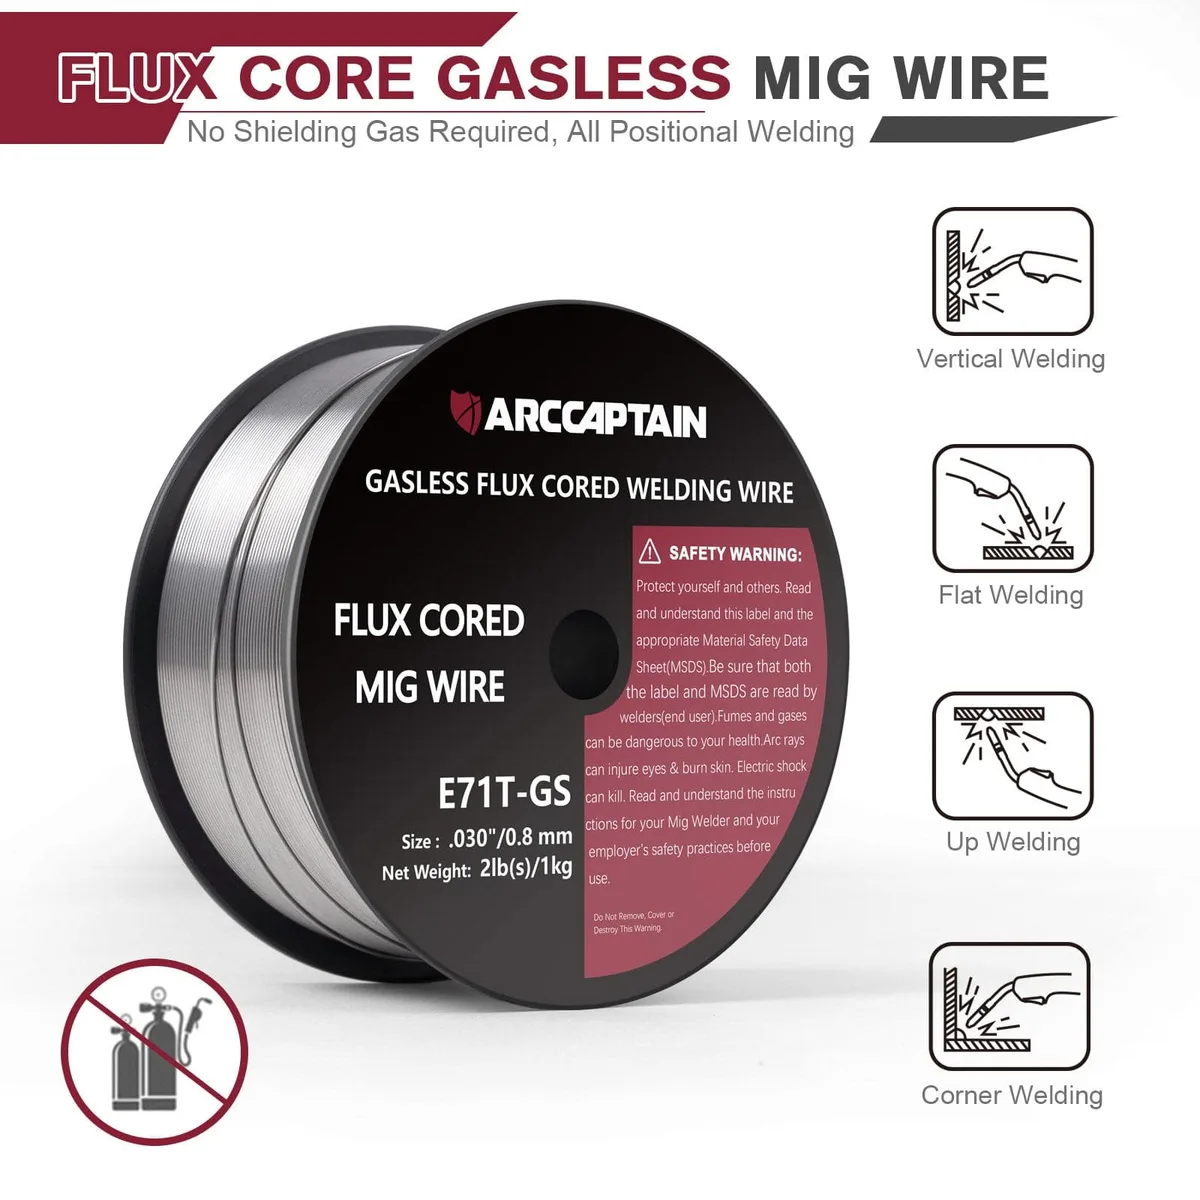
* **Dual-Shielded Flux-Cored (FCAW-G):** This method uses both the internal flux and an external shielding gas for enhanced weld quality and penetration, especially on thicker materials. Wire sizes are similar to other flux-cored types.
If you're doing a lot of outdoor welding or working with less-than-perfect material, flux-cored wire in sizes like 0.035" or 0.045" can be a real workhorse. For cleaner shop work, solid wire in 0.023" to 0.035" is often preferred.
Matching Wire Size to Your Welder's Power
Your MIG welder's power output, measured in amperage, is a fundamental constraint in choosing your wire size. Machine capabilities vary drastically, from small 120-volt units perfect for hobbyists to powerful 240-volt or higher industrial machines. A welder that can only produce 140 amps simply won't have the power to effectively run a large 0.045-inch wire, especially on thicker materials.
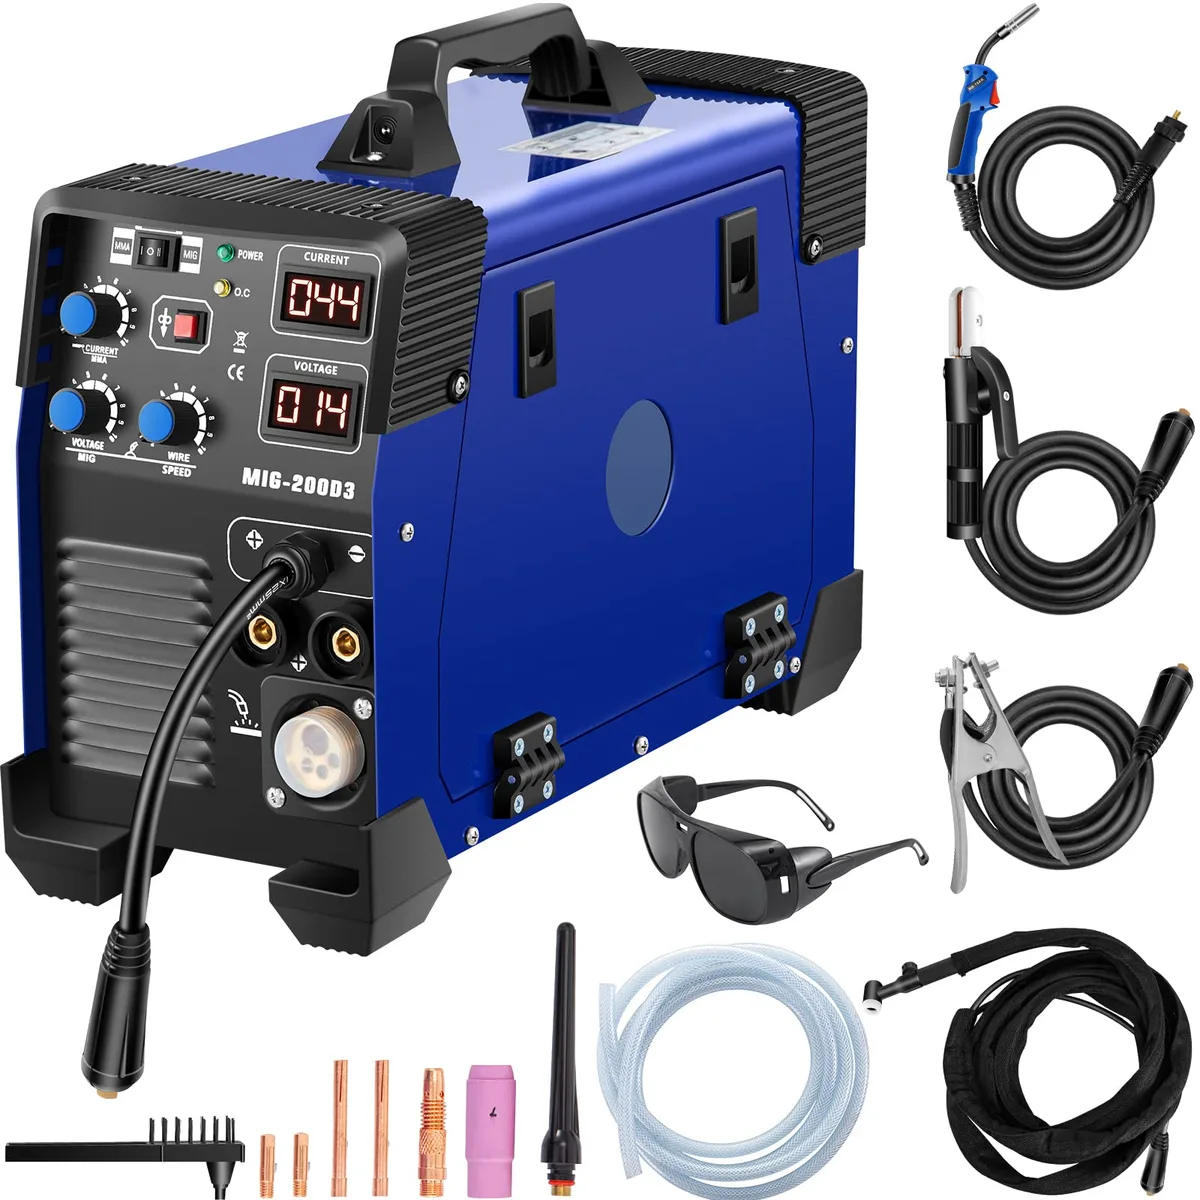
Here’s a general breakdown of what wire sizes are typically best suited for different welder outputs:
Small Hobbyist Welders (typically 110V/120V, ~30-140 Amps):
- Best Wire Sizes: 0.023", 0.025", and possibly 0.030" for the upper end of their power range.
- Why: These smaller wires require less amperage to melt and form a stable arc, making them ideal for the limited power of these machines. Pushing too large a wire will result in an unstable arc, poor welds, and potentially overloading the machine.
Mid-Range to Larger Welders (typically 220V/240V and up, ~175 Amps+):
- Best Wire Sizes: 0.030", 0.035", and 0.045".
- Why: These machines have the power reserves to effectively melt larger diameter wires and achieve the necessary heat input for thicker materials. The 0.035" size is exceptionally versatile for a wide range of applications on these machines. If you have a robust 220V unit, you'll find charts for lincoln welder settings or other brands helpful for matching wire to amperage.
Step-by-Step: Choosing Your MIG Wire Size
To zero in on the ideal MIG wire size, approach it like a logical checklist. You're essentially working through a series of conditions to arrive at the best recommendation for your specific welding scenario. This workflow ensures you don't overlook crucial factors, especially when you're aiming for robust welds.
Here’s how to systematically choose your wire diameter, no matter your project:
- Prioritize Material Thickness: Always start with the thickest metal you intend to weld. This is the non-negotiable starting point.
- Identify Metal Type: Note whether you're working with mild steel, stainless steel, or aluminum. This can slightly adjust your choices, particularly with aluminum's heat properties.
- Consider Your Welder's Capability: Check your MIG welder's maximum amperage output. This sets the upper limit on the wire sizes it can effectively run.
- Evaluate Your Environment: If you frequently weld outdoors or in windy spots, flux-cored wire will be a significant consideration over solid wire requiring gas.
Once you've answered these, you can more confidently select a wire diameter that aligns with your equipment and project needs.
Common MIG Wire Size Mistakes to Avoid
Even with a solid understanding of the basics, it's easy to slip up. The most frequent errors often stem from oversimplifying the process or not fully accounting for all variables. Avoiding these pitfalls will save you time, material, and frustration down the road.
- Using the Wrong Size for the Metal Thickness: This is the classic mistake. For example, trying to weld 1/4-inch steel with 0.025-inch wire will likely result in shallow penetration and a weak joint. Conversely, using 0.045-inch wire on thin sheet metal will almost certainly burn through.
- Ignoring Your Welder's Amperage Limit: Trying to force a large diameter wire through a machine not rated for its required amperage leads to an unstable arc. You'll experience excessive spatter, poor weld bead formation, and can even damage your machine's components. Always verify your welder's output against the wire's requirements.
- Not Considering the Shielding Gas: If you're using solid wire, ensure you have the correct shielding gas. Incorrect gas mixtures can lead to porosity, oxidation, and weak welds, regardless of your wire size. For flux-cored wire, understand if it's self-shielded or requires gas.
- Sticking to One Size for Everything: While 0.035-inch wire is incredibly versatile, it's not a one-size-fits-all solution. For very thin materials, a smaller diameter will always yield better results. For extremely thick sections, a larger diameter is necessary for adequate fusion.
Pro Tips for Dialing In Your Weld with the Right Wire
Experienced welders develop a feel for their equipment and materials. They understand that a technical chart is a starting point, but fine-tuning is essential. These practices are often honed over time and can significantly improve your welding consistency and quality.
- Listen to the Arc: The sound of your MIG arc is a great indicator of whether your settings, including wire size, are correct. A smooth, crackling sound usually means you're on the right track. A harsh, loud sizzle or a spitting, erratic noise can signal issues with your wire size, amperage, or voltage.
- Observe the Puddle: Learn to read the molten weld puddle. It should appear fluid and easily controllable, allowing you to direct it where you want it. If it's too hot and runny, you might be running too hot or using too large a wire for the material. If it's sluggish and stiff, you likely need more heat or a different wire size.
- Use Manufacturer Data: Always reference the charts provided by your wire manufacturer, as they often have detailed recommendations specific to their products. These are usually found on the wire spool packaging or the manufacturer's website.
- Test on Scrap: Before committing to your project, always run a few test beads on scrap pieces of the same material. This allows you to fine-tune your amperage, voltage, and travel speed to achieve the perfect weld with your chosen wire size.
Real-World Scenarios: Wire Size in Action
Let's walk through a couple of common welding situations to see how these principles play out in practice. These examples highlight how different project needs lead to distinct wire size choices.
Scenario 1: Repairing a Rusty Car Fender
- Metal Thickness: Very thin, often 20-24 gauge steel (around 0.030" to 0.024").
- Metal Type: Mild Steel.
- Welder Capability: Likely a smaller 120V MIG welder.
- Environment: Garage/Shop.
For this job, you absolutely need to prevent burn-through. A 0.023" or 0.025" solid wire is your best bet. You'll need to set your amperage and voltage quite low, often found through trial and error on scrap the same thickness as the fender. This setup allows for precise heat control, creating a small, manageable puddle.
Scenario 2: Building a Steel Garden Gate
- Metal Thickness: Primarily 1/8" steel tubing and flat bar.
- Metal Type: Mild Steel.
- Welder Capability: A versatile 220V MIG welder.
- Environment: Outdoors, potentially with some breeze.
Here, you need a good balance of penetration and ease of use. A 0.035" wire is ideal. If wind is a consistent factor, consider a 0.035" self-shielded flux-cored wire. This provides a more forgiving weld in less-than-ideal conditions.
If you're sticking with solid wire, ensure you're using adequate shielding gas to combat any drafts. For those looking for more specific guidance, looking up a welding chart mig wire can offer further parameters.


