
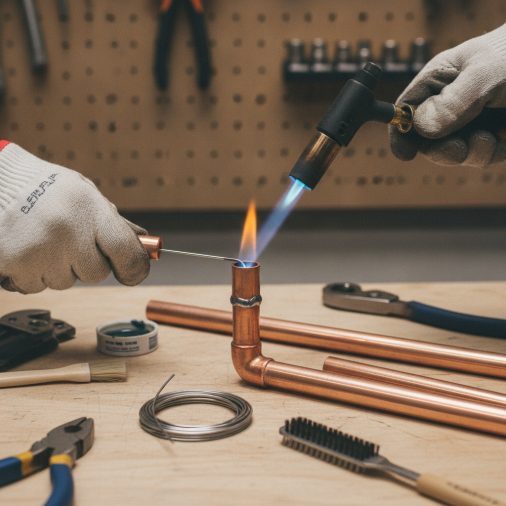
You’ve got a leaking joint, a new plumbing run to finish, or maybe just a DIY repair that keeps getting put off. Soldering copper pipe looks intimidating the first time, but once you understand what’s actually happening, the process is straightforward.
Soldering copper pipe means using heat from a propane or MAP gas torch to melt a lead-free solder alloy into a cleaned and fluxed joint. Capillary action pulls the molten solder into the gap between the pipe and fitting. When done correctly, the result is a watertight, durable connection. The most common beginner failures come down to dirty surfaces, too much or too little heat, or applying solder before the joint is hot enough.
Tools and Materials You’ll Need
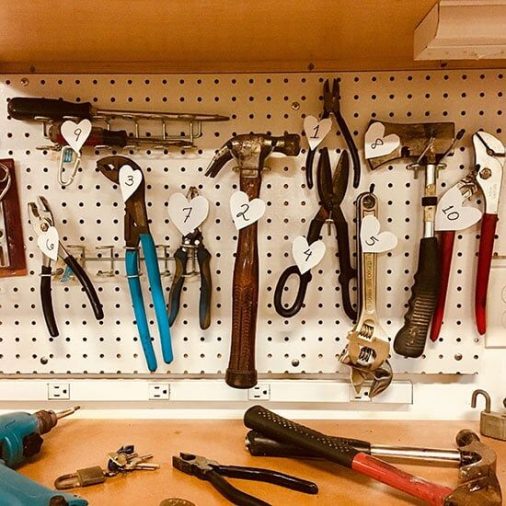
Having everything ready before you start saves a lot of frustration. Here’s what a typical copper soldering job requires:
- Propane or MAP gas torch — propane works for most residential pipe sizes; MAP gas heats faster and suits larger fittings
- Lead-free solder — required by plumbing codes for potable water lines in most regions; a 50/50 tin-lead solder may still appear in older tutorials but is no longer acceptable for drinking water supply
- Water-soluble flux — cleans oxidation and helps solder flow; always use flux rated for copper plumbing
- Pipe cutter — produces a clean, square cut far better than a hacksaw for small copper tubing
- Deburring tool or half-round file — removes the inner burr left by the pipe cutter
- Emery cloth or sand cloth — for cleaning the outside of the pipe end
- Wire fitting brush — cleans the inside of the fitting socket
- Flux brush or dauber — applies flux evenly
- Flame-resistant heat shield or cloth — protects nearby wood framing and drywall
- Damp rag — wipes excess flux after soldering
One commonly available option for torch work is the Bernzomatic TS8000 High Intensity Trigger Start Torch, which is compatible with MAP gas cylinders and offers good heat output for 3/4-inch and 1-inch copper fittings.
Safety Before You Light the Torch
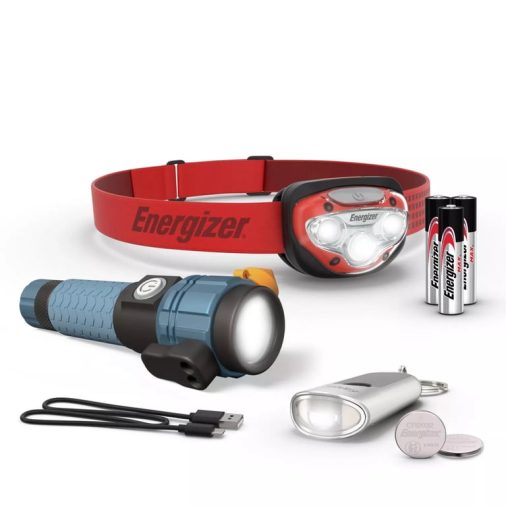
A propane or MAP gas torch is an open flame. Treat it accordingly every time, not just on unfamiliar jobs.
- Keep a fire extinguisher within reach and know how to use it.
- Always use a heat shield or flame-resistant barrier between the torch and any wood studs, joists, or drywall behind the pipe.
- Wear safety glasses — hot solder and flux can spit unexpectedly.
- Use leather gloves when handling pipe immediately after soldering; copper conducts heat along its length quickly.
- Work in a ventilated area. Flux fumes are irritating and should not be inhaled repeatedly.
- Never solder a live line with water pressure on it. The joint will not form correctly, and steam can cause burns.
- If moisture remains in the pipe, the steam it generates will prevent the solder from flowing. The page on soldering copper pipe that still has water in it covers how to handle that specific situation.
Cutting and Preparing the Pipe
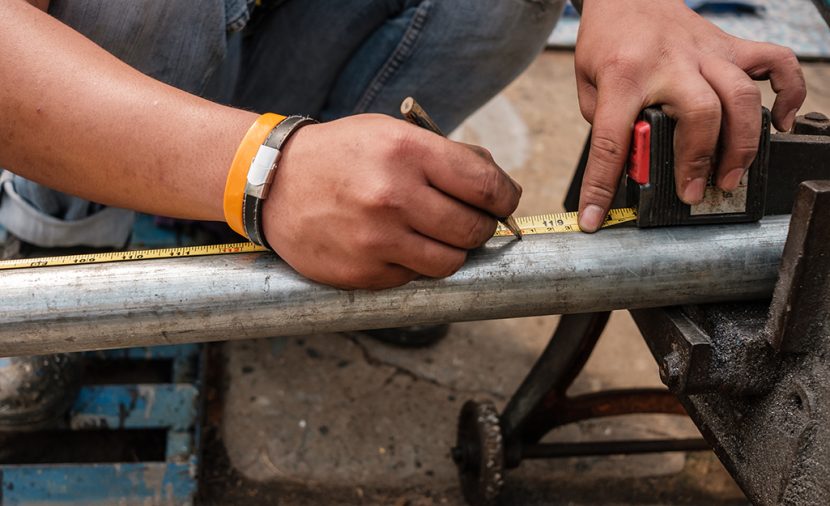
Good preparation is the single biggest predictor of a leak-free joint. Solder will not bond to dirty, oxidized, or contaminated copper.
Making a Clean Cut
Score the pipe with a pipe cutter by rotating it around the pipe with light pressure, tightening the wheel slightly with each pass. Avoid forcing it — over-tightening creates a heavy burr and can deform thin-wall tubing. A square, clean cut seats correctly in the fitting socket.
Removing the Burr
The cutting wheel leaves a small inward burr at the end of the pipe. Use the built-in reamer on the pipe cutter or a separate deburring tool to remove it. This burr restricts flow and can trap debris inside the line.
Cleaning the Surfaces
Use emery cloth or sand cloth to polish the outside of the pipe end until the copper is bright and shiny. Work around the full circumference for roughly an inch back from the end. Then use a wire fitting brush to clean the inside of the fitting socket the same way.
Do not touch the cleaned surfaces with bare fingers. Skin oils are enough to contaminate the joint and cause solder to bead up rather than flow. If the copper has heavy tarnish or oxidation deeper than surface level, mild acidic cleaning with a vinegar solution can help — the process for removing heavy tarnish from copper with vinegar explains this in more detail.
Applying Flux and Assembling the Joint
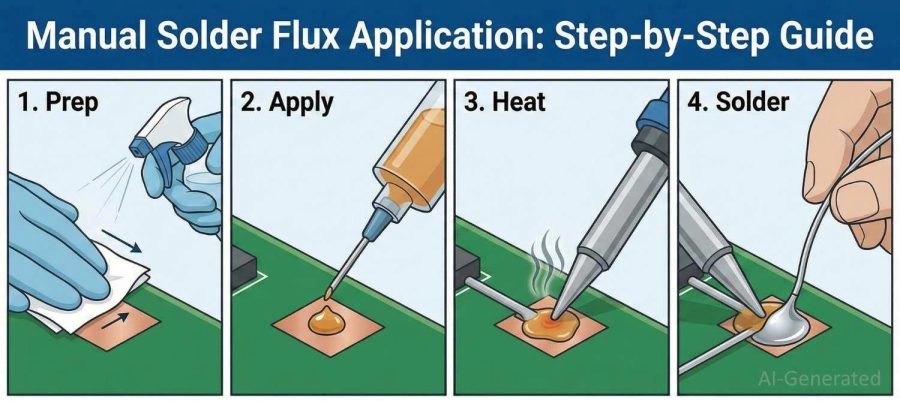
Flux is a chemical paste that removes any remaining oxidation when heated and allows the solder to wet the copper surface properly. Without flux, solder will not flow into the joint — it will just ball up and fall off.
Use a flux brush to apply a thin, even coat to the outside of the pipe end and the inside of the fitting socket. You don’t need a thick glob — a thin, complete coating is correct. Excess flux burns off during heating and can leave corrosive residue inside the pipe if not fully neutralized.
Push the pipe firmly into the fitting socket and give it a slight twist to distribute the flux. The pipe should seat all the way to the bottom of the socket. Assemble all the joints in a section before soldering when practical, since heat moves through copper quickly.
Heating the Joint and Applying Solder
This is where most beginners go wrong. The goal is to heat the fitting and pipe until they are hot enough to melt the solder — not to melt the solder directly with the flame.
Where to Apply Heat
Hold the torch flame so the inner blue cone is just off the fitting body. Move the flame slowly around the joint rather than concentrating it in one spot. On a standard 1/2-inch or 3/4-inch joint, this typically takes only a few seconds with a properly set torch.
Heat the fitting body, not just the pipe. The fitting is thicker and needs to come up to temperature so the solder flows all the way through the socket by capillary action.
Testing the Temperature
Touch the solder wire to the joint — not to the flame. When the copper is at the right temperature, the solder will melt on contact with the metal alone. If it doesn’t melt immediately, pull the solder away and continue heating. Never push more heat onto a joint that already has solder beginning to flow, as overheating burns the flux and causes a cold, grainy joint.
Feeding the Solder
Once the solder flows on contact, move the wire slowly around the joint rim. Capillary action pulls the molten solder into the socket. A correctly heated, clean joint will pull solder in smoothly and quickly. For a 1/2-inch fitting, approximately 1/2 inch of solder wire from the roll is usually sufficient. For 3/4-inch fittings, use about 3/4 inch. These are general starting points — stop feeding when you see a small uniform bead appear around the full joint edge.
Remove the flame and the solder wire at the same time. Do not disturb the joint while it cools, or the solder will crystallize in an incomplete position.
Finishing and Inspecting the Joint
Before the joint cools completely, wipe it with a damp rag to remove excess flux residue. Flux left on the pipe will continue to corrode the copper over time, particularly water-soluble flux formulations.
A correctly finished joint shows a thin, even bead of solder all the way around the fitting rim. The solder line should be smooth and complete with no gaps, pinholes, or cold-looking dull spots. Dull or granular solder typically means the joint was moved before it solidified, or the solder was fed into a joint that was already starting to cool down.
Allow the joint to cool completely — at least a few minutes — before running water through the line. Rushing this step can fracture the solder.
Common Mistakes and How to Avoid Them
| Problem | Likely Cause | Fix |
|---|---|---|
| Solder beads up and falls off | Dirty pipe surface or missing flux | Disassemble, re-clean, re-flux, and retry |
| Solder only flows on one side | Uneven heating or insufficient flux coverage | Apply heat more evenly around the full fitting |
| Joint leaks under pressure | Pinhole void, gap in solder bead, or cold joint | Drain the line, reheat, and reflux; or disassemble and redo |
| Solder flows but burns black | Overheated joint; flux burned off before solder was applied | Allow to cool, re-clean, re-flux, and use less heat |
| Solder won’t melt when touched to joint | Joint not yet at temperature | Continue heating the fitting body and retest |
| Pipe won’t seat fully into fitting | Burr not removed or wrong fitting size | Deburr the pipe end and check fitting compatibility |
Reheating and Repairing a Bad Joint
If a joint leaks or looks incomplete, it can often be repaired without full disassembly. Drain and dry the line completely — even a small amount of moisture will prevent the repair from working. Reheat the joint until the existing solder liquefies, apply fresh flux if possible, and feed a small additional amount of solder to fill any gap.
If the joint is severely contaminated or the fitting is damaged, it’s better to cut it out and install a new fitting. Attempting to solder over a heavily oxidized or burnt joint rarely produces a reliable seal.
Frequently Asked Questions
What type of solder should I use for copper water pipes?
Use lead-free solder rated for potable water plumbing. This is a code requirement in most regions for any pipe that carries drinking water. Lead-free formulations typically contain tin, silver, copper, or a combination. Avoid solder labeled for electronics or stained glass — these are not appropriate for plumbing applications.
Can I solder copper pipe without flux?
No. Flux is essential. Without it, oxidation on the copper surface prevents the solder from wetting and bonding to the metal. The solder will bead up, roll off, and leave gaps. Some solder wire includes a flux core, but for plumbing copper fittings a separate paste flux applied to both the pipe and fitting socket is the standard approach.
How do I know when the copper pipe is hot enough to solder?
Touch the solder wire to the joint — away from the flame. If the solder melts instantly on contact with the metal alone, the temperature is correct. If it doesn’t melt, the joint needs more heat. Never melt solder directly with the torch flame, as this prevents proper capillary flow into the socket.
Why does my solder joint keep leaking even though it looks solid?
A visually complete bead does not guarantee a leak-free seal. Pinholes, incomplete fill on the back side of the socket, a cold joint caused by movement during cooling, or residual moisture during soldering are all common causes. Drain the line, dry it thoroughly, and either reheat with fresh flux or cut out and replace the fitting.
Is soldering copper pipe the same as welding it?
No. Soldering uses a filler metal with a low melting point that bonds to the surface of the copper without melting the base metal itself. Welding, by contrast, melts the base metal. For most residential plumbing, soldering is the correct and practical method. Fusion welding of copper is a different process used in industrial or specialty applications. If you’re curious about how copper behaves under arc welding conditions, the topic of MIG welding copper covers the differences and challenges involved.
How long should I wait before turning the water back on?
Allow the joint to cool completely to room temperature before restoring water pressure — generally at least 5 to 10 minutes. Running water through a hot joint can cause rapid uneven cooling, which may crack or fracture the solder. There is no advantage to rushing this step.
Build Good Habits from the First Joint
Soldering copper pipe is a skill that improves quickly with practice, and the core habits — thorough surface preparation, proper flux application, and patient heat control — are the same on every job regardless of pipe size. Skipping preparation steps is the most reliable way to end up with a leaking joint. Take the extra minute to clean and flux properly every time, heat the fitting rather than the solder, and let the capillary action do the work. A joint made correctly the first time saves far more time than one that needs to be redone.


