
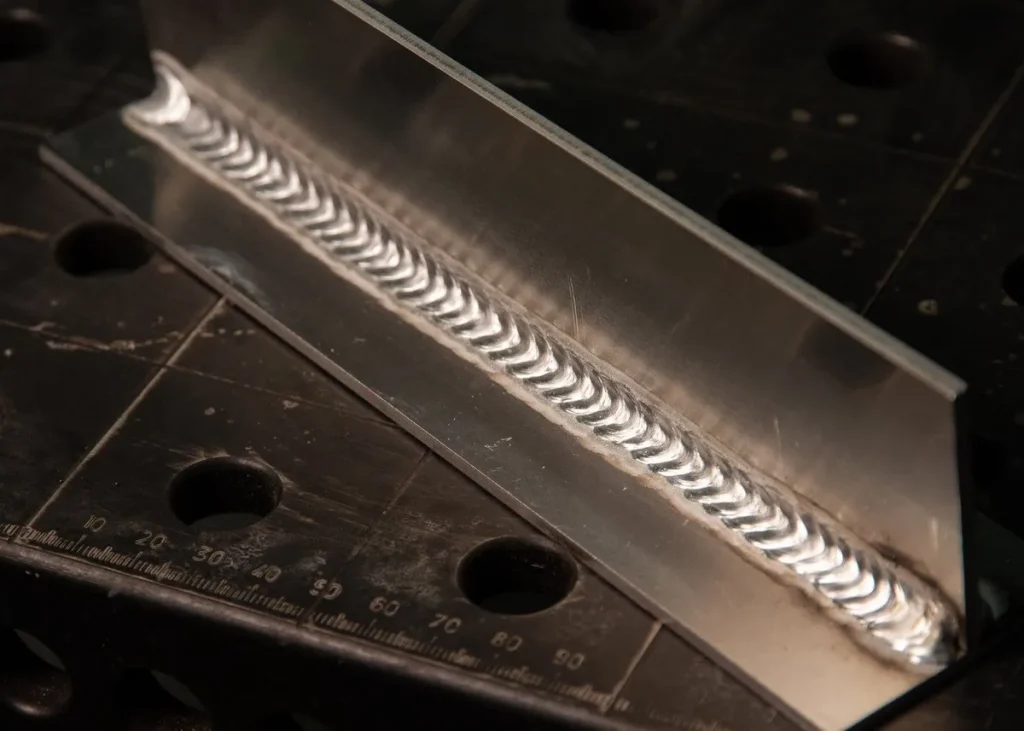
If you've ever struggled with welding thin metals or wanted a cleaner, more controllable MIG weld, then understanding what is pulse MIG welding is key. This advanced technique takes the familiar MIG process and adds a layer of precision by using alternating pulses of high and low current. It’s not just a minor tweak; it fundamentally changes how the weld puddle forms and transfers, opening up new possibilities for fabricators and repair specialists alike.
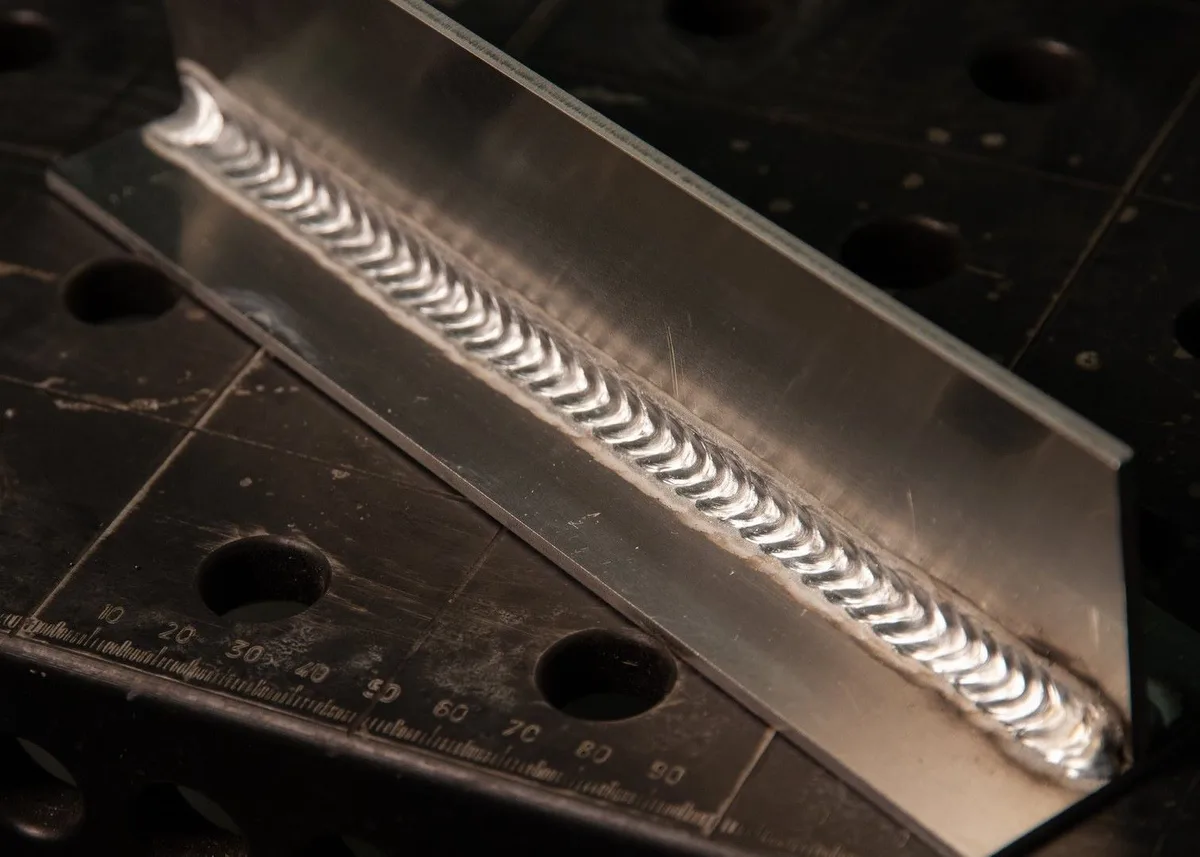
Image source: Bing (Web (fair-use with source credit))
Manufacturer specifications confirm that many modern welders offer pulse capabilities, enabling users to achieve better results on a wider array of materials. This advanced control is particularly beneficial for applications where heat management is critical, as confirmed by testing standards for materials like aluminum and stainless steel. Let's dive into how this unique pulsing action works and what it can do for your projects.
How Pulse MIG Welding Works: The Core Idea
Pulse MIG welding, often abbreviated as GMAW-P, is a variation where the welding machine doesn't just deliver a steady stream of power. Instead, it cycles rapidly between a high-current peak and a low-current background. This creates a more controlled and predictable transfer of molten metal from the welding wire to your workpiece.
The Pulsing Action Explained
The magic happens in that rapid cycling. The high-current pulse is precisely timed to melt the tip of the welding wire, creating a single, well-formed droplet of molten metal. This droplet is then propelled across the arc to the weld pool. Immediately after the transfer, the current drops to a much lower background level.
This low-current phase maintains the arc without adding significant heat, allowing the weld puddle to cool slightly and solidify a bit between pulses. This consistent, rhythmic transfer is unlike the continuous spray of metal you see in conventional MIG welding.
Visualizing the Arc
Imagine the arc not as a steady flame, but as a series of controlled bursts. During the high-current pulse, you'll see a bright, intense arc that melts the wire and pushes the droplet onward. As soon as that droplet is across, the arc dims considerably during the low-current phase, giving the molten metal time to fuse without excessive heat buildup. This visual feedback is crucial; understanding what a proper pulse arc looks and sounds like helps you dial in your settings for optimal weld quality, especially when compared to the continuous spray arc of standard MIG.
Key Features That Make Pulse MIG Different
The defining characteristic of pulse MIG welding is its power delivery. This isn't just about a higher or lower amperage; it's about the strategic manipulation of that power over time.
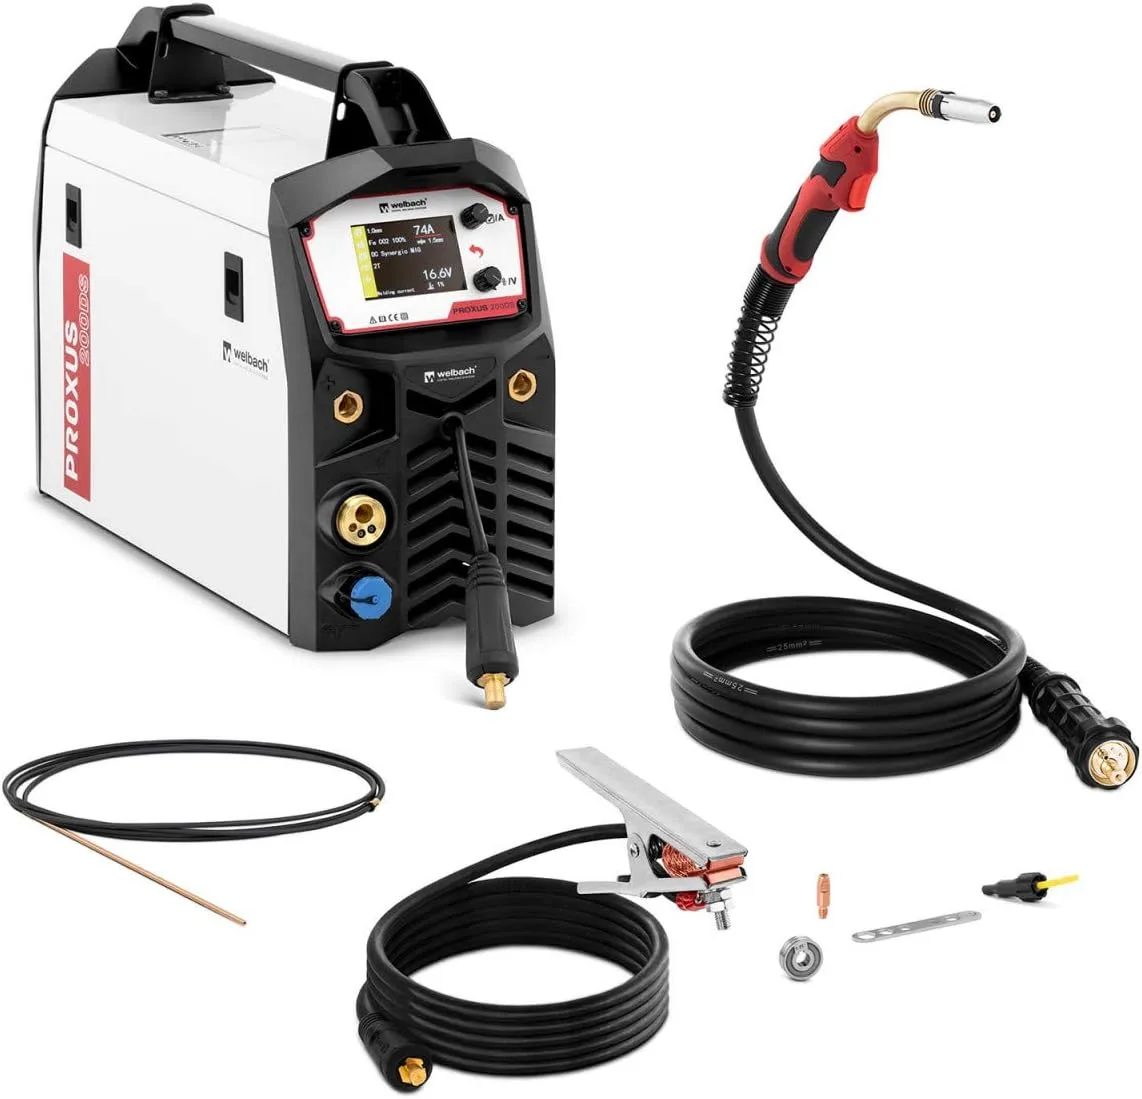
Image source: Bing (Web (fair-use with source credit))
Controlled Heat Input
The most significant advantage of the pulsed arc is its superior control over heat input. By delivering heat in short, intense bursts followed by cooling periods, the overall heat transferred to the workpiece is significantly reduced compared to a continuous arc at a similar average current. This is vital when working with materials that are sensitive to heat, like thin gauge metals or certain alloys. For instance, manufacturer specifications for aluminum welding often highlight the benefit of pulsed MIG for preventing burn-through, a common issue with continuous spray transfer.
Consistent Metal Transfer
The pulsed nature of the arc ensures a much more consistent and predictable transfer of molten metal. Instead of a constant shower of sparks and molten droplets, pulse MIG typically achieves a directed, globular transfer within each pulse cycle. This means less spatter, fewer weld defects, and a cleaner bead. This controlled transfer is essential for achieving those desirable ripple bead appearances, which indicate a well-managed weld puddle.
Some welders even find this rhythmic transfer easier to follow visually, contributing to better bead placement.
Why Choose Pulse MIG? The Big Advantages
The unique way pulse MIG delivers power translates into several tangible benefits for welders, making it a preferred choice in many situations.
For Thin Metals and Delicate Materials
One of the standout benefits of pulse MIG welding is its effectiveness on thin materials. Because the heat input is so precisely controlled, you drastically reduce the risk of burning through thinner sheets of metal. This is especially true for materials like aluminum, stainless steel, and thinner mild steel that can be challenging with traditional MIG welding. For applications like automotive body panel repair, where burn-through can be a costly mistake, pulse MIG offers a significant advantage.

Image source: Wikimedia Commons / Piper Aircraft Corp
Cleaner Welds and Better Aesthetics
The controlled metal transfer inherent in pulse MIG means significantly less spatter is generated compared to standard MIG processes. This results in a cleaner weld with fewer stray metal droplets adhering to the workpiece. The weld beads are often more visually appealing, exhibiting a consistent, attractive ripple pattern. This improved aesthetic is highly valued in industries where the finished product's appearance is as important as its structural integrity.
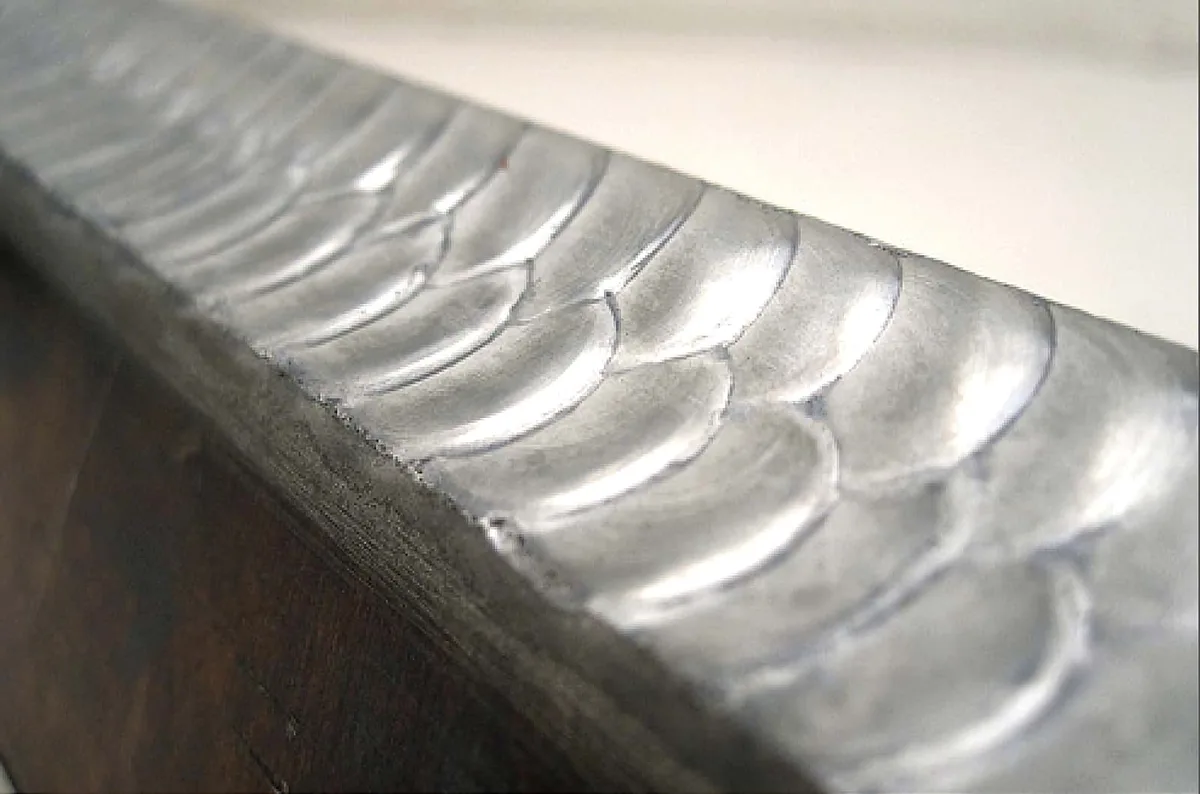
Image source: Bing (Web (fair-use with source credit))
Versatility Across Different Metals
Pulse MIG welding isn't limited to just one or two types of metal. Our research shows it's particularly adept at welding aluminum, a notoriously challenging material for MIG due to its low melting point and tendency to oxidize. It also shines with stainless steel and various grades of mild steel, offering excellent control for materials that might otherwise require more specialized processes. According to manufacturer documentation, many pulse MIG machines can handle a broad spectrum of wire diameters and types without extensive retooling.
Out-of-Position Welding Made Easier
Welding in positions other than flat, such as vertical-up or overhead, can be tricky because gravity works against you, pulling molten metal away from the weld joint. Pulse MIG's controlled droplet transfer helps mitigate this. The brief cooling periods between pulses allow the weld puddle to solidify enough to resist sagging or dripping, making out-of-position welding more manageable and leading to more consistent results compared to a continuous spray arc. This capability is a major plus for complex fabrication projects.
When Pulse MIG Isn't Your Best Bet: Drawbacks
While pulse MIG welding offers fantastic advantages, it's not always the perfect solution for every scenario. The technology itself can be more complex, and there are specific limitations to be aware of. For starters, the initial cost of a pulse MIG welder is typically higher than a basic, non-pulsed model. This can be a significant barrier for hobbyists or small workshops just starting out.
Additionally, setting up pulse MIG can sometimes require more technical knowledge. Finding the optimal combination of pulse frequency, peak time, background current, and wire feed speed can feel like a balancing act. While many machines come with pre-programmed settings for common materials, fine-tuning them for specific applications or less common alloys can be time-consuming. This learning curve might be steeper than for traditional MIG, where fewer variables need constant adjustment.
For very simple, high-volume, flat-position welding on thicker materials, the added complexity of pulse might not offer a proportional benefit over a standard MIG setup.
Who is Pulse MIG Welding For?
The capabilities of pulse MIG welding make it shine in specific applications and appeal to certain types of users who can leverage its precision.
Automotive and Fabrication Pros
Professional automotive repair and general metal fabrication shops are prime candidates for pulse MIG. The ability to weld thin body panels without burning through, achieve clean aesthetic welds on visible components, and work with a variety of metals like aluminum and stainless steel makes it indispensable. For shops dealing with custom work, restoration projects, or manufacturing where weld quality is paramount, investing in pulse MIG capability often pays for itself through reduced rework and improved product quality. The efficiency gains in out-of-position welding also contribute to faster project completion times.
The Serious Hobbyist
For the dedicated home hobbyist or maker who is ready to move beyond basic welding projects, pulse MIG welding offers a significant upgrade. If you're looking to work with aluminum lawn furniture, build custom car parts, or tackle more intricate stainless steel fabrication, a pulse MIG machine can be a worthwhile investment. It allows for greater control and opens up projects that might be too difficult or impossible with a standard MIG welder. While the initial cost is higher than a budget machine, the ability to achieve professional-level results on a wider range of materials makes it appealing for those serious about their craft.
Common Mistakes to Sidestep with Pulse MIG
While pulse MIG welding offers advanced control, there are still pitfalls that can lead to less-than-ideal welds. Being aware of these common errors can save you time and materials.
Setting Up Incorrectly
One of the most frequent mistakes is not properly setting the pulse parameters for the specific material and thickness being welded. Manufacturers provide charts and pre-sets, but these are often starting points. For example, using an aluminum setting when welding steel, or using a pulse frequency that's too high for a very thick section, can lead to poor fusion or an unstable arc. It's crucial to consult your welder's manual and consider referring to resources like a Welding Chart Mig Wire to understand the relationship between wire feed speed, voltage, and the pulsed output.
Ignoring Material-Specific Needs
Each metal has unique welding characteristics. Aluminum, for instance, requires specific shielding gases (like 100% Argon) and typically different pulse settings than stainless steel or mild steel. Failing to use the correct gas, wire type, or polarity for the material can result in porosity, weak welds, or excessive spatter. For example, trying to weld stainless steel with a set of parameters optimized for mild steel will likely yield poor results and a weak, discolored weld.
Always verify you're using the correct consumables and machine settings recommended for the specific application and alloy, as detailed in resources like Mig Welding Stainless Steel Settings.
Pulse MIG vs. Regular MIG: Knowing the Difference
The core difference between pulse MIG and regular MIG welding lies in the power delivery to the arc. Regular MIG welding, often called continuous or standard MIG, delivers a steady, uninterrupted flow of electrical current. This results in a continuous spray of molten metal from the wire electrode to the workpiece. It's a straightforward process, generally easier for beginners to pick up the basics of arc control and travel speed, and it performs very well on thicker materials where heat input is less of a concern.
You can find general guidance on typical settings in articles like Mig Welder Settings.
Pulse MIG, on the other hand, cycles this current rapidly between a high-heat pulse and a low-heat background phase. Manufacturer specifications often detail that this creates a more controlled, single-droplet transfer of metal with each pulse. This controlled transfer significantly reduces spatter, allows for better heat management on thin metals, and makes out-of-position welding more manageable. While regular MIG is great for general-purpose, thick material welding, pulse MIG is preferred when precision, control, and versatility across different materials and thicknesses are prioritized.
Getting Started with Pulse MIG Welding: What You'll Need
To effectively use pulse MIG welding, you'll need a welding machine that is specifically designed with this capability. Not all MIG welders come standard with pulse functions.
- Pulse-Capable MIG Welder: This is the most critical piece of equipment. Look for models that advertise "pulse" functionality prominently. These machines often feature digital controls and pre-programmed settings for various metal types and thicknesses. Examples include higher-end models from brands like Lincoln Electric or Miller Electric.
- Correct Filler Wire: The type of wire you use is crucial. For aluminum, you'll need aluminum wire. For stainless steel, stainless wire. Ensure the diameter and alloy of the wire match your project and the machine's capabilities.
- Appropriate Shielding Gas: The shielding gas protects the molten weld pool from atmospheric contamination. For steel, a common mix is 75% Argon/25% CO2. However, for aluminum, 100% Argon is typically recommended. Always check your machine's manual or a reliable source, such as a Weldpro MIGs Welding Chart, for the correct gas based on your material.
- Gas Regulator: To control the flow rate of your shielding gas precisely.
- Appropriate PPE: This includes a welding helmet with auto-darkening capabilities, welding gloves, a welding jacket or leathers, and sturdy footwear. Safety is always paramount.
Pulse MIG Welding in Action: Real-World Scenarios
Let's look at a couple of situations where pulse MIG welding truly shines, demonstrating its practical advantages beyond just the technical explanations.
Restoring a Classic Car: Imagine you're working on a vintage car with rust perforations on the door panels or fenders. These areas are typically made of very thin sheet metal. Using a regular MIG welder on such thin material often leads to burn-through, creating more work and potential structural damage. A pulse MIG welder, however, can lay down precise, low-heat welds, filling the corroded areas cleanly. The controlled arc allows you to fuse new metal to the existing thin panels without excessive heat input, preserving the integrity of the original metal and leading to a smoother finish that requires less bodywork.
Fabricating Custom Stainless Steel Kitchen Fixtures: A metal fabrication shop is tasked with creating a custom stainless steel countertop or a decorative backsplash. These projects require welds that are not only structurally sound but also aesthetically pleasing, often with a visible, ripple-like bead. Stainless steel can be prone to discoloration and warping if too much heat is applied. Pulse MIG welding allows the fabricator to maintain a precise weld bead, minimize heat distortion on the polished stainless surface, and achieve that clean, professional look that a customer would expect for a high-end fixture. The controlled metal transfer also means less grinding and polishing afterward, saving considerable time.
How to Fine-Tune Your Pulse MIG Settings
Once you've got the right equipment, mastering the pulse MIG settings is crucial for optimal results. This isn't a "set it and forget it" process; it requires a bit of understanding and fine-tuning. The key variables you'll typically adjust on a pulse MIG welder include:
- Peak Amperage: This is the high current during the pulse, responsible for melting the wire. A higher peak amperage means a more powerful melt.
- Background Amperage: This is the low current between pulses, which maintains the arc but at a much lower energy level, allowing for cooling.
- Pulse Frequency (Hz): This dictates how many pulses occur per second. Higher frequencies can create a more directed arc and finer ripple patterns, while lower frequencies might feel more forgiving.
- Pulse Width or Peak Time: This controls how long the high-current pulse lasts relative to the pulse cycle. A longer pulse width means more heat input per pulse.
Manufacturer specifications, often found in manuals or on the welder itself, will provide recommended ranges for these settings based on wire diameter, material type, and metal thickness. For example, welding 0.035" steel wire might have a base setting of 150Hz, with a peak amperage around 180A and a background amperage of 50A.
Adjusting for Material Thickness
The relationship between your pulse settings and material thickness is direct. When you're welding thinner materials, you'll want lower peak amperage and potentially a higher pulse frequency to minimize heat input and prevent burn-through. For thicker metals, you can increase the peak amperage and pulse width to ensure full penetration, and a lower frequency might be suitable. Always start with the manufacturer's recommended settings and make small, incremental adjustments while observing the arc and the weld puddle.
It's often helpful to practice on scrap pieces of the same material you'll be welding.


