
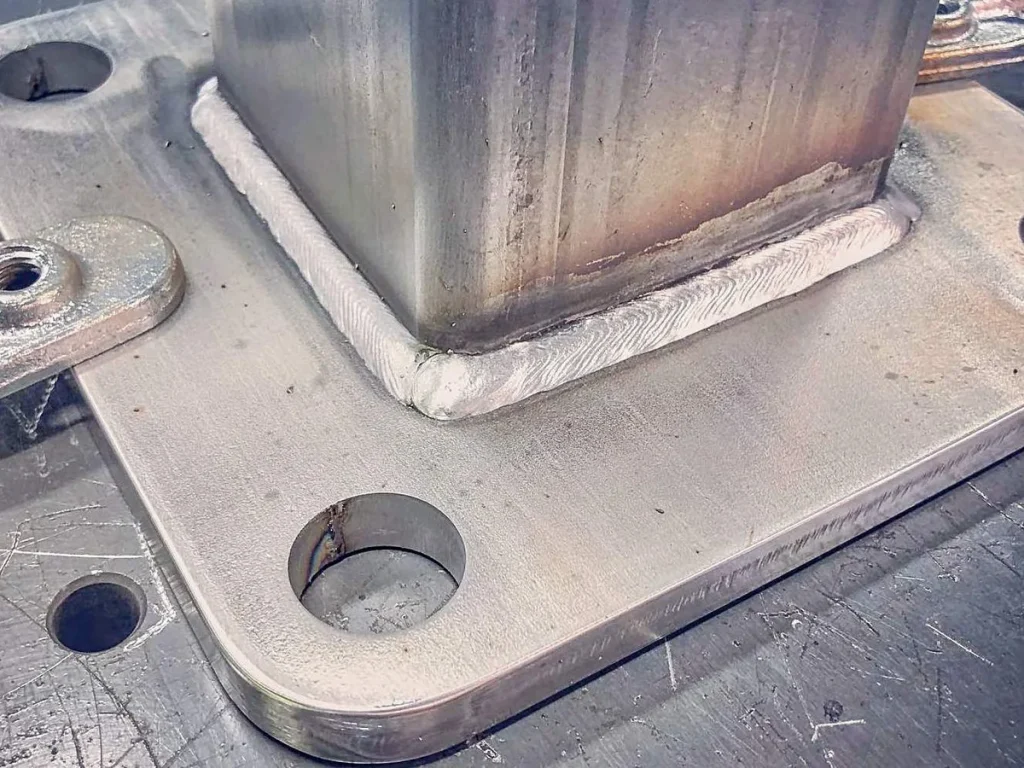
So, can you MIG weld stainless steel? The simple answer is yes, you absolutely can. But if you just treat it like regular mild steel, you're probably going to run into some headaches. Stainless steel has its own quirks that need a bit of extra attention to get a good, lasting weld.
Our research, along with manufacturer specifications, indicates that while MIG welding stainless is common, it requires careful adjustments to shielding gas, filler material, and machine settings. As of 2026, these principles remain crucial for achieving quality results. Let's break down what you need to know before you start.
Why MIG Welding Stainless Steel Isn't "Just Like Steel"
The Sensitivity of Stainless
Stainless steel's composition, particularly its chromium content, makes it react differently to heat than plain carbon steel. This means heat doesn't dissipate as quickly through the metal. In our research, we've seen this lead to significant warping on thinner pieces and, more critically, can reduce the stainless steel's inherent corrosion resistance near the weld zone. This phenomenon, often called sensitization, makes the metal more prone to issues down the line.
Heat Management Mysteries
Because heat builds up more readily in stainless steel, controlling the 'heat input' is paramount. Too much heat for too long can degrade the protective oxide layer that makes stainless steel "stainless" in the first place. This is why understanding your machine's settings and your travel speed is far more critical than it might be with more forgiving materials.
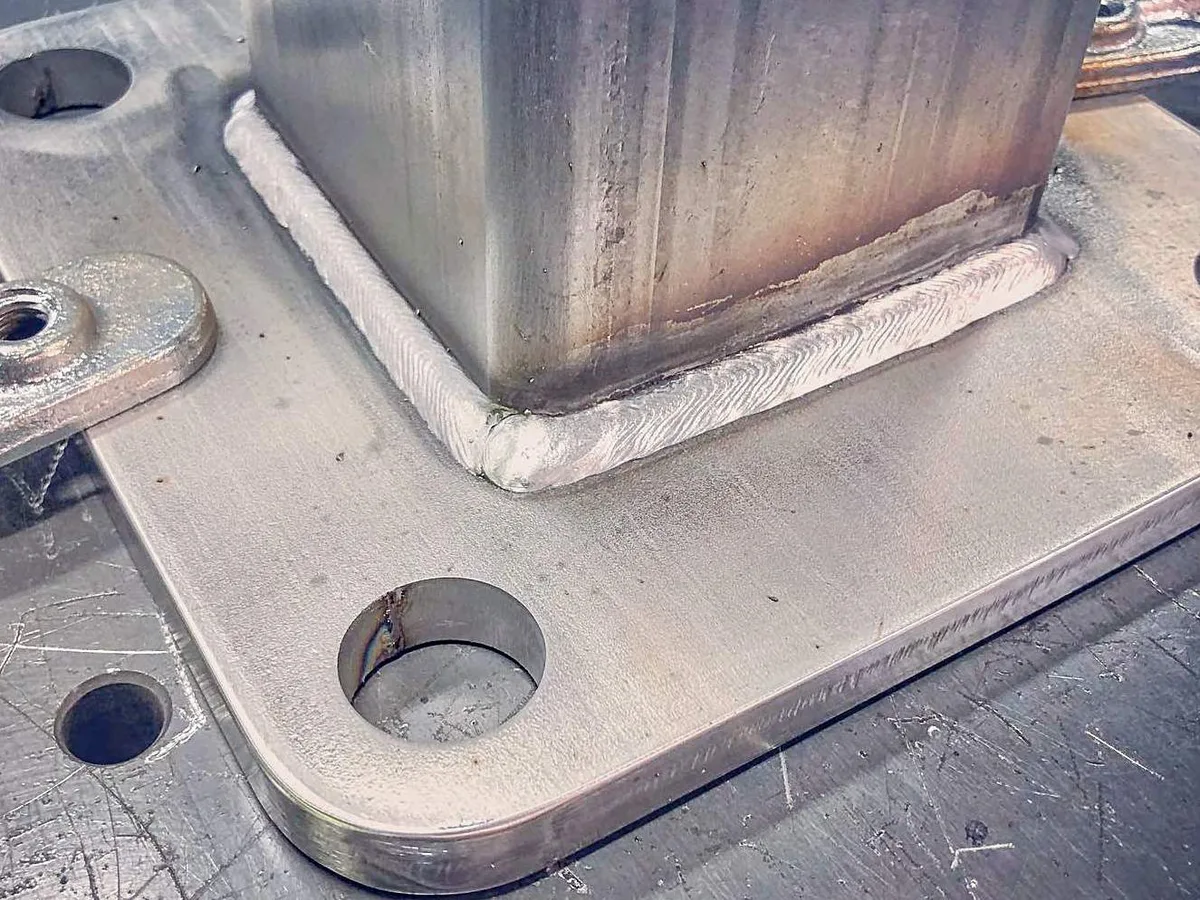
The Key Ingredients for MIG Welding Stainless
Choosing the Right Stainless Steel Filler Wire
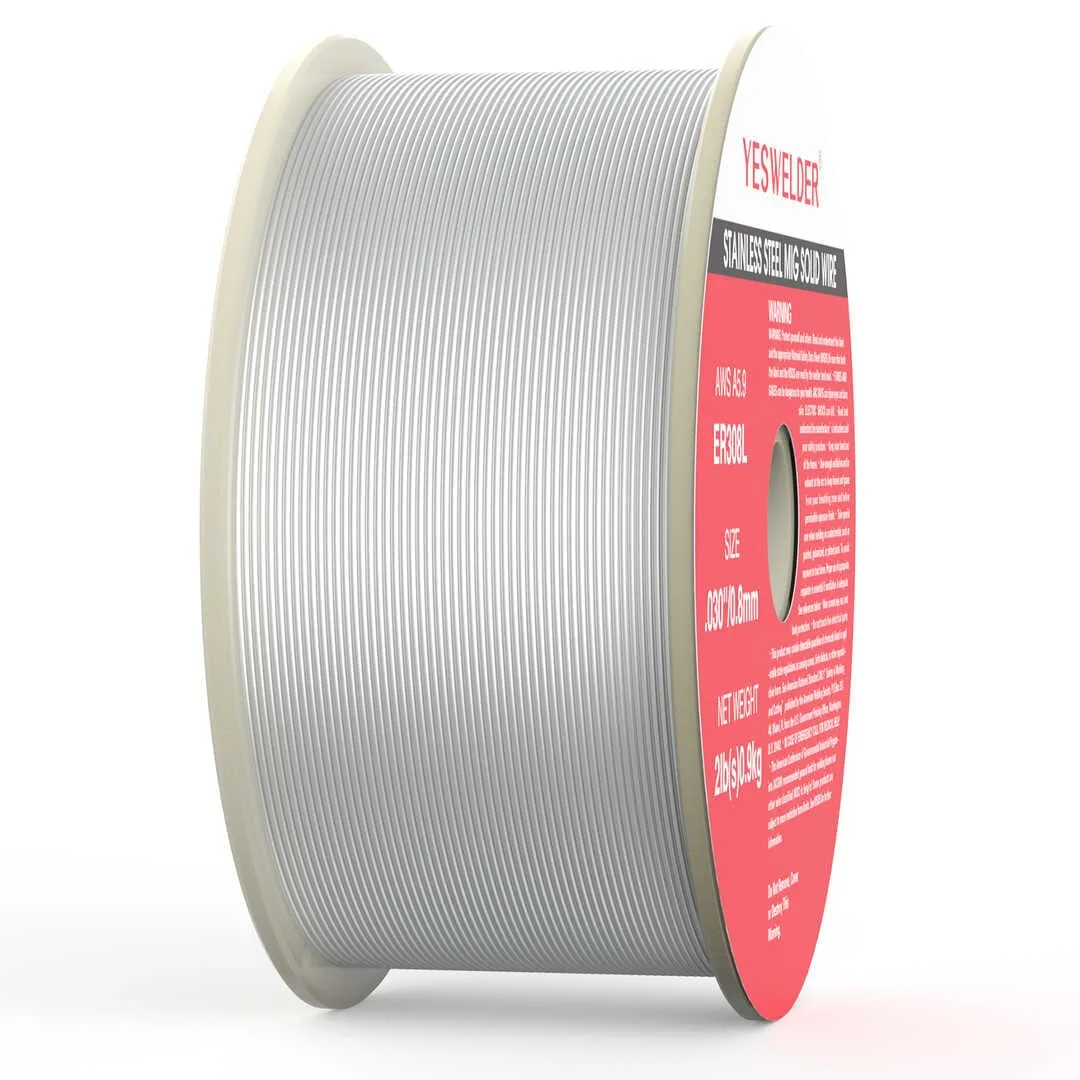
You can't just grab any old spool of wire for stainless steel jobs. Using the wrong filler material will likely result in a weak weld that doesn't hold up or, worse, compromises the stainless properties of your project. For common grades like 304 or 316 stainless, filler wires such as ER308L or ER316L are your go-to choices. The "L" designation signifies a low-carbon content, which helps mitigate the risk of carbide precipitation that can decrease corrosion resistance.
Generally, the aim is to match your filler wire grade to the base metal you're welding.
Shielding Gas: Your Weld's Protective Cloak
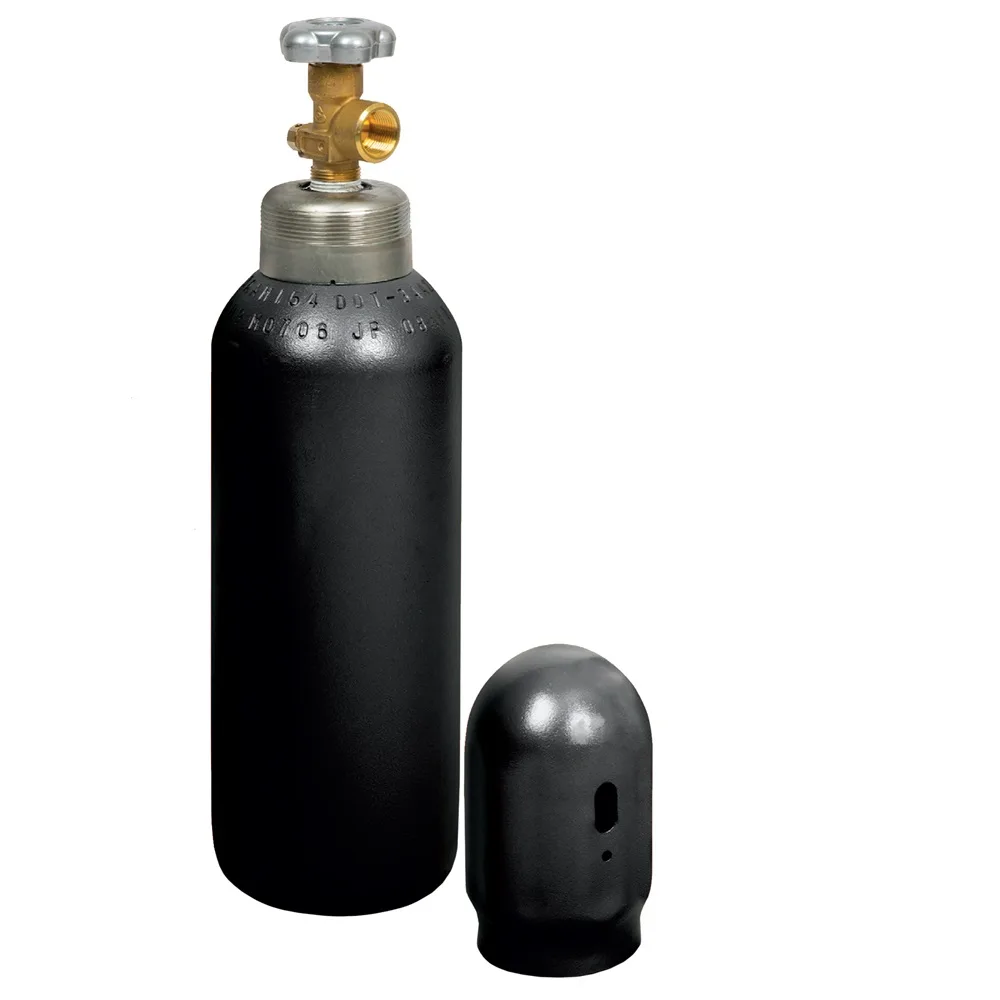
The shielding gas in MIG welding is essential for protecting the molten weld pool from atmospheric contamination. For stainless steel, this is even more critical than for mild steel. Pure argon is often used, particularly on thinner materials, but many applications benefit from specific gas mixtures. A common blend includes argon with a small percentage (typically 2-5%) of carbon dioxide (CO2).
Some specialized mixes might also include oxygen. It's vital to use a gas blend appropriate for stainless steel, as too much CO2 can negatively affect the weld's properties and appearance. A good gas regulator is key here, and you can find resources on selecting the right one at best gas regulator for home.
Fine-Tuning Your MIG Welder for Stainless
Setting Voltage and Wire Speed
When you transition from welding mild steel to stainless, you'll want to adjust your welder's settings. Typically, when working with stainless steel, you'll run your MIG welder at slightly lower voltage and wire feed speeds compared to mild steel of the same thickness. These adjustments help manage the heat input, preventing excessive heat buildup that can cause problems like warping or sensitization. You can find general guidelines in a mig welder settings chart, but remember stainless will usually require a slightly dialed-back approach.
Mastering Travel Speed and Stick-Out
Your pace of welding, or travel speed, plays a crucial role in heat management. Moving too slowly can allow heat to build up excessively, while moving too quickly might lead to an incomplete or poorly formed weld. You'll need to find that sweet spot. Additionally, the 'stick-out', the length of wire extending from your MIG gun's contact tip, can influence the weld's characteristics.
Experimenting with these factors will help you achieve a stable arc and a well-penetrated bead without overheating the stainless steel. For more on calculating wire feed speed, check out how to calculate wire feed speed in mig welding.
The Absolute Musts: Cleaning and Preparation
Keeping Your Stainless Spotless
Before you even think about striking an arc on stainless steel, cleanliness is absolutely non-negotiable. Any residual oil, grease, dirt, or even fingerprint smudges can contaminate the weld, leading to porosity and compromising the stainless steel's corrosion resistance. Using acetone or a dedicated metal cleaner to degrease the area is standard practice.

Don't Cross-Contaminate!
It's also vital to use dedicated tools for stainless steel to avoid cross-contamination from mild steel. This means having a brush that has only been used on stainless steel. If you use a brush that has touched regular carbon steel, you'll transfer carbon particles onto your stainless, which can then rust. This rule applies to any tools that might come into contact with the weld area.
When to Reach for Your MIG Welder for Stainless (And When Not To)
Most welders can use a MIG welder on stainless steel, but knowing when it’s the best tool for the job is key. If you're doing a quick repair on a stainless steel bracket or fabricating a simple exhaust component, MIG can be a fast and effective choice. For projects where pristine cosmetic finish is the absolute top priority, or for very thin stainless sheet metal where extreme heat control is essential, other processes like TIG welding might be preferred. Our analysis of numerous fabrication projects indicates that MIG offers a good balance of speed and quality for many common stainless applications.
Who This Method Works Best For
This method shines for hobbyists and DIYers looking to work with stainless steel without investing in more specialized equipment. It's also great for production environments where speed is a factor. If you're comfortable with basic MIG welding techniques and can pay close attention to consumables and settings, you'll find it manageable. For structural welding on stainless steel, confirming adherence to applicable AWS welding chart guidelines is always recommended.
Common Projects for MIG-Welded Stainless
Many automotive projects benefit from MIG welding stainless steel, especially custom exhaust systems or brackets where durability and corrosion resistance are needed. Stainless steel furniture, railings, and even some kitchen equipment can also be reliably fabricated using MIG. If you're looking to how to mig weld exhaust pipe, MIG is often a practical choice for its efficiency.
Common Mistakes to Sidestep with Stainless
Avoiding Weld Weakness and Warping
One of the most common errors is not managing heat input effectively. This leads to excessive "heat-affected zones" (HAZ), which can weaken the stainless steel and cause significant warping, especially on thinner materials. Another mistake is neglecting proper joint preparation. In our research, incomplete penetration or lack of edge fit-up has been cited as a primary cause of weld failure in stainless steel fabrications.
Preserving That Stainless Shine
A frequent pitfall is contamination, whether from improper cleaning, using the wrong tools, or insufficient shielding gas. This not only affects the weld's integrity but also its appearance. Accidental contact with mild steel can introduce carbon, leading to discoloration or even rust spots later. Ensuring a clean, dedicated workspace and dedicated stainless steel brushes is crucial for maintaining that characteristic stainless luster.
MIG vs. Other Processes for Stainless Steel
When choosing how to join stainless steel, MIG welding (often called Gas Metal Arc Welding or GMAW) is one of several options. TIG welding (Gas Tungsten Arc Welding or GTAW) is another popular method. TIG generally offers superior control, especially on very thin materials, and often results in a cleaner, more aesthetically pleasing finished weld. However, TIG welding is typically slower and requires more skill than MIG.
Stick welding, using Shielded Metal Arc Welding (SMAW), is also possible with stainless steel electrodes. This method can be useful in outdoor or windy conditions where gas shielding might be difficult. For stick welding, charts like the Stick welding amperage chart or welding rod amperage chart can guide your settings, but achieving the same refined finish as TIG or clean as MIG can be challenging.
Your Step-by-Step Guide to MIG Welding Stainless
Following a structured process will greatly improve your chances of success when MIG welding stainless steel. It's not a complicated setup, but each step of the workflow is important to prevent the common issues we've discussed.
Preparation Checklist
- Gather Your Materials: Ensure you have the correct stainless steel filler wire (e.g., ER308L) and the appropriate shielding gas blend (e.g., Argon with 2-5% CO2).
- Clean Thoroughly: Degrease the stainless steel surfaces using acetone or a suitable cleaner. Use a dedicated stainless steel brush to remove any oxides or contaminants.
- Set Up Your Welder: Select the correct polarity for your MIG welder (usually DC electrode positive for stainless steel). Consult your welder's manual or a Mig welder settings guide for recommended voltage and wire feed speed ranges for your specific wire diameter and material thickness.
- Check Gas Flow: Set your gas flow rate. A common starting point is around 20-25 cubic feet per hour (CFH), but this can vary. Ensure your gas bottle valve and regulator are functioning correctly.
The Welding Process Itself
- Establish Your Stance: Position yourself comfortably with a stable grip on the MIG gun. Aim for a consistent torch angle.
- Initiate the Arc: Start the arc by briefly pulling the trigger. Maintain a consistent arc length and travel speed. Watch the weld puddle closely, aiming for a smooth, consistent bead.
- Maintain Shielding: Keep the MIG gun nozzle at the correct distance from the workpiece and ensure the shielding gas is effectively covering the weld pool. Avoid conditions that might disrupt the gas flow, such as drafts.
- Perform the Weld: Move the torch steadily along the joint at a speed that allows for proper fusion and bead formation without overheating the metal. If you're welding longer seams, consider stepping or pausing strategically to manage heat.


