
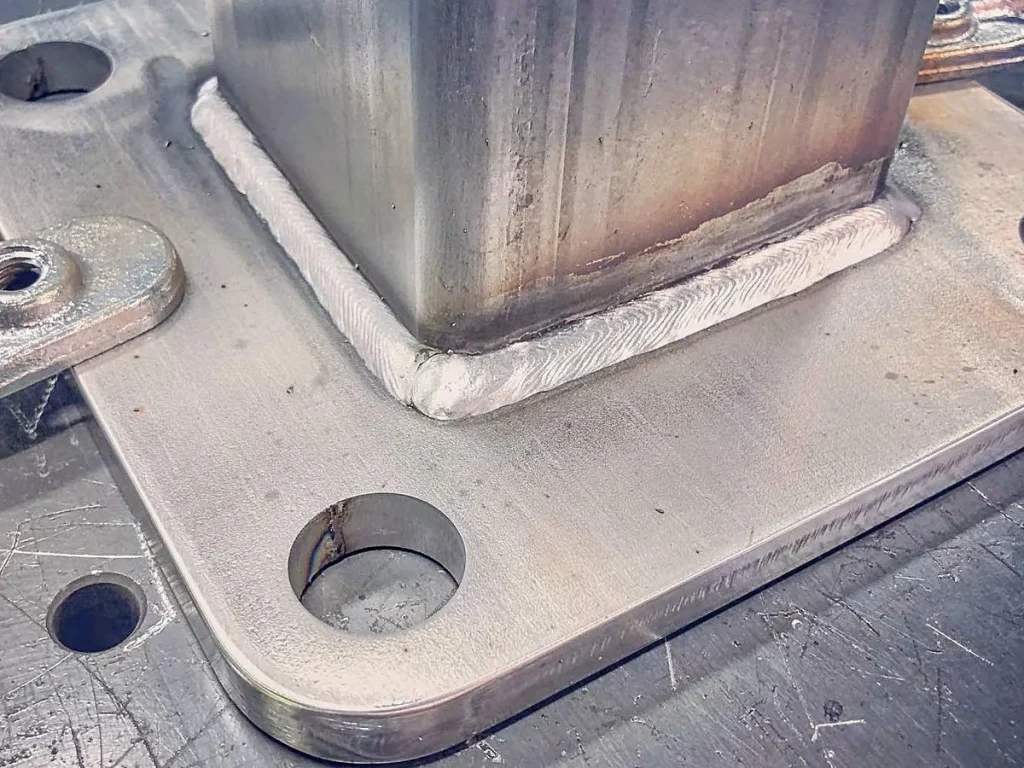
So, you're looking at welding some stainless steel and wondering if your trusty MIG welder can handle the job. The short answer? Yes, absolutely! But, like a lot of things in welding, it's not a simple "set it and forget it" situation. There are a few key things you need to know to get good results.
Think of it like this: you can drive a truck to the grocery store, but you wouldn't use it to parallel park in a tight city spot. You need to know the right gear and the right approach for the job. Manufacturer specifications often detail these nuances, and understanding them is key to successful stainless welding.
Is MIG Welding Stainless Steel the Right Choice for You?
The core question of whether you can weld stainless with a MIG welder really boils down to understanding the specific variables involved. It's not a one-size-fits-all answer, but with the right knowledge and equipment, it's definitely achievable. Our research indicates that when most hobbyists and even some professionals ask this, they're looking for a practical guide that cuts through the jargon and gets straight to what works. It's about making informed choices based on your available tools and the project at hand.
MIG Welding Stainless: It Starts With Your Setup
When you're preparing to MIG weld stainless steel, the first thing to consider is your welding setup. This isn't just about having a MIG welder, but about how you configure it for this specific material. The interplay between your gas, wire, and machine settings is more critical here than it often is with mild steel. For instance, manufacturer specifications for common stainless steel wires, like Lincoln Electric's Ease-Out™ stainless steel wire, emphasize a particular gas blend.
Choosing Your Stainless MIG Wire: Solid vs. Flux-Cored
When you're MIG welding stainless steel, the type of wire you use makes a significant difference.
- Solid Stainless Wire: This is your most common choice for stainless MIG welding. It requires an external shielding gas to protect the weld puddle from atmospheric contamination.
- Flux-Cored Stainless Wire: Some flux-cored wires are designed for MIG welding and can be used in specific setups. These have a flux coating that provides some shielding, but they can deposit more slag and may require different handling than solid wire. For the cleanest, most controlled welds on stainless, solid wire with the correct gas is generally preferred.
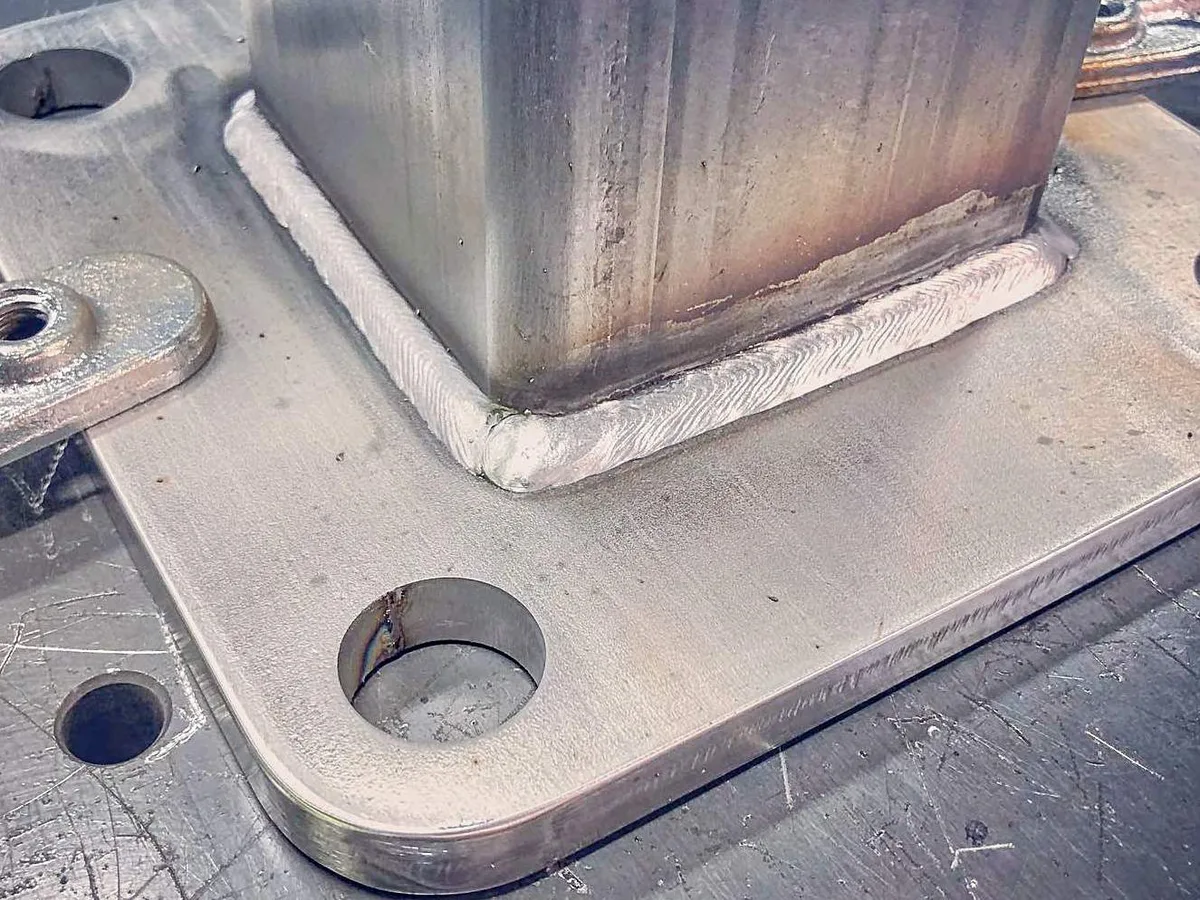
Shielding Gas: The Crucial Ingredient for Stainless MIG
Shielding gas is probably the most critical factor when MIG welding stainless steel, and it's where many go wrong. Using the wrong gas can severely compromise the weld's integrity and corrosion resistance.
- Pure CO2? Not for Stainless: While you might use pure CO2 for mild steel, it's a definite no-go for stainless. It can introduce carbon into the weld, which degrades the stainless properties you're paying for.
- Argon Alone Can Be Tricky: Pure Argon shields the weld, but it can lead to a less stable arc and potential issues like "lack of fusion," where the weld doesn't fully bond to the base metal.
- The Winning Mixes: For most stainless MIG welding with solid wire, you'll want an Argon-based mix with a small percentage of CO2. A common blend is 95% Argon / 5% CO2. Another effective option is 98% Argon / 2% CO2. These mixes provide good arc stability and penetration without the high carbon pickup risk of pure CO2. Some specific applications might use Argon/Oxygen mixes, but Argon/CO2 is the go-to for many general tasks.
Understanding Stainless Steel Types for MIG Welding
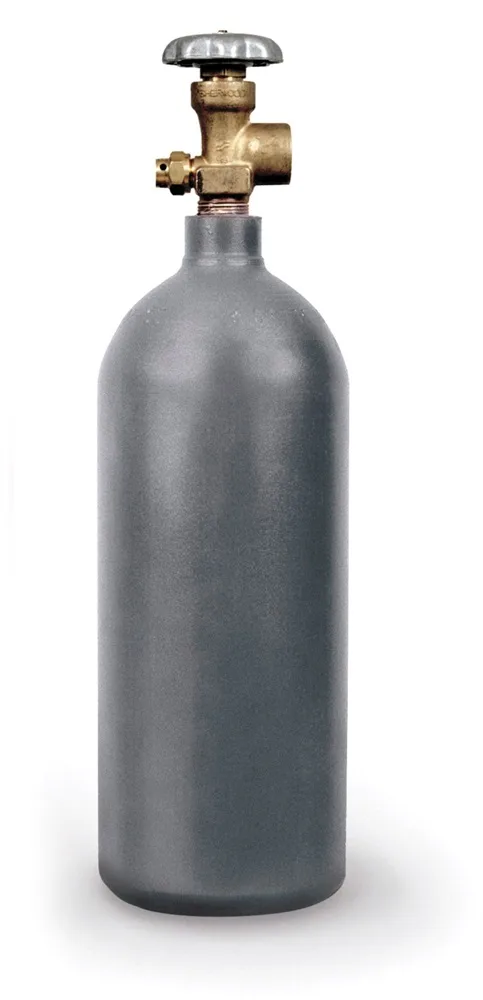
Just like there are different kinds of steel, there are different kinds of stainless steel, and they don't all behave the same way when you hit them with a MIG welder. This is important to know because picking the wrong approach can lead to brittle welds or even cracking.
- 300 Series (Austenitic): This is your workhorse group, including common grades like 304 and 316. Manufacturer data confirms these are generally the easiest to MIG weld, offering good corrosion resistance and ductility after welding. They're forgiving with standard MIG techniques.
- 400 Series (Ferritic/Martensitic): These can be more challenging. Ferritic stainless steels (like 430) might become brittle if rapidly heated and cooled. Martensitic stainless steels (like 410) can harden significantly after welding and are prone to cracking if not preheated and controlled carefully. For most general DIY and repair work, you'll likely encounter the 300 series, but it's good to be aware of the differences.
How to Get Great Stainless MIG Welds: Your Action Plan
So, you've got the green light to use your MIG welder on stainless. Now, let's talk about how to actually get a good, strong, and corrosion-resistant weld. It comes down to a few key habits and a bit of attention to detail. Think of this as your essential checklist before you even strike an arc.
Step 1: Master Stainless Steel Cleanliness
This is arguably the most critical step when working with stainless steel, and it can't be overstated. Stainless steel relies on its chromium content to form a passive oxide layer that prevents corrosion. Any contamination on the surface can disrupt this layer and lead to weld defects or future rust spots, even on stainless.
- Degrease Thoroughly: Use a dedicated solvent cleaner, like acetone or a specialized metal degreaser, to remove any oils, grease, or fingerprints. You want a truly bare, clean surface.
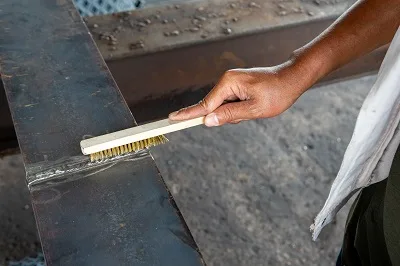
- Brush It Right: Use a stainless steel wire brush for cleaning. Crucially, this brush should only be used on stainless steel. If you use a brush that's seen mild steel, you'll embed small iron particles into the stainless, which can then rust and cause issues.
- Handle with Care: After cleaning, try to handle the metal with gloved hands or clean tools to avoid re-contaminating the surface. This attention to detail prevents problems like porosity and ensures the weld metal retains its corrosion resistance.
Step 2: Dialing In Your MIG Welder Settings
Once your stainless steel is clean, the next big step is setting up your MIG welder. This is where you translate the material's needs into specific machine parameters. There isn't one single setting for all stainless, as it depends heavily on the wire diameter, the thickness of the metal, and the specific gas blend you're using. Manufacturer specifications for their stainless steel wires and welding machines are your best friend here.
For instance, a common 0.030-inch (0.8mm) stainless steel wire might call for a voltage range similar to what you'd find on general welding charts, but the wire feed speed will be finely tuned for stainless.
To get this right, you'll usually adjust two main things:
- Voltage: This controls the arc length and influences the heat input. Too high, and you risk excessive spatter and burn-through. Too low, and you might not get good fusion.
- Wire Feed Speed (WFS): This directly controls how fast the welding wire is fed into the arc. A higher WFS means more amperage, leading to deeper penetration and more heat. It's directly linked to voltage; as you increase one, you often need to adjust the other to maintain a smooth, stable arc. You can find detailed information on how to calculate wire feed speed in MIG welding to help dial this in.
You'll also need to ensure your welder is set up for the correct shielding gas flow rate. A good starting point for most of these mixes is around 20-25 cubic feet per hour (CFH), but this can vary. Always consult your wire manufacturer’s guidelines, as they often provide recommended settings charts. We've found these charts are invaluable for fine-tuning your initial setup.
For more specific advice, check out our guide on MIG welder settings.
Step 3: Proper Wire Stickout and Gun Angle
Beyond the machine settings, how you hold and manipulate the MIG gun matters for stainless steel. Two key elements are wire stickout and gun angle. These have a direct impact on weld quality, especially on materials that are sensitive to heat like stainless.
- Wire Stickout: This is the length of welding wire that extends beyond the contact tip inside your MIG gun's nozzle. For stainless steel, a common recommendation from manufacturers is to keep stickout between 1/2 inch to 3/4 inch (about 10-20mm). Shorter stickout generally means higher amperage, leading to deeper penetration. Longer stickout can lead to a softer arc, more spatter, and less penetration, which is usually not desired for stainless. Stickout also affects your gas coverage; too much can allow the shielding gas to be blown away, leading to contamination.
- Gun Angle: When MIG welding, you'll typically use a "push" technique for stainless steel. This means angling the MIG gun slightly forward in the direction of travel. A slight push angle, usually around 5-10 degrees, helps produce a flatter bead profile and better puddle control compared to a "drag" angle (pulling the gun). It also aids in gas coverage and can minimize spatter. Maintaining a consistent angle and stickout throughout your weld bead is crucial for predictable results.
Step 4: Controlling Heat Input for Stainless Steel
Stainless steel behaves differently than mild steel when it comes to heat. It's not as good at dissipating heat, which means it can get hotter, faster, and stay that way. This is a major pain point and where many welds go wrong. Overheating stainless steel can lead to several problems:
- Warping: Thin stainless steel is very susceptible to distortion from heat.
- Burning Through: The material can become so thin from excessive heat that the weld simply melts through it.
- Loss of Corrosion Resistance: High heat input can alter the microstructure of the stainless steel, especially in the heat-affected zone (HAZ), reducing its ability to resist rust and corrosion. This defeats the main purpose of using stainless steel in the first place.
To combat this, you need to actively manage heat input. This means:
- Use the Lowest Effective Settings: Start with the lowest practical voltage and wire feed speed that still gives you good fusion and a stable arc. Consulting welding charts specific to stainless steel MIG, like those found in comprehensive guides, can provide a baseline.
- Weld in Shorter Intervals: For longer welds, consider welding in short bursts and allowing the metal to cool. This is often called "stitch welding" or pulse welding, if your machine has that capability.
- Use Heat Sinks: For very thin materials, you can place a copper or aluminum heat sink behind the weld joint. This material draws heat away from the area, helping to prevent burn-through.
Step 5: Listen to Your Machine and the Arc
As you're welding, paying attention to the sound and appearance of your MIG arc is like listening to your car engine. It tells you a lot about what's happening at the weld joint. For stainless steel, you're aiming for a specific sound and look.
- The Ideal Sound: A well-tuned stainless MIG arc typically sounds like a consistent, smooth crackle or hiss, similar to bacon frying. If the arc sounds loud, harsh, or pops excessively, your settings are likely off.
- Troubleshooting with Sound:
- Too Loud/Popping: This often indicates voltage is too high, or you have an inconsistent wire feed. Your weld bead might be wide and flat with lots of spatter.
- Too Soft/Weak: This could mean voltage is too low, or your wire speed isn't high enough. You might see less penetration and a narrower bead.
- Visual Cues: Look at the weld puddle. It should be fluid but controllable. A good weld bead on stainless steel with the right settings is typically narrow and slightly convex, with consistent ripples. Excessive spatter clinging to the sides, a wide, pancake-like bead, or signs of the arc "wandering" all suggest you need to fine-tune your settings. Reference resources like manufacturer guides for how to adjust for these characteristics.


