
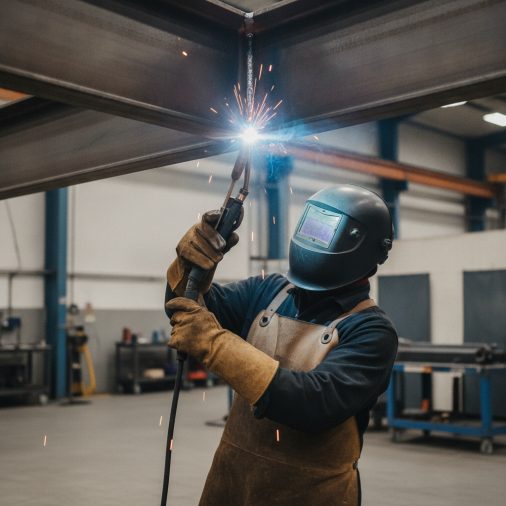
Why Overhead MIG Welding Is Different
Settings to Use Before You Strike an Arc
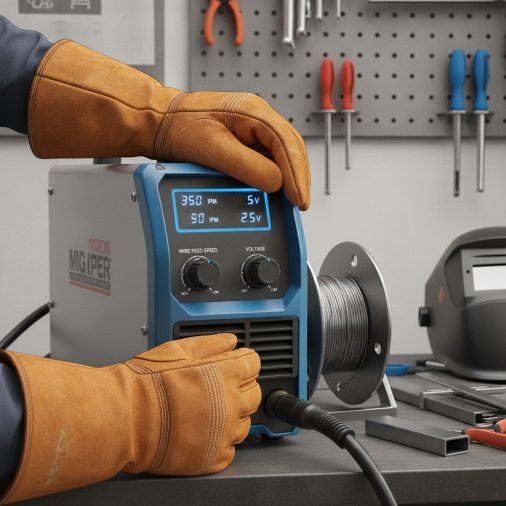
| Setting | Flat Position Baseline | Overhead Adjustment |
|---|---|---|
| — | — | — |
| Voltage | Normal for material | Reduce by 1–2V |
| Wire speed (amperage) | Normal for material | Reduce by 5–10% |
| Gas flow rate | 20–25 CFH | Keep the same |
| Contact-tip-to-work distance | ½ inch typical | Reduce to ⅜ inch |
| Transfer mode | Spray or short-circuit | Short-circuit only |
How to Position Your Body
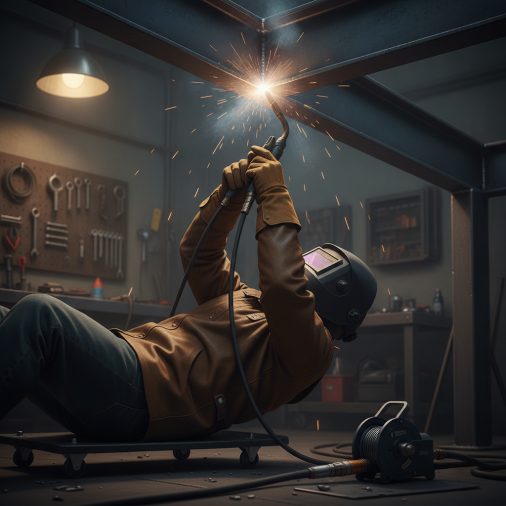
Body position matters more in overhead welding than in almost any other position. Poor posture leads to gun drift, inconsistent travel speed, and arm fatigue that ruins the end of the weld. Practical positioning tips: – Keep your elbows tucked. Extended arms fatigue fast and wobble more. – Brace against something solid when possible. A knee, the frame of the vehicle, or a welding cart gives you stability. – Position yourself so travel direction goes with your stronger arm movement. Don’t reach across your body. – Tilt your head slightly to see the puddle without putting your face directly in the spatter path. Use a full auto-darkening helmet — fixed shade helmets make overhead positioning harder because you can’t see the joint clearly before striking the arc. Many welders find the Lincoln Electric Viking 3350 auto-darkening helmet useful for overhead work specifically because of its wide viewing area and 4-sensor arc detection, which helps when the arc is starting at an awkward angle.Step-by-Step: MIG Welding Overhead
1. Prepare the joint. Clean the base metal thoroughly. Any mill scale, rust, or contamination causes porosity, and porosity is harder to see and fix on an overhead weld. Grind or wire-brush the joint area. 2. Set your machine lower than flat position. Reduce voltage by 1–2V and drop wire speed slightly. Test on scrap metal in the same overhead position before welding the actual joint. 3. Adjust your contact-tip-to-work distance. Get closer than you would flat — around ⅜ inch. A shorter stickout gives you a crisper, more controlled arc with less tendency to wander. 4. Set your gun angle. For most overhead beads, hold the gun perpendicular to the joint or with a slight drag angle (5–10 degrees trailing). Avoid a steep push angle — it reduces penetration and makes the puddle harder to control. 5. Position your body and brace yourself. Get comfortable before you start. Changing position mid-weld breaks the puddle continuity and creates cold laps or stops that weaken the joint. 6. Strike the arc and move immediately. Don’t dwell at the start. Begin moving within half a second of striking. Dwelling builds up excessive heat and creates a sagging puddle immediately. 7. Watch the leading edge of the puddle, not the wire. The puddle tells you everything. If it starts to sag or look round and fluid, speed up slightly or reduce voltage. 8. Travel at a consistent, slightly faster pace than flat welding. Faster travel keeps the puddle smaller and cooler. Most welders naturally move too slow overhead because they’re uncomfortable — resist that instinct. 9. Finish cleanly. At the end of the weld, move slightly faster and then hold the trigger a moment after releasing to let the wire burn back. A clean crater at the finish reduces cracking risk.Gun Angle and Travel Direction
The push vs. pull debate matters here. Whether you push or pull the MIG gun affects penetration and bead profile — and overhead welding has its own preference. A slight drag (pull) angle of 5–15 degrees is generally more controllable overhead. It directs the arc force slightly into the puddle rather than pushing it ahead, which helps with fusion without flooding the joint with excess molten metal. A true perpendicular angle (90 degrees to the work) also works well for thin material or short beads where you need maximum puddle visibility. Avoid pushing too aggressively overhead. A steep push angle adds heat and creates a fluid puddle that’s much harder to control against gravity.Common Overhead Welding Problems and Fixes
Problem: Puddle sagging or dripping – Cause: Heat input too high, travel too slow – Fix: Increase travel speed, reduce voltage by 1V, check wire speed Problem: Porosity (small holes in the finished weld) – Cause: Contaminated base metal, gas coverage lost due to drafts, excessive stickout – Fix: Clean the joint thoroughly, check gas flow rate, shorten contact-tip-to-work distance, shield the work area from air movement Problem: Poor fusion at toes of the weld – Cause: Travel speed too fast, arc not directed at the joint edges – Fix: Slow down slightly and use a gentle side-to-side weave to push the puddle into both sides of the joint Problem: Excessive spatter – Cause: Voltage too low relative to wire speed, or using too much CO₂ – Fix: Balance voltage to wire speed, switch to a 75/25 argon/CO₂ mix if using pure CO₂ Problem: Weld bead looks convex and ropy – Cause: Travel too fast or amperage too low – Fix: Reduce travel speed slightly, increase wire speed (amperage) in small increments Knowing what a properly formed MIG weld bead looks like is the best reference point when diagnosing overhead problems. A good overhead bead should be flat to slightly convex, consistent in width, and free of undercut at the toes.Weaving vs. Straight Beads Overhead
For most overhead joints, a straight stringer bead is safer and easier to control than a weave. Stringers keep the puddle smaller and reduce heat buildup. Weave beads are sometimes used on wider joints or multi-pass fills, but the technique requires tight control. If you weave, keep the oscillation narrow — no more than 2–3 wire diameters wide — and pause briefly at each toe to ensure fusion without flooding. For overhead fillet welds on thicker material, multiple stringer passes are almost always more reliable than a single wide weave pass.Safety When Welding Upside Down
Overhead welding puts you directly below spatter, sparks, and hot metal. This position carries more burn risk than any other welding position. Safety checklist for overhead MIG work: – Wear a leather welding jacket or at minimum a flame-resistant long-sleeve shirt — no synthetics – Use leather gloves rated for welding – Protect your neck with a welding bib or collar – Wear leather boots, not synthetic footwear – Auto-darkening helmet is strongly recommended — trying to position under work with a fixed shade helmet is dangerous – Set up spatter protection for anything below the weld that you don’t want hit — cardboard and leather blankets work well The Tillman 9230 leather welding jacket is commonly used for overhead work because full leather coverage handles sustained overhead spatter better than lighter FR cotton options.FAQ
Can you MIG weld overhead with flux-core wire? Yes, and in some cases flux-core is actually easier overhead because it doesn’t require external shielding gas, which can be disrupted by air movement under a vehicle. Use a gasless flux-core wire designed for out-of-position welding — many standard flux-core wires specify this. Keep settings on the lower end and expect more spatter than with solid wire and gas. What’s the best wire diameter for overhead MIG welding? 0.030-inch wire is generally better for overhead work than 0.035-inch on most mild steel applications. The smaller diameter produces a lower heat input at the same wire speed settings, which gives you a smaller, more controllable puddle. On thicker material requiring higher deposition, 0.035-inch can work with careful setting adjustments. Why does my overhead weld keep cracking at the crater? Crater cracking happens when the weld pool shrinks too quickly at the end of the pass. Overhead welding accelerates cooling because the puddle is smaller and thinner. Fix it by using your machine’s crater fill function if available, or manually slow your trigger release to let the arc linger at the finish and fill the crater before stopping completely. How do I practice overhead MIG welding safely? Build a simple overhead welding fixture using angle iron or clamps to hold scrap steel above a welding table. Practice on flat plate first in the overhead position before attempting joints. Running straight stringer beads on flat plate overhead gives you good puddle control feedback without the joint complexity. Wear full leather gear even during practice — the position is the same regardless of whether it’s a test piece. Is overhead MIG welding harder than vertical welding? Most welders find overhead MIG harder than vertical because you have less gravity assistance and no natural “shelving” effect for the puddle. Vertical MIG welding allows the puddle to shelf against cooler metal below it, which helps control. Overhead removes that advantage entirely and adds physical discomfort from the awkward position. Does electrode stick-out really matter overhead? Significantly. A longer stickout increases resistance in the wire, which raises heat without a corresponding arc force improvement — bad news when you’re trying to keep the puddle cool and controlled. Keeping stickout short (⅜ inch or less) gives you a crisper, more focused arc that freezes faster. This is one of the most commonly overlooked adjustments when moving from flat to overhead position. Can you weld thin sheet metal in the overhead position? Yes, but it’s considerably more difficult. Thin material is prone to burn-through even in the flat position, and overhead the reduced control makes managing heat harder. Use 0.023-inch or 0.030-inch wire, reduce settings below what you’d use flat, and consider tack welding in a series of short beads with cool-down time rather than one continuous pass. MIG welding thin sheet metal already demands precise heat management — overhead adds another layer of difficulty to that.Overhead MIG welding is manageable once you accept that the settings and pace that work flat won’t work here. Lower heat, shorter stickout, short-circuit transfer, and steady movement are the fundamentals that every successful overhead pass depends on. Practice on scrap in the actual overhead position before committing to structural work — what feels comfortable flat feels completely different when you’re looking up at the puddle.


