
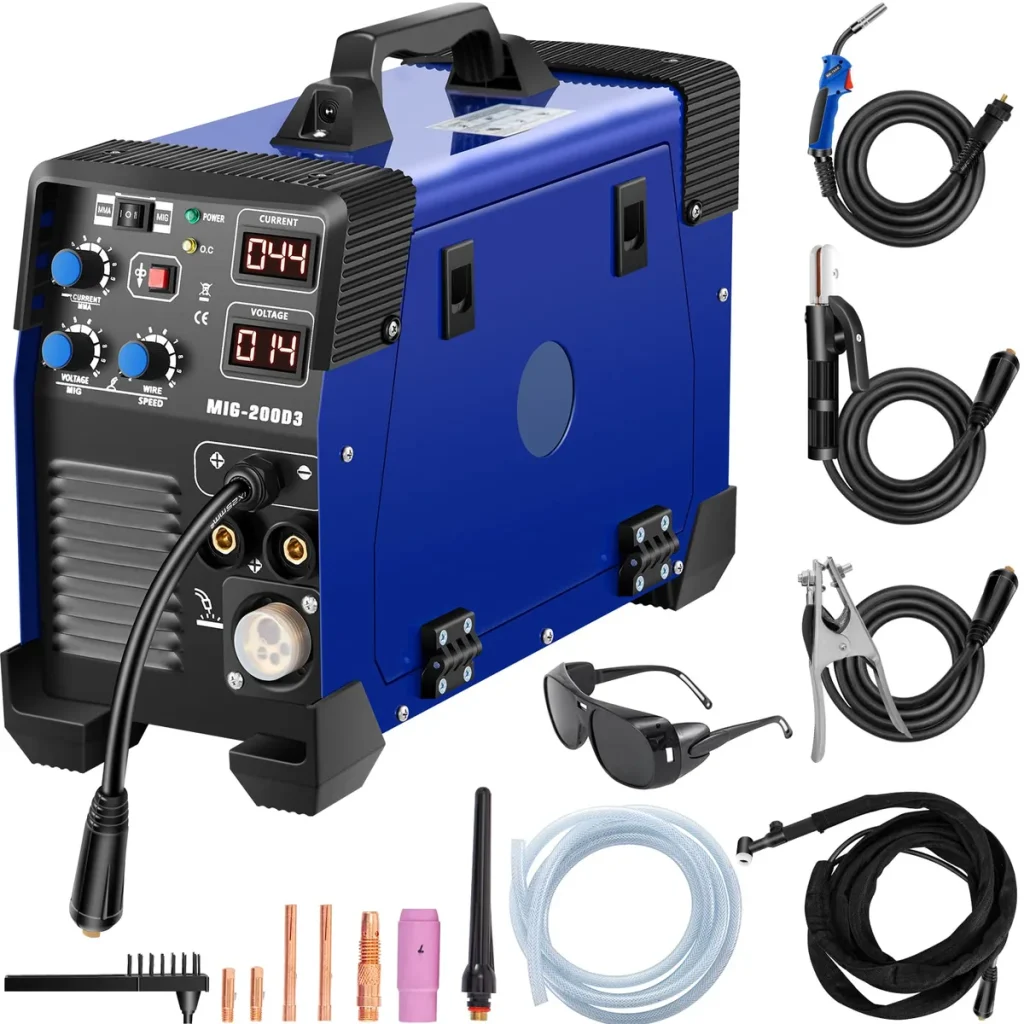
Deciding how many amps does a MIG welder need isn't a one-size-fits-all answer; it's about matching your machine's output to the specific job at hand. Get it wrong, and you'll be dealing with anything from frustrating weld defects to dangerous equipment issues.
Manufacturer specifications, for example, often detail recommended amperage ranges for different materials and thicknesses to ensure optimal performance and safety. Understanding these parameters is key to achieving strong, clean welds every time and avoiding common pitfalls.
Amps: The Heartbeat of Your MIG Weld
Think of amperage as the heat your MIG welder puts out. It's the electrical current that melts the welding wire and the base metal, creating that fusion we call a weld. The amount of amperage you use directly controls how hot your weld puddle gets and how deeply it penetrates the metal.
Too little amperage, and your weld might not fuse the pieces together properly, leading to a weak joint. Too much, and you risk burning through thin materials or creating a weld that's too wide and shallow. As of 2026, most common MIG welding tasks fall within a range of roughly 30 to 180 amps, but this can vary significantly based on the machine's capabilities and the specific application.
Your Project Dictates the Amps: Key Questions to Ask Yourself
Before you even think about twisting a dial, you need to consider what you're trying to accomplish. The amperage your MIG welder needs isn't a static number; it's a variable that changes based on several factors. Answering these core questions will put you on the right track.
What Are You Welding? (Material Type & Thickness)
This is by far the most crucial question. Different metals and varying thicknesses require different amounts of heat, and therefore, different amperage settings. Welding thin sheet metal, like you'd find on a car door, needs much less heat than joining two thick pieces of steel for a trailer frame. Our research indicates that commonly welded materials include mild steel, stainless steel, and aluminum, each with its own heat requirements.
What's Your Power Source? (Voltage Considerations)
While amperage is the heat, voltage is what controls the electrical arc. These two are closely related; you can't just crank up the amps without considering the voltage. Most consumer-grade MIG welders run on standard household power (110-120V) or a dedicated 220-240V circuit. A 110V welder will naturally have a lower maximum amperage output compared to a 220V machine, limiting the thickness of metal you can effectively weld.
Manufacturer specifications confirm that higher input voltage generally allows for higher output amperage and better performance on thicker materials. For instance, a typical 110V MIG might top out around 130 amps, suitable for up to about 3/16-inch steel, while a 220V machine could easily reach 200+ amps for considerably thicker stock.
Matching Amps to Material: A Practical Guide
Knowing the general principles is one thing, but let's get specific. Here’s a breakdown of typical amperage ranges for common welding scenarios. Remember, these are starting points, and fine-tuning with wire speed and travel technique is always necessary.
Amps for Thin Steel (DIY & Auto Body)
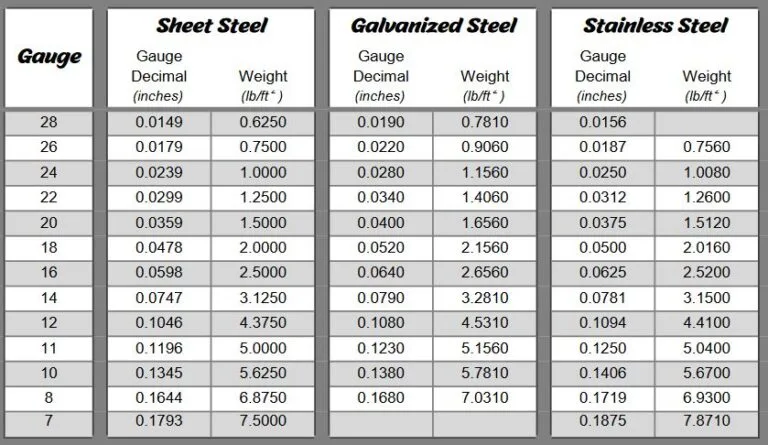
For materials roughly 18 gauge (around 1/16 inch or 1.6mm) down to the thinnest auto body panels (around 22 gauge or 0.030 inches, or 0.76mm), you'll need a gentle heat. Excessive amperage will quickly burn through these thin sheets.
- General Range: 30-70 Amps
- Typical Material Thickness: Thicker end of this range for 18-20 gauge steel, lower end for 22-24 gauge.
- Considerations: You'll be working with smaller wire diameters (like 0.023" or 0.030") and need precise control. This is where achieving a smooth bead becomes critical, and settings like those recommended for how to mig weld auto body panels are vital.
Amps for Medium Steel (Fabrication & Repair)
When you move up to thicker steel, like that used in fabricating brackets, repairing equipment, or general workshop projects (around 1/8 inch to 1/4 inch, or 3.2mm to 6.4mm), you'll need more power. This is where many entry-level to mid-range 110-120V welders and smaller 220V units shine, offering a good balance for these common tasks.
- General Range: 70-120 Amps
- Typical Material Thickness: 1/8 inch to 3/16 inch.
- Considerations: Here you might start using 0.030" or 0.035" wire. Proper joint preparation, like beveling thicker pieces, becomes more important to ensure full penetration.
Amps for Thick Steel (Heavy Duty)
For anything significantly thicker than 1/4 inch (6.4mm), you'll definitely need a welder with a higher amperage output, typically a 220-240V machine. This is for welding structural components, heavy equipment frames, or thick trailer parts where deep penetration is paramount.
- General Range: 120-180+ Amps
- Typical Material Thickness: 1/4 inch up to 1/2 inch (12.7mm) and beyond, depending on welder capacity.
- Considerations: Thicker wire diameters (like 0.035" or 0.045") are common here. You'll also need to consider techniques like multi-pass welding to build up sufficient material and strength. For a deeper dive into related settings, check out our guide on mig welder settings.
Beyond Amps: Other Settings That Matter
While amperage is king when it comes to heat, it doesn't work in isolation. Your MIG welder has other controls that are just as critical for producing quality welds, and they all interact with your amperage setting to create the perfect weld puddle.
Wire Speed: The Other Half of the Equation
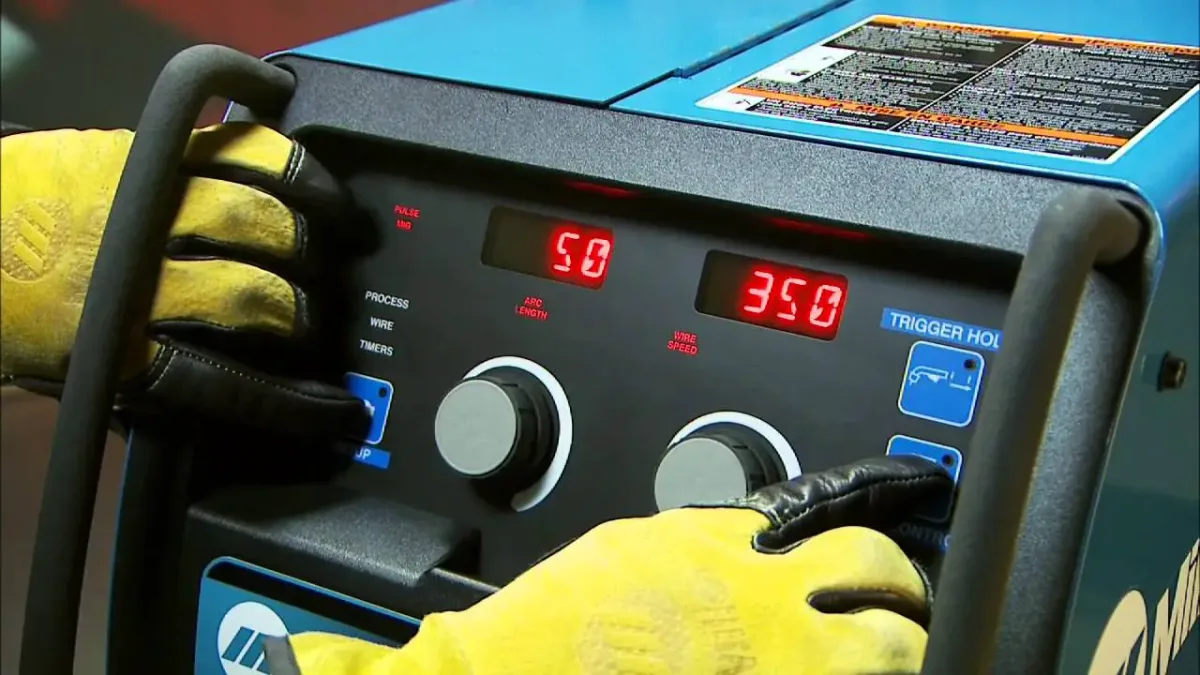
Wire speed controls how fast the welding wire feeds from the gun into the weld puddle. It's directly related to amperage. When you increase amperage, you generally need to increase wire speed to match the increased metal deposition rate. Most modern MIG welders couple these two controls, so turning up the amperage might automatically adjust wire speed, or you might need to set them independently.
Our research shows that finding the right balance between amperage and wire feed speed is key to a stable arc and good weld bead formation. You can learn more about the intricacies of this relationship in our guide on how to calculate wire feed speed in mig welding.
Voltage: Fine-Tuning Your Arc
Voltage determines the length and stability of the electrical arc between the wire and the workpiece. It influences bead width and overall weld appearance. Typically, for a given amperage and wire speed, a higher voltage creates a wider, flatter bead with more spatter, while a lower voltage results in a narrower, more convex bead. As a general rule, higher voltage settings are often paired with higher amperage settings for thicker materials, and lower voltages with lower amperages for thinner ones.
This interdependent relationship is why simply knowing "how many amps" isn't the whole story; it’s about the combination of voltage, amperage, and wire speed that creates the ideal weld.
Amperage Burn-through Blues (Too Much Amps)
One of the most common and frustrating mistakes beginners make with MIG welding is setting the amperage too high for the material they're working with. When this happens, the heat from the arc literally melts a hole through the metal before you can even form a proper weld. This is called burn-through, and it's a sure sign that your amperage setting is way off.
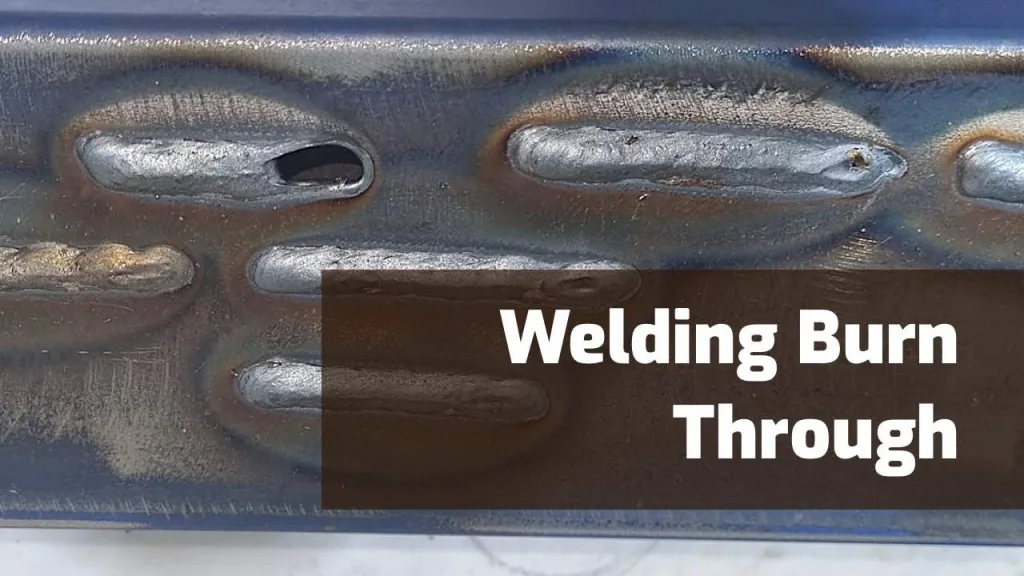
For example, trying to weld 20-gauge steel (about 0.035 inch or 0.9mm thick) with settings designed for 1/4-inch steel would almost guarantee a burn-through. You'd see the metal sag, warp significantly, and then create a hole. This defect is difficult to repair and often requires patching or starting over.
Common Amperage Mistakes (And How to Sidestep Them)
Beyond burn-through, misjudging your amperage can lead to a range of other welding problems. Getting the settings right is a process of informed trial and error, but understanding what not to do is half the battle. Knowing these pitfalls will save you time, frustration, and materials.
Lazy Welds (Not Enough Amps)
The opposite of burn-through is insufficient penetration, often caused by using too little amperage. If the heat isn't high enough, the weld puddle won't fully fuse the base metal, resulting in a weak joint that might look like it's welded but can easily pull apart. This is sometimes called "lack of fusion" or an "unfused weld."
This often happens when trying to weld thicker materials with a machine that's underpowered for the job, or when simply dialing down the amperage too much. You might see a bead that sits on top of the metal rather than sinking into it. For structural applications, this is a serious safety hazard.
Spatter City (Incorrect Settings)
Excessive spatter, those little molten metal droplets that fly off the weld, isn't just messy; it's often an indicator of incorrect settings, including amperage and voltage. While some minor spatter is normal with certain MIG processes, large amounts usually point to an unstable arc. This can be caused by too high voltage for the amperage, incorrect wire speed, or even the wrong type of shielding gas.
Large spatter buildup not only makes for a messy workpiece that requires a lot of cleanup, but it can also indicate inconsistent heat input, potentially leading to porosity (tiny gas pockets) within the weld itself. Achieving a clean, low-spatter weld is a hallmark of good technique and correct machine settings.
Choosing Your MIG Welder: Amperage Capacity Matters
When you're looking to buy a MIG welder, its amperage capacity is one of the most important specs to consider. This number tells you the maximum output the machine can deliver, and it's your primary indicator of what thickness of material it can effectively weld. For hobbyist use at home, a 110-120V welder with an amperage capacity in the range of 100-140 amps is often sufficient for projects up to about 3/16 inch steel.
However, if your work frequently involves thicker materials, like 1/4 inch or more, you'll need a welder with a higher amperage output, typically found in 220-240V units. These machines can often deliver 180 amps or more, allowing for deeper penetration and faster welding on heavier stock. It’s wise to choose a welder with a bit more capacity than you think you'll immediately need, offering some headroom for future projects. For example, exploring a best budget 220v mig welder might be a good step if you anticipate heavier work.
Pro Tips for Dialing in Your Amperage
Beyond the general guidelines, several professional techniques can help you nail the right amperage setting. One of the most effective is using a welding chart specific to your machine or the type of wire you're running. Many manufacturer manuals include recommended settings charts, and there are also general charts available, such as those you might find for aws welding chart applications. These charts often list material type, thickness, wire diameter, and recommended amperage and voltage settings.
Another critical tip is to always perform test welds on scrap pieces of the same material you'll be using for your actual project. This allows you to fine-tune your settings without risking your main workpiece. Pay close attention to the weld puddle, it should be fluid but not runny, and the arc should sound smooth and consistent, not crackly or sputtering. Observing the bead's penetration and appearance on your test welds will tell you if you need to adjust amperage up or down.


