
Setting up a MIG welder for aluminum can feel like a puzzle at first, but once you understand the key differences from steel, it’s quite manageable. Getting this dialed in means the difference between smooth, clean welds and a frustratingly sticky wire feed. Mastering how to set up a MIG welder for aluminum ensures you're not fighting your equipment.
Our research shows that precise adjustments to drive rollers, liners, and gas flow are critical for success with this softer metal. Aggregated user feedback from welding forums indicates that skipping these steps is a primary reason for initial difficulties for newcomers. Let’s get your machine ready for aluminum.
Why Setting Up MIG for Aluminum is Different
Aluminum is a fantastic material for many projects, but it certainly doesn't behave like steel when you’re welding. The most obvious difference is its melting point; aluminum melts at a significantly lower temperature. You'll find it's also much softer and more prone to overheating, which can lead to burn-through or a sticky wire feed mess.
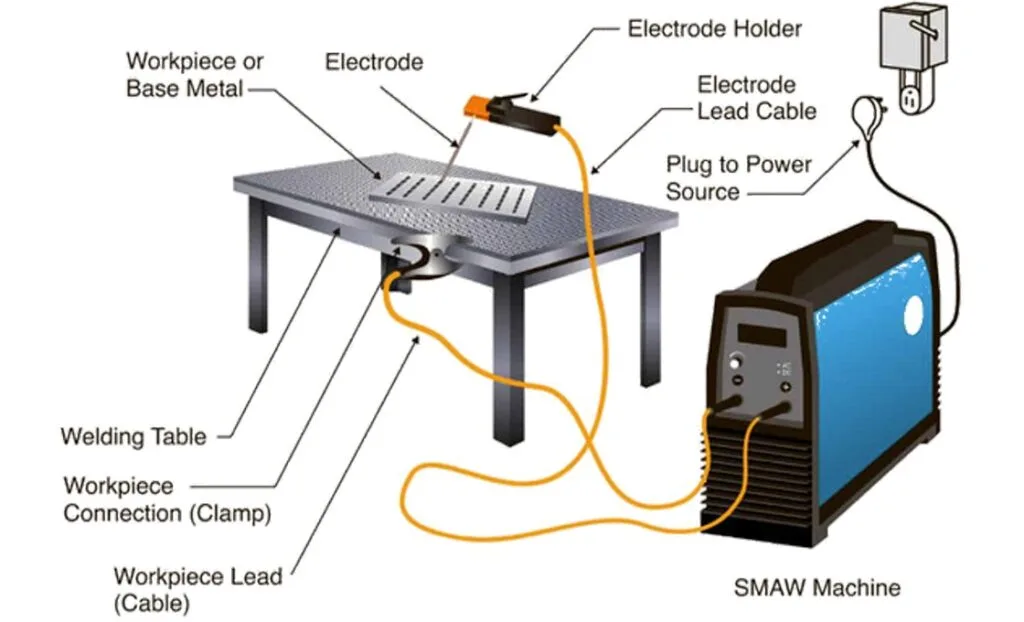
Image source: Bing (Web (fair-use with source credit))
Aluminum also oxidizes incredibly fast, forming a dull, powdery layer on its surface. This oxide layer has a much higher melting point than the aluminum itself and can get caught in your weld, creating porosity and weakening the joint. Addressing these unique properties is why a standard steel setup won't cut it for aluminum.
Essential Gear for Aluminum MIG Welding
To tackle aluminum correctly with a MIG welder, you need a few specific components that differ from those used for steel. These aren't just minor upgrades; they are essential for reliable operation and quality welds. Manufacturer specifications consistently highlight these key differences for optimal performance.
The Right Wire, Rollers, and Liner
Using the correct consumables is paramount. For aluminum, you absolutely must use wire specifically designed for it, most commonly 4043 or 5356 alloys. These are softer and more ductile than steel wire.
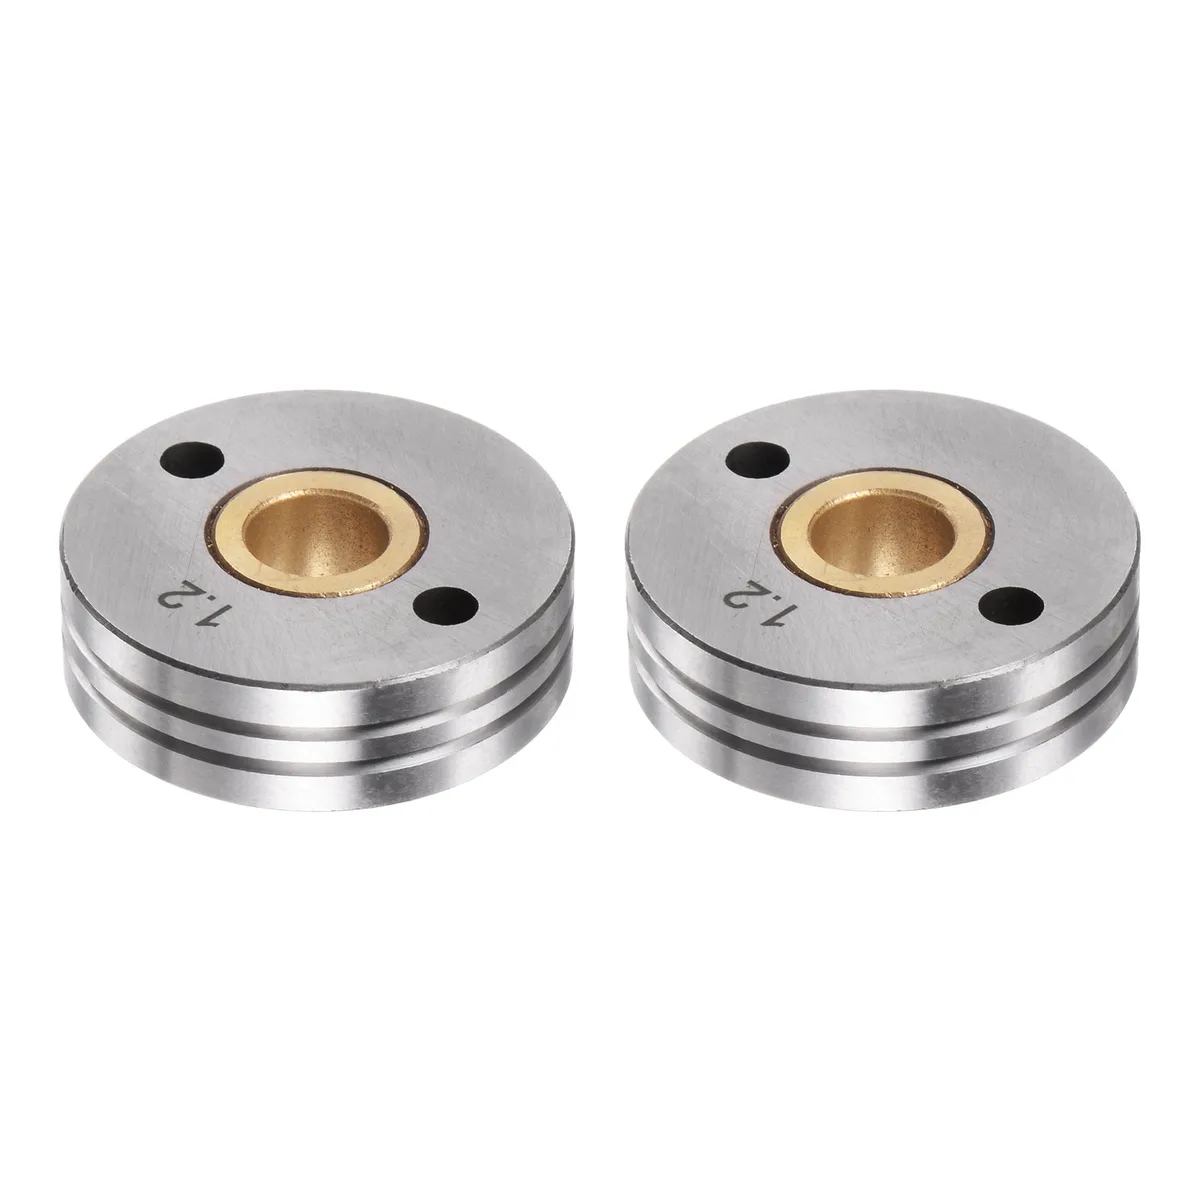
Image source: Bing (Web (fair-use with source credit))
Your MIG machine needs specific drive rollers and a liner to handle this soft wire. Instead of the V-shaped rollers for steel, you’ll need U-groove rollers that match your wire diameter precisely. These grip the wire without crushing it. The steel liner inside your MIG gun also needs to be replaced with a slicker Teflon or nylon liner.
This reduces friction, preventing the aluminum wire from snagging and causing feed issues.
Gas and Contact Tips
While steel often uses a 75% Argon / 25% CO2 mix, aluminum welding requires 100% Argon gas. The CO2 in other mixes can react negatively with molten aluminum, leading to weld defects. Per welding industry standards, 100% Argon is the recommended shielding gas for most aluminum MIG applications.
Your contact tip also needs attention. Aluminum wire is often a slightly different diameter than steel wire, and using a tip designed for aluminum ensures solid electrical contact and a stable arc. A poor connection here can lead to spatter and an inconsistent weld puddle.
Step-by-Step: Dialing In Your MIG Welder for Aluminum
Getting your MIG welder ready for aluminum involves a systematic swap of key components. This isn't a difficult process, but it requires attention to detail. Following these steps ensures the machine is properly configured before you attempt to weld.
Swapping Drive Rollers and Liner
First, open up your wire feeder. You'll typically see knobs holding the drive rollers in place. Loosen these and swap out your V-groove rollers for the U-groove ones that match your aluminum wire diameter. Then, locate where your MIG gun cable connects to the welder.
You'll need to disconnect the gun and pull out the old steel liner from the cable.
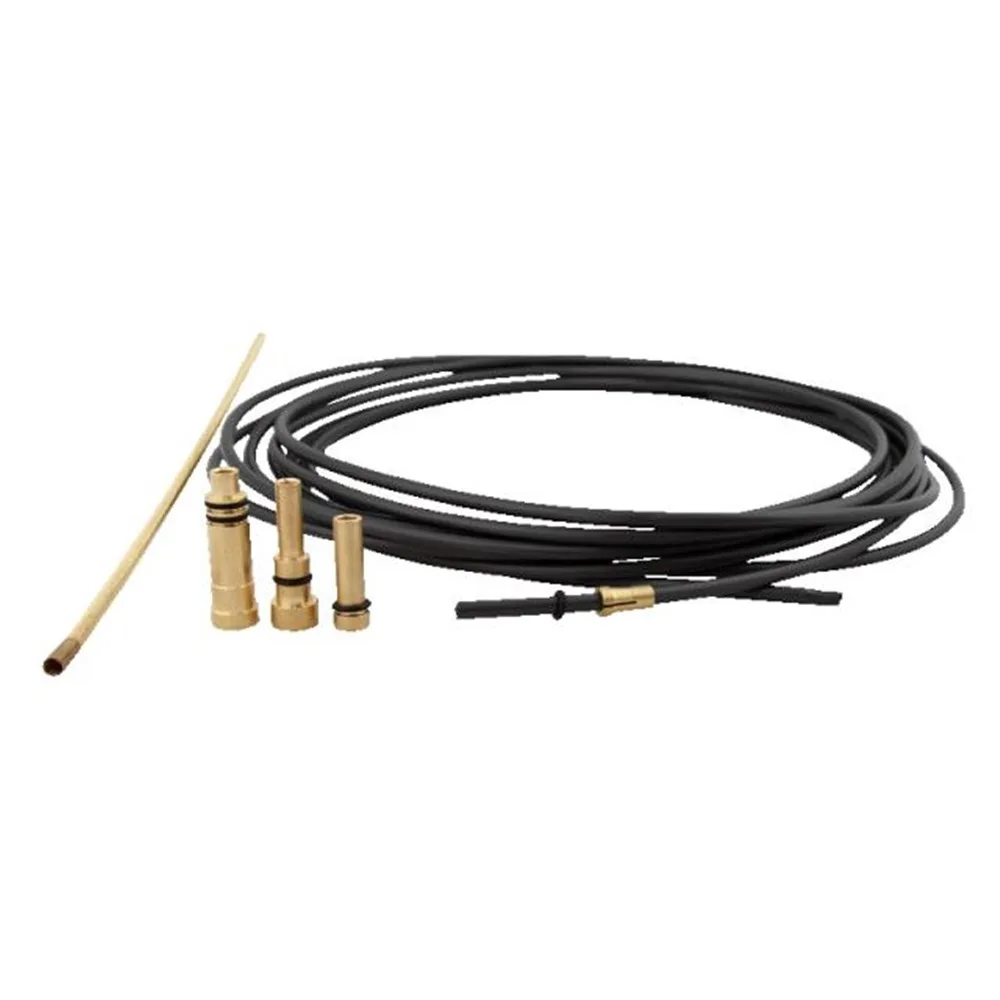
Image source: Bing (Web (fair-use with source credit))
Feed your new Teflon or nylon liner all the way through the gun cable from the connection end until it emerges from the gun's nozzle. Ensure it’s not kinked, as a bent liner will cause feeding problems just like a steel one.
Loading the Wire and Setting Tension
With the new components in place, it’s time to load the aluminum wire spool. Mount the spool and feed the wire through the U-groove drive rollers. Start with the tension adjustment knob barely snug. You want just enough pressure to grip the wire and prevent it from slipping, but not so much that you crush the soft aluminum.
A good test is to gently push the wire toward the gun. If it bends or compresses rather than feeding, the tension is too high. If it slips easily, it's too low. We want a smooth, consistent feed.
Connecting Gas and Setting Flow Rate
Next, connect your bottled 100% Argon shielding gas to the regulator on your welder. Open the cylinder valve. For aluminum, a higher gas flow rate is typically needed to properly shield the weld puddle from atmospheric contamination. Manufacturer specifications often recommend a flow rate between 25 and 30 cubic feet per hour (CFH).
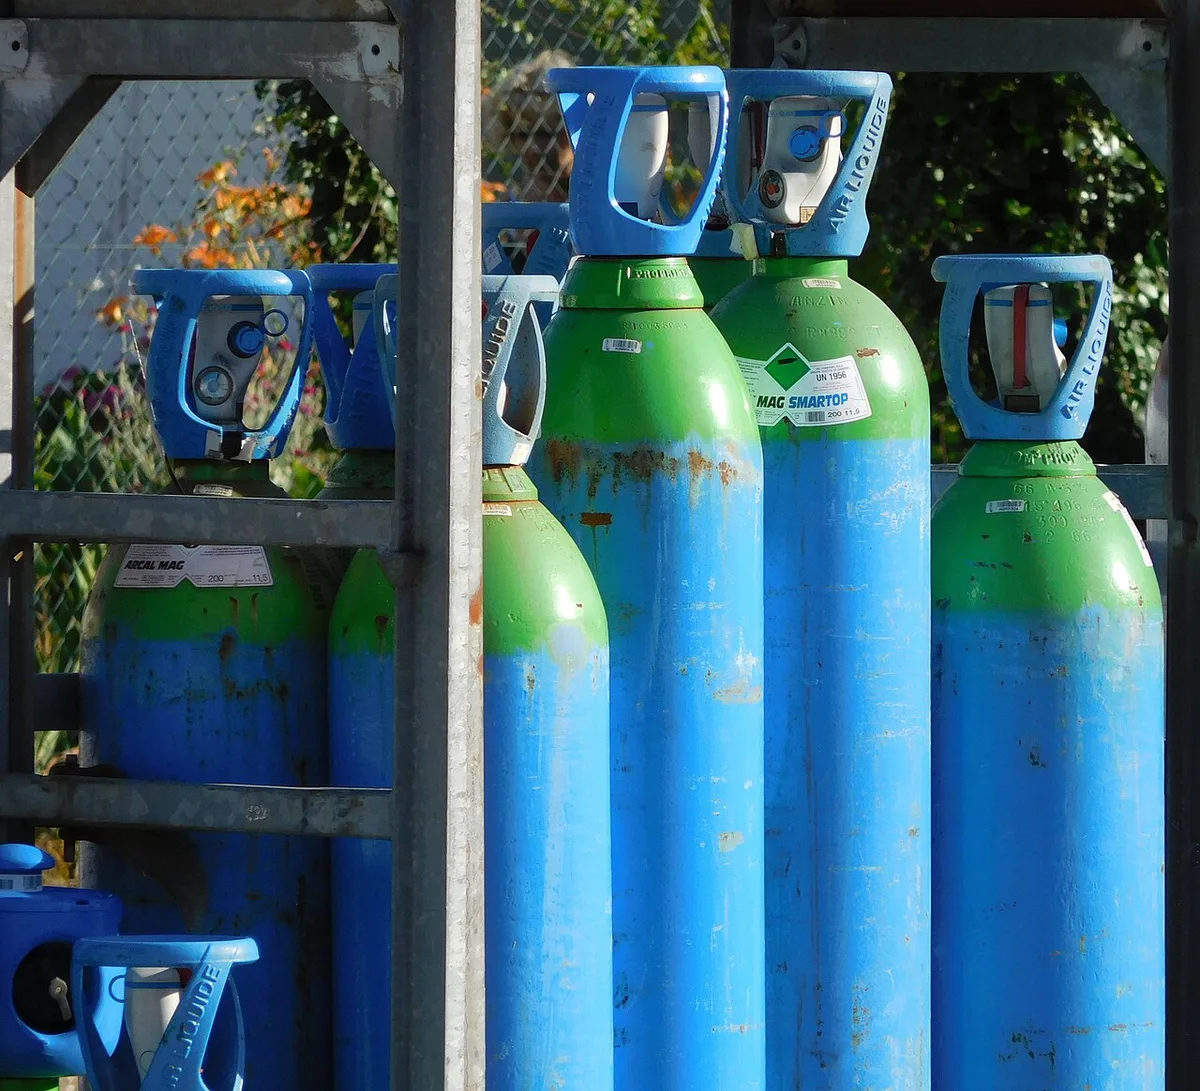
Image source: Wikimedia Commons / Cjp24 (CC BY-SA)
You can listen for a steady "hiss" when you briefly trigger the gun's gas flow to ensure it’s properly connected and flowing at your set rate. A good, consistent gas flow is critical to prevent weld porosity.
Initial Welder Parameter Settings (Voltage & Wire Speed)
Setting your voltage and wire speed depends heavily on the thickness of the aluminum and your specific welder model. Your welder's manual will have charts that provide starting points, which is a proven method for setting up. As of 2026, these charts remain the industry standard for initial parameter selection.
For instance, thicker aluminum will require higher settings than thinner material. A common starting point for 1/8-inch aluminum might be around 19 volts and a wire speed of 300 inches per minute (IPM), but always refer to your machine's recommendations. You'll adjust these to fine-tune your arc after these initial settings.
What to Listen and Look For During Setup
Beyond just fitting the parts, your senses are your best diagnostic tools during setup and initial testing. Pay close attention to both auditory and visual cues. A consistent sound and a clean-looking arc are indicators that your setup is on the right track.
The Sound of a Good Arc
When you're running a test bead, the sound of the arc should be consistent and stable. Think of a steady crackle, like bacon frying but a bit smoother and more controlled. If you hear a harsh sputtering, popping, or spitting sound, it's a strong signal that something is off. This could be incorrect gas flow, insufficient electrical contact at the tip, or improper wire tension.
Wire Feed Smoothness and Appearance
Observe the wire as it feeds through the gun and out of the tip. It should emerge in a straight line. If the wire is bending sharply before it exits the tip, your drive roller tension is likely too high, crushing the soft aluminum. Conversely, if the wire seems to be slipping or feeding erratically, the tension might be too low.
Key Aluminum Alloys: What You're Welding (4043 vs. 5356)
When you start welding aluminum, you'll quickly encounter different alloy numbers, and the two most common in MIG welding are 4043 and 5356. Understanding their differences helps you select the right filler wire for your specific project, ensuring optimal weld strength and integrity. Manufacturer specifications often detail the suitability of each alloy for various applications.
- 4043 Aluminum Wire: This is typically the go-to for general-purpose aluminum welding. It contains silicon, which lowers the melting point and makes it easier to handle during welding by reducing the risk of crater cracking at the end of a bead. It flows well and has good wetting characteristics, often resulting in a smoother bead appearance. It's a great choice for cast aluminum parts and common aluminum extrusions.
- 5356 Aluminum Wire: This alloy contains magnesium, making it stronger than 4043, especially after welding. It's often used for welding 5xxx series aluminum alloys. However, it can be more prone to cracking during the welding process compared to 4043, particularly if you're welding thicker sections or if the base metal isn't properly prepped. Its higher tensile strength makes it preferable for structural applications where maximum strength is required.
Choosing the right alloy ensures compatibility with your base metal and meets the performance requirements of the finished weldment. For most beginner projects, 4043 is generally recommended for its ease of use and forgiving nature.
Critical Aluminum Preparation: Cleaning for Success
Before you even think about striking an arc, cleaning your aluminum is absolutely non-negotiable. If you don't get this right, you'll be fighting weld defects like porosity and inclusions the whole way. Manufacturer guidelines consistently emphasize thorough cleaning as the first step for any aluminum welding project.
You'll need a dedicated stainless steel wire brush, and I mean dedicated just for aluminum. Using a brush that's seen steel will transfer contaminants. Always brush in one direction, away from where you plan to weld. Also grab a good degreaser and some clean rags or paper towels.
Wipe down the area you're about to weld to remove any oils or shop grime.
Why Cleanliness is King
Aluminum oxide (Al₂O₃) forms on the surface of aluminum almost instantly when it's exposed to air. This oxide layer has a melting point significantly higher than the aluminum itself. If this oxide gets into your molten weld pool, it can be trapped as inclusions, weakening the weld and causing porosity. A clean surface ensures your shielding gas can properly protect the molten metal from further oxidation.
Common Mistakes When Setting Up Aluminum MIG
Even with the right parts, it's easy to stumble when setting up your MIG welder for aluminum. Many newcomers make the same few errors that lead to frustration and poor weld quality. Recognizing these common pitfalls is half the battle.
Forgetting the Teflon Liner
One of the most common and frustrating mistakes is not swapping out the steel liner for a Teflon or nylon one when switching from steel to aluminum wire. The soft aluminum wire can easily snag and bunch up inside a steel liner. This causes inconsistent wire feed, often described as "birdnesting" where the wire gets tangled inside the feeder.
Incorrect Roller Tension
Setting the tension on your drive rollers is another easy place to goof up. Too much pressure will crush or deform the soft aluminum wire, leading to feeding problems and potential jams. Too little tension, and the rollers will just slip, causing an inconsistent arc and poor weld penetration. You're looking for just enough pressure to grip without deforming the wire.
Using the Wrong Gas Mix
As mentioned earlier, using anything other than 100% Argon shielding gas is a recipe for disaster. A common mistake is leaving the wrong gas cylinder attached or forgetting to switch regulators. Even a small percentage of CO2 can create a chemical reaction with molten aluminum, leading to significant porosity and weld contamination.
Pro Tips for Flawless Aluminum MIG Welds
Beyond the basic setup, a few advanced techniques can elevate your aluminum MIG welding from good to great. These are the little tricks that seasoned professionals use to ensure consistency and quality on every pass. Our research indicates these practices are widely adopted by experienced fabricators.
Pre-heating Thicker Aluminum
For aluminum pieces thicker than about 1/8 inch (3mm), pre-heating can make a significant difference. Aluminum has high thermal conductivity, meaning it dissipates heat quickly. Pre-heating the base metal, typically to around 150-200°F (65-95°C), helps to reduce the temperature gradient.
This ensures that the entire area you're welding is closer to melting temperature. It helps achieve better fusion and reduces the risk of the arc freezing off or creating cold lap. You can use a torch or a heat gun for this, but be careful not to overheat.
Travel Angle and Speed
Finding the sweet spot for your travel angle and speed is crucial. For aluminum, a slight "push" angle is usually preferred over a "pull" angle. Pushing the gun forward helps to control the molten puddle and ensures the shielding gas blankets the weld area effectively.
Maintain a consistent travel speed. Moving too fast won't allow the metal to fuse properly, resulting in a weak, surface-level weld. Moving too slowly can lead to excessive heat input, burn-through, and an overly wide, uncontrolled bead. Practice on scrap pieces to find that perfect rhythm.
When to Consider a Dedicated Aluminum MIG Gun
While you can certainly swap out liners and rollers on a single MIG gun as needed, there's a strong argument for dedicated setups when you do a lot of aluminum welding. Constantly changing components can be time-consuming and is another point where errors can be introduced. Dedicated guns simplify the process immensely.
A separate MIG gun set up specifically for aluminum means it will always have the correct U-groove rollers, the Teflon liner, and the appropriate contact tip already installed. When it's time to switch from steel to aluminum, you simply grab the other gun and connect it. This reduces downtime and minimizes the chance of contamination or incorrect setup.


