
The question "is MIG welding easy" gets asked a lot by folks looking to get into metalworking. And honestly, it's often presented as the most beginner-friendly process out there, and there's good reason for that perception. MIG, or Gas Metal Arc Welding, can feel quite intuitive to start with, especially compared to other methods like TIG or Stick welding.
However, "easy" is a subjective thing, right? While you can get some decent results fairly quickly, mastering it and consistently producing high-quality welds takes time, practice, and a solid understanding of the fundamentals. Manufacturer specifications for common MIG units often highlight user-friendly interfaces, but achieving professional-level results involves more than just flipping a switch.
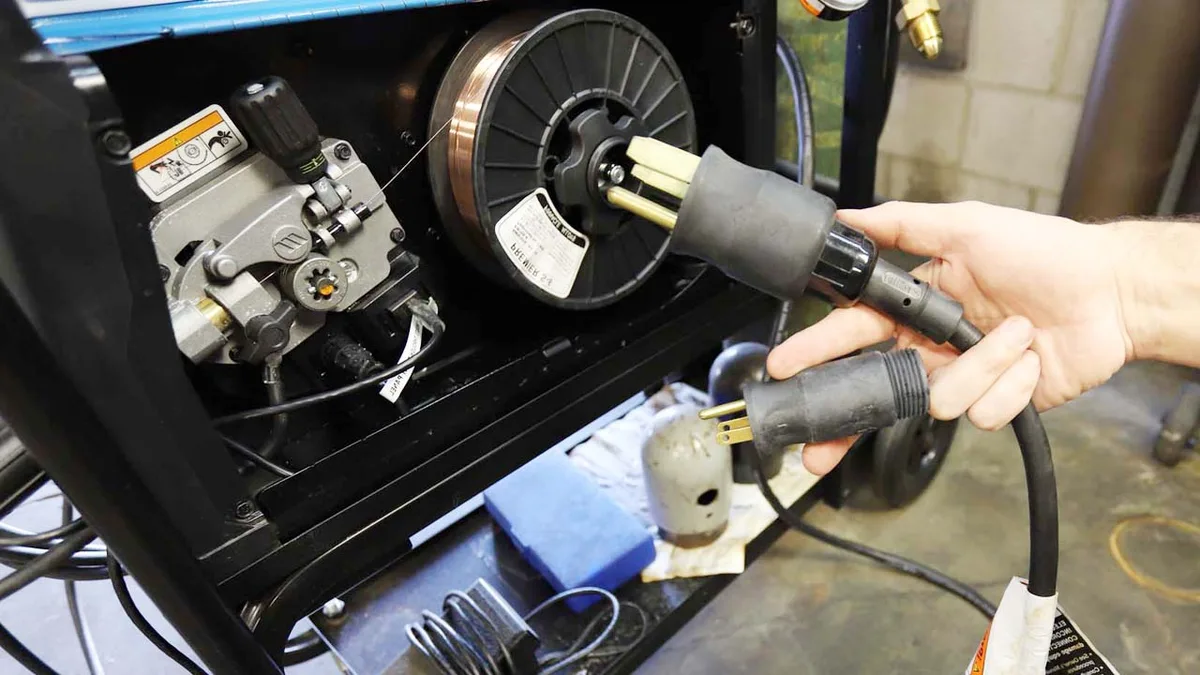
Image source: Bing (Web (fair-use with source credit))
What Makes MIG Welding Feel "Easy"?
There are definitely aspects of MIG welding that contribute to its reputation as being accessible for newcomers.
- Simpler Controls: Most MIG welders have straightforward controls. You're primarily adjusting Voltage and Wire Speed, which feels less overwhelming than managing a rod angle and slag chipping simultaneously.
- Continuous Wire Feed: Unlike Stick welding, where you’re constantly changing electrodes, MIG uses a spool of wire that feeds continuously through the welding gun. This means you can maintain a consistent arc and weld bead without frequent interruptions.
- Shielding Gas Protection: The shielding gas, typically a mix of Argon and CO2, protects the molten weld puddle from atmospheric contamination. This helps create cleaner beads with fewer defects, reducing the need for extensive post-weld cleanup.
- Versatility: MIG works well on a broad range of metal thicknesses and types, making it adaptable for various projects, from hobbyist crafts to automotive repairs.
Continuous Wire Feed and Simpler Controls
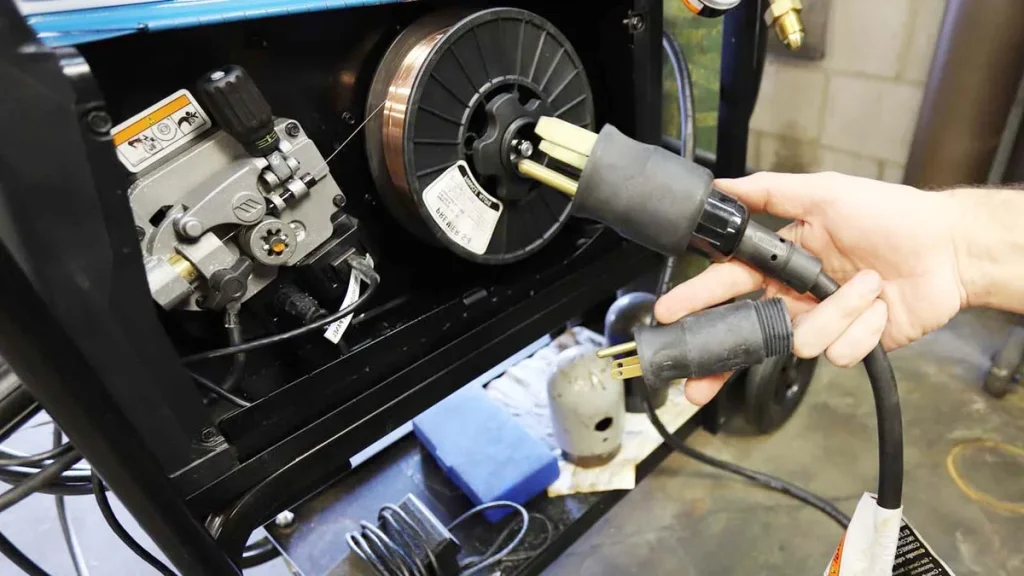
The core of MIG welding's perceived ease lies in its mechanics. The wire feeder system automatically pushes the welding wire into the weld puddle at a controlled rate. This frees you up to focus on guiding the welding gun at the correct angle and travel speed. The main controls, voltage and wire feed speed, are linked in a way that makes understanding their interplay relatively quick.
For a deeper dive into how these settings interact, check out Mig Welder Settings.
When "Easy" Starts to Get a Little Tricky…
While MIG welding is accessible, achieving consistently good welds involves more nuance than just pointing and shooting.
Learning the "Feel" and Technique
There's a definite physical skill involved in MIG welding, like maintaining the correct distance between the wire, the arc, and the joint, as well as moving the gun smoothly and at the right speed. This "feel" develops through practice. If you're used to more delicate work, you might find this aspect takes time to master.
Setting it Up Right for Your Material
Select the correct settings is paramount to MIG welding success. While charts and online guides provide excellent starting points, they are just that, starting points. Every MIG welder performs slightly differently, and ambient conditions (temperature, humidity) can even have a minor impact. Developing a feel for how adjusting voltage and wire speed affects the arc sound and the appearance of the weld puddle is key.
For example, welding thin sheet metal (like 16-gauge steel, roughly 1.5 mm thick) requires much lower voltage and wire speed settings than welding 1/4-inch (6.35 mm) steel. Incorrect settings can lead to situations like burn-through, where the weld melts completely through the material, or insufficient penetration, where the weld doesn't bond the two pieces of metal strongly enough. You can find guidance on this in resources like Welding Chart Mig Wire.
Shielding Gas and Environmental Factors
The type and flow rate of your shielding gas are critical. For most mild steel applications, a mix of Argon and Carbon Dioxide (often 75% Ar / 25% CO2) provides a good balance of penetration and weld puddle control. However, factors like wind can easily blow this gas away from the weld zone. This means outdoors, you might need to fabricate windbreaks or consider flux-cored wire, which has its own shielding agents within the wire itself.
On a breezy day at the shop, you might struggle to achieve a clean weld without significant spatter and porosity.
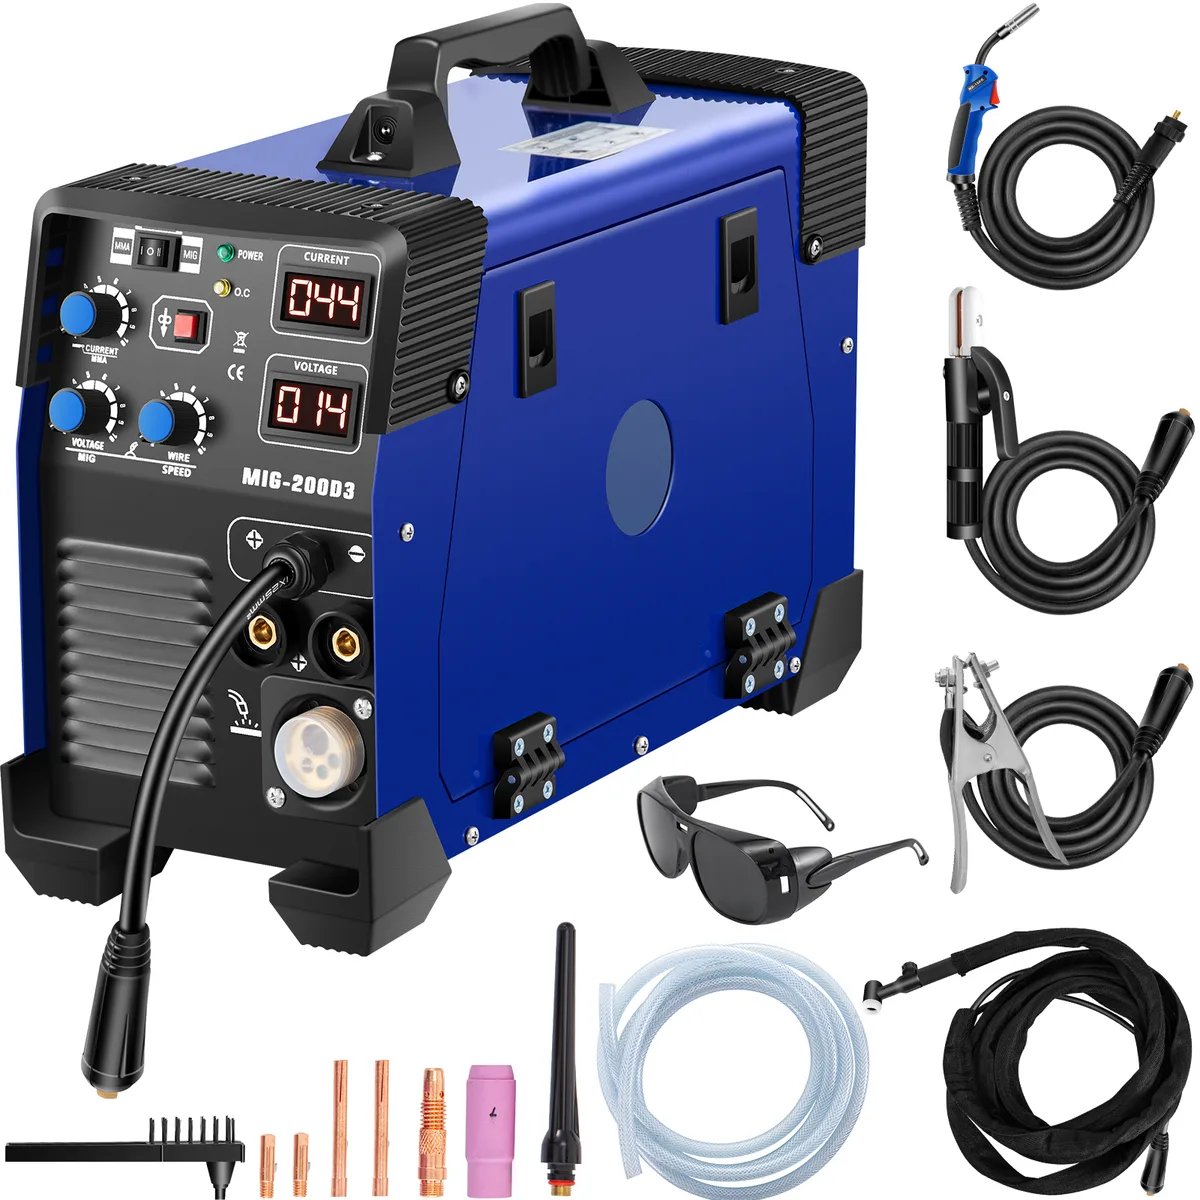
Image source: Bing (Web (fair-use with source credit))
Proper Joint Preparation is Key
You wouldn't paint a dirty wall, and you shouldn't weld dirty metal. Mill scale, rust, oil, grease, and paint all act as contaminants and prevent the molten metal from properly fusing. For clean results, metal should ideally be free of any coatings or debris. This often involves using a wire brush, an angle grinder with a flap disc, or chemical cleaners.
For example, preparing for a weld on an exhaust pipe means removing rust and grime so the new weld can fuse effectively. Resources detailing how to clean metal can be invaluable for achieving strong joints, like those discussing How To Use Rustoleum On Rusted Metal which covers surface preparation.
Evaluating If MIG Welding is Right for YOU
Deciding if MIG welding fits your needs involves looking at a few personal factors. It’s less about whether the process itself is universally easy and more about whether its demands align with your situation.
Your Background and Mechanical Aptitude
If you've already got some experience with tools, enjoy working with your hands, or have a knack for understanding how things fit together, you'll likely find MIG welding more intuitive. Your existing comfort level with physical tasks and spatial reasoning can make grasping the gun manipulation and movement feel more natural. Someone who's comfortable with, say, fine motor skills required for detailed assembly might adapt quicker than someone who usually works with larger machinery.
Your Project Goals and Expectations
What do you actually want to do with welding? Are you planning to build custom furniture, repair car parts, or simply fix broken metal items around the house? For many DIY and repair jobs, MIG welding is an excellent choice because it’s versatile and can produce visually appealing results with practice. If your ambition is to create incredibly precise, structural aerospace components, you might find the learning curve for expert-level MIG welding steeper, or you might consider other processes.
Setting realistic expectations about what you can achieve in the first few weeks versus after months of practice is key.
Your Workspace and Environment Considerations
MIG welding requires a safe and suitable workspace. Ideally, you want a well-ventilated area to dissipate welding fumes, which can be harmful. If you plan to weld outdoors, you'll need to contend with wind, which seriously impacts the shielding gas. This means MIG welding might be challenging in an open-air driveway on a windy day without taking extra precautions or using specific filler materials.
A garage or workshop setup is generally preferred. You also need a stable surface to work on and space for your equipment, including the MIG welder itself, gas cylinder, and workpiece.
Key MIG Welding Components and How They Work
Understanding the main parts of a MIG welding setup helps demystify the process. Each component plays a crucial role in delivering that controlled stream of molten metal.
The MIG Welder Unit
The MIG welder, or power source, is the heart of the system. It converts incoming power (like 120V or 240V AC) into the appropriate DC voltage and amperage needed to create the welding arc. Many units also house the wire feeder mechanism. Modern machines often feature digital displays for precise setting adjustments, and some offer synergic controls that automatically set wire speed based on the voltage.
The Welding Gun and Trigger
The welding gun, often called a torch, is what you hold and manipulate. It houses the electrical contact tip, through which the welding wire passes and picks up current. The trigger activates both the wire feeder and the flow of shielding gas. The nozzle directs the shielding gas over the welding arc and molten puddle.
Guns come in various lengths and amperages, depending on the welder's capacity and the type of work.
Wire Electrode and Feed System
MIG welding uses a continuously feeding wire electrode, typically made of steel, stainless steel, or aluminum. This wire comes on a spool, usually housed within the MIG welder unit. The wire feeder, a series of rollers and drive mechanisms, propels the wire at a controlled speed through a liner in the welding cable and out the gun's contact tip. The speed of this wire feed is directly proportional to the amperage of the weld.
Shielding Gas and Regulator
A cylinder of shielding gas (e.g., pure Argon, or a mix like 75% Argon / 25% CO2) is connected to the welder via a hose. A regulator with a flowmeter is attached to the cylinder's valve to control and deliver the gas at the correct rate. This gas flows through the welding gun, enveloping the arc and molten metal to prevent atmospheric contamination, which is critical for creating sound welds.
Common MIG Welding Mistakes to Watch Out For
Even with its beginner-friendly reputation, MIG welding has its common pitfalls. Avoiding these can save you a lot of frustration and metal.
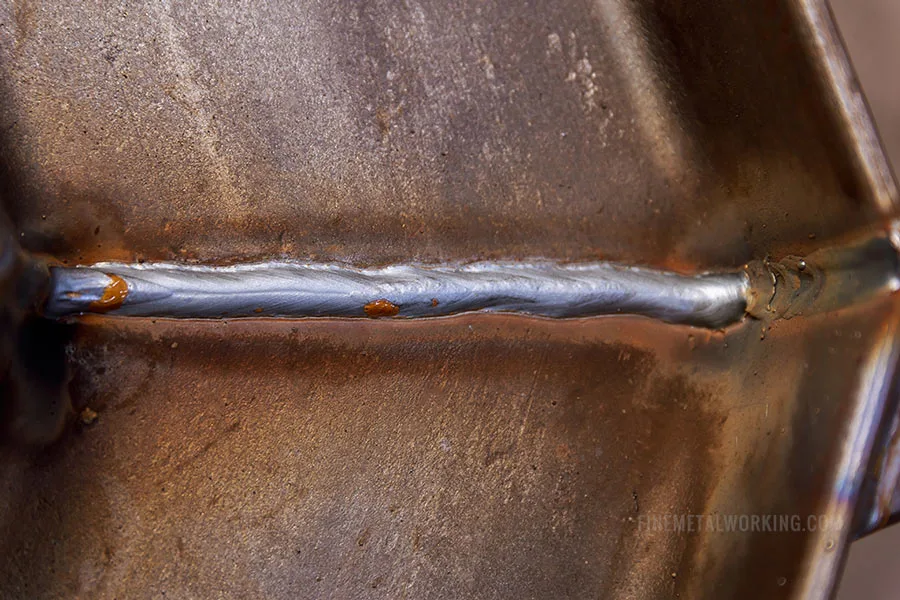
Image source: Bing (Web (fair-use with source credit))
Incorrect Settings: Voltage vs. Wire Speed
One of the most frequent issues is mismanaging the relationship between voltage and wire feed speed. If your wire speed is too high for the set voltage, you'll get a long, sputtering arc with poor penetration. If the wire speed is too low, the arc will be short and may "stub" into the weld puddle. Finding the sweet spot is crucial, and many beginners find referring to guidance on Mig Welder Settings helpful.
Motion & Technique Errors: Speed, Angle, Distance
Even with perfect settings, poor gun manipulation leads to bad welds. Traveling too fast results in a wide, flat bead with shallow penetration. Moving too slowly can overheat the metal, causing excessive melt-through or a large, uncontrolled bead. Holding the gun at an incorrect angle (e.g., too much of a drag angle on steel) or having the wrong stick-out (distance from the nozzle tip to the workpiece) also negatively impacts weld quality and appearance.
Contamination: Dirty Metal and Gas Issues
As mentioned, dirty metal is a major culprit for weak welds. Oil, rust, paint, or even dirt left on the surface will be incorporated into the weld as inclusions, weakening the joint. Equally, improper shielding gas flow or using the wrong gas for the material can cause porosity. For example, attempting to weld aluminum with a CO2-rich gas mix will likely result in severe contamination and a very poor weld.
Burn-Through on Thin Materials
Thin materials, like those found in automotive body panels or light sheet metal fabrication, are extremely susceptible to burn-through. This happens when the heat input is too high for the metal's thickness, causing the weld to melt completely through. This requires significantly lower voltage and wire speed settings, combined with a quick, precise welding technique and often a "stitch welding" approach rather than continuous beads. This is a common challenge when learning How To Mig Weld Auto Body Panels.
Benefits and Drawbacks of MIG Welding for Beginners
MIG welding offers a compelling set of advantages for those starting out, but it also comes with its own set of limitations you should be aware of. Understanding these can help you set realistic goals and avoid common frustrations.
Advantages:
- Fast weld times: The continuous wire feed and relatively simple technique allow for quicker welding speeds compared to Stick or TIG welding, especially on longer seams.
- Good for various materials: It's effective on mild steel, stainless steel, and aluminum, though aluminum welding with MIG requires specific setups like a spool gun and different gas.
- Less skill required for basic welds: You can often achieve acceptable, though not necessarily perfect, welds with less initial training than other processes. This makes it ideal for quick fixes and basic fabrication projects.
Drawbacks:
- Portability: MIG welders typically require a power source and a shielding gas cylinder, making them less portable than Stick welders, which can be an issue for field repairs.
- Material thickness limitations: While versatile, MIG welding can struggle to achieve adequate penetration on very thick metals without specialized equipment or techniques. Furthermore, very thin materials are prone to burn-through if settings aren't dialed in precisely.
- Spatter: MIG welding can produce more spatter (small flecks of molten metal) than TIG welding, which requires additional cleanup.
MIG Welding vs. Other Processes: A Quick Look
When deciding if MIG is the right choice, it helps to see how it stacks up against other common welding methods. Each has its strengths and weaknesses, making them suitable for different applications and skill levels.
Stick Welding (SMAW): This is often considered a robust process for outdoor or dirty conditions because the flux coating on the electrode provides shielding. However, it requires more skill to control the arc and manage slag, and it produces more fumes and spatter. Stick welding is excellent for thicker materials and rusty or painted surfaces, but less ideal for thin metals. If you're considering Stick, research on Stick Welding Amperage Chart can be helpful.
TIG Welding (GTAW): TIG welding offers the highest level of precision and control, producing very clean, high-quality welds. It's ideal for thin materials and exotic metals like stainless steel or titanium. However, it's also the most technically demanding process, requiring coordination of three hands: one to hold the torch, one to feed filler rod, and one to control the pedal. This makes it significantly less beginner-friendly than MIG.
Flux-Cored Arc Welding (FCAW): This is similar to MIG but uses a tubular wire electrode filled with flux. It can be used with or without external shielding gas. FCAW offers deeper penetration than MIG and works well outdoors, but it produces more spatter and slag than MIG, requiring more cleanup.
If your goal is primarily basic fabrication and repair on common metals and you prioritize a faster learning curve, MIG welding is generally the most suitable starting point for many.
Expert Tips for Getting Started with MIG Welding
Beyond understanding the basics, a few key practices can significantly accelerate your journey from novice to competent welder. These tips are based on recurring advice from industry professionals and consistent user feedback.
Practice, Practice, Practice
This might sound obvious, but consistent, deliberate practice is the single most effective way to improve your MIG welding skills. Don't just weld for a few minutes here and there. Dedicate focused sessions to practice specific movements and joint types. Working on scrap metal that mimics the material and thickness of your actual project allows you to refine settings and techniques without risking a critical component.
Aim for consistency in each weld bead you lay down, a steady rhythm is more important than speed at the beginning.
Understanding Your Machine Settings
While charts and online guides provide excellent starting points, they are just that, starting points. Every MIG welder performs slightly differently, and ambient conditions (temperature, humidity) can even have a minor impact. Develop a feel for how adjusting voltage and wire speed affects the arc sound and the appearance of the weld puddle. A characteristic humming sound, often described as a "sizzle," is typically indicative of good settings.
For example, looking up specific recommendations like Lincoln Mig Welder Settings Chart can offer specific initial parameters to try.
Safety First: Essential MIG Welding Precautions
MIG welding, like all welding processes, involves inherent risks. Prioritizing safety is non-negotiable and should be integrated into every step of your welding routine. Ignoring safety protocols can lead to serious injury.
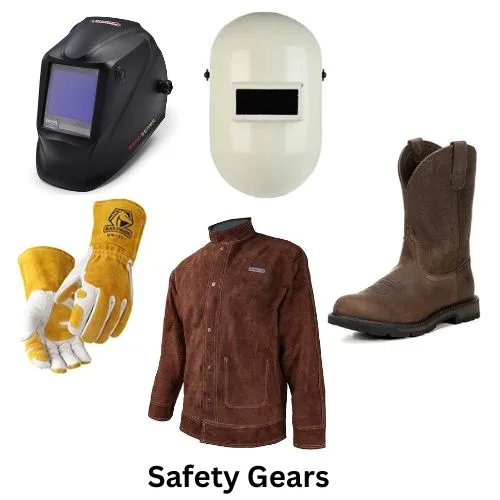
Image source: Bing (Web (fair-use with source credit))
Personal Protective Equipment (PPE): Always wear appropriate safety gear. This includes:
- Auto-Darkening Welding Helmet: Protects your eyes and face from intense UV and IR radiation, as well as sparks and debris. Ensure it has a shade rating suitable for MIG welding (typically Shade 9-13).
- Welding Jacket or Flame-Resistant Clothing: Protects your skin and clothing from sparks and heat. Leather or heavy cotton is recommended. Avoid synthetic materials that can melt.
- Welding Gloves: Heavy leather gloves protect your hands from heat and sparks.
- Safety Glasses and Respirator: Wear safety glasses under your helmet for added protection when the helmet is up. A respirator is highly recommended to protect your lungs from welding fumes, especially in enclosed spaces.
Ventilation and Fire Safety: Always weld in a well-ventilated area to prevent the buildup of harmful fumes. Keep a fire extinguisher (rated for Class A, B, and C fires) readily accessible and clear the work area of any flammable materials. Welding sparks can travel a surprising distance, so ensure the surrounding environment is safe.
Electrical Safety: Ensure your welding machine is properly grounded and that all power cords are in good condition. Never operate a welder if you suspect electrical issues. Keep water away from the equipment and yourself. For more detailed safety guidelines, consult welding safety standards or manufacturer manuals.
Final Thoughts: Is MIG Welding Your Next Skill?
MIG welding is often the most approachable gateway into the world of joining metal. Its continuous wire feed and simpler controls mean you can start laying down basic welds relatively quickly, making it a popular choice for DIYers, hobbyists, and small fabrication shops. The process offers a good balance of speed and usability, making it suitable for a wide range of projects from simple repairs to building custom metalwork.
However, achieving professional-grade welds, those that are strong, clean, and aesthetically pleasing, requires dedication. Developing the necessary skill set involves understanding your equipment, mastering technique through consistent practice, and learning how different materials and settings interact. It’s a process that rewards patience and attention to detail. As of 2026, it remains one of the most in-demand welding skills for its versatility.
If you’re looking for a practical skill that opens up a world of creation and repair, MIG welding is an excellent and achievable choice.


