
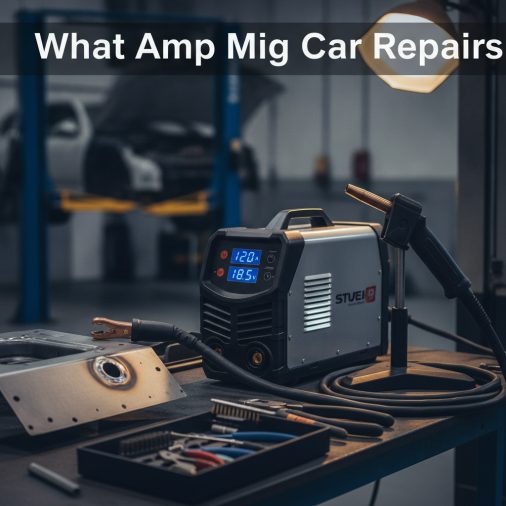
What Amp MIG Welder Do You Need for Car Repairs?
Choosing the wrong amperage for automotive MIG welding is one of the most common reasons beginners end up with warped panels, burn-through holes, or weak welds that fail under stress. Car sheet metal is thin and unforgiving. Get the settings right, and welding body panels feels controlled and predictable. Get them wrong, and you’ll be grinding out mistakes all afternoon.
This article walks you through exactly what amperage range you need for car repairs, how to dial in your settings for different metal thicknesses, and what to watch for when something isn’t working.
Quick Answer
For most car body repair work, a MIG welder operating between 60 and 130 amps is sufficient. Thin automotive sheet metal (18–22 gauge) typically requires 60–90 amps, while thicker structural sections like frame rails or brackets may need 100–130 amps. A welder with a 140–180 amp maximum output covers virtually all passenger car repair scenarios.
Why Automotive Sheet Metal Demands Lower Amperage Than You’d Expect
Most car body panels range from 18 to 22 gauge steel — roughly 0.75 mm to 1.2 mm thick. That’s significantly thinner than the steel used in general fabrication or structural welding, which means heat management becomes the central challenge.
At too high an amperage, thin sheet metal warps almost immediately. Burn-through happens fast, especially on rusted or already-thinned metal. The goal isn’t maximum penetration — it’s controlled fusion with minimal heat input.
This is why automotive welding sits at the lower end of a MIG welder’s output range. A machine rated at 200 amps can absolutely weld car panels, but you’ll be running it at 30–40% of its capacity. That’s fine, as long as the machine has good low-end control and doesn’t surge or arc erratically at low settings.
Amperage by Metal Thickness: A Practical Reference

A general rule used by most welders is approximately 1 amp per 0.001 inch of material thickness. For automotive work, this breaks down as follows:
| Material / Application | Gauge | Thickness (mm) | Approximate Amperage |
|---|---|---|---|
| Outer body panels | 20–22 ga | 0.75–0.90 mm | 60–80 A |
| Floor pans, inner panels | 18–20 ga | 0.90–1.20 mm | 75–95 A |
| Door skins, quarter panels | 18–20 ga | 1.00–1.20 mm | 80–100 A |
| Frame rails, structural steel | 14–16 ga | 1.50–2.00 mm | 100–130 A |
| Exhaust flanges, brackets | 12–14 ga | 2.00–3.00 mm | 120–160 A |
These are starting-point ranges. Real-world amperage will shift based on wire diameter, shielding gas mix, travel speed, and joint type.
What Size MIG Welder Actually Works for Car Repairs
The market is full of small 90-amp flux-core units and large 250-amp industrial machines. For automotive body work, the sweet spot sits between these extremes.
90–140 amp machines handle the majority of body panel work. Brands like Lincoln Electric (Lincoln 140), Hobart (Handler 140), and ESAB (Rebel series) produce machines in this range that perform well on thin automotive steel. These are the go-to choices for home garage use and small body shops.
140–180 amp machines offer more flexibility. They handle both body panels and heavier structural repairs without compromise. If you’re doing frame work, roll cage fabrication, or suspension component repairs alongside body work, this range makes more sense.
Anything above 200 amps is overkill for typical car body repairs. These machines are built for thicker structural steel and generally have less precise low-end control, which makes thin panel work harder, not easier.
A machine’s duty cycle matters too. A 20% duty cycle at 90 amps means you can weld for 2 minutes out of every 10 before the machine needs to cool. For automotive work, where you’re typically doing short stitch welds rather than long continuous runs, a moderate duty cycle is usually sufficient.
Wire Diameter and Its Relationship to Amperage

Wire diameter and amperage are directly linked. Thinner wire runs at lower amperage and deposits less heat — exactly what automotive sheet metal needs.
– 0.023-inch (0.6 mm) wire — Best choice for 20–22 gauge body panels. Runs cleanly at 60–80 amps with minimal spatter and excellent control on thin metal. – 0.030-inch (0.8 mm) wire — The most versatile option. Works well from 18 to 20 gauge at 75–110 amps. A good all-around choice if you’re doing mixed panel and structural work. – 0.035-inch (0.9 mm) wire — Better suited for thicker material. On thin body panels, it deposits too much heat too quickly and increases the risk of burn-through.
For most automotive body repairs, 0.023-inch ER70S-6 wire paired with a 75/25 argon/CO₂ shielding gas mix is the standard recommendation. The ER70S-6 classification handles surface rust and mill scale better than ER70S-3, which matters on older vehicles.
Shielding Gas and How It Affects Your Amperage Settings
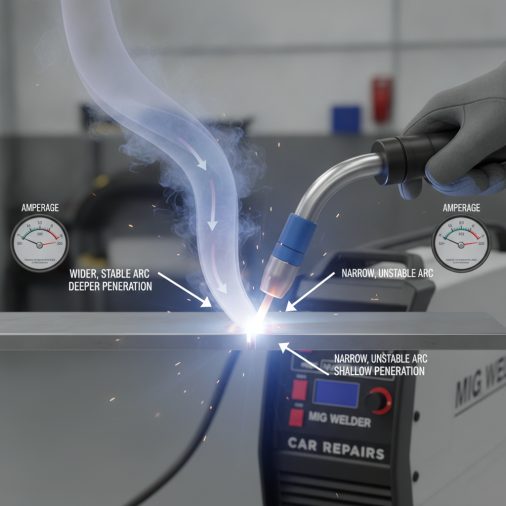
Shielding gas composition changes how the arc behaves, which affects the effective heat input even at the same amperage setting.
75% Argon / 25% CO₂ (C25) is the standard for automotive MIG welding. It produces a smooth, stable arc with good penetration and minimal spatter. Most amperage recommendations assume this gas mix.
100% CO₂ runs hotter and more aggressively at the same amperage. If you switch from C25 to straight CO₂, you may need to reduce your amperage by 5–10% to achieve similar results on thin panels.
Pure Argon is used for MIG welding aluminum — not steel. Using it on steel produces an unstable arc and poor fusion.
Flux-core wire (FCAW) doesn’t require shielding gas but runs significantly hotter than solid wire MIG at equivalent amperage settings. It’s generally not recommended for thin automotive body panels for this reason.
Common Mistakes That Cause Problems on Car Panels

Running amperage too high is the most frequent error. The weld might look fine initially, but the surrounding metal warps from excess heat. On outer body panels, this shows up as waves and high spots that require extensive hammer and dolly work to correct.
Skipping stitch welding is another issue. On automotive panels, continuous welds build up heat rapidly. The correct technique is to run short 1/2-inch to 1-inch stitch welds, then skip ahead, allowing each section to cool before returning. This keeps cumulative heat low even when individual amperage settings are correct.
Ignoring wire feed speed — Amperage and wire feed speed are interrelated on most MIG machines. Increasing wire feed speed increases amperage draw. On machines with a single voltage/wire speed knob, changing one affects the other. On more advanced machines with separate controls, both need to be dialed in together.
Welding over rust or paint without proper prep causes porosity and weak welds regardless of amperage. Clean bare metal is non-negotiable for quality automotive welds.
How to Dial In Your Settings Before Welding the Car
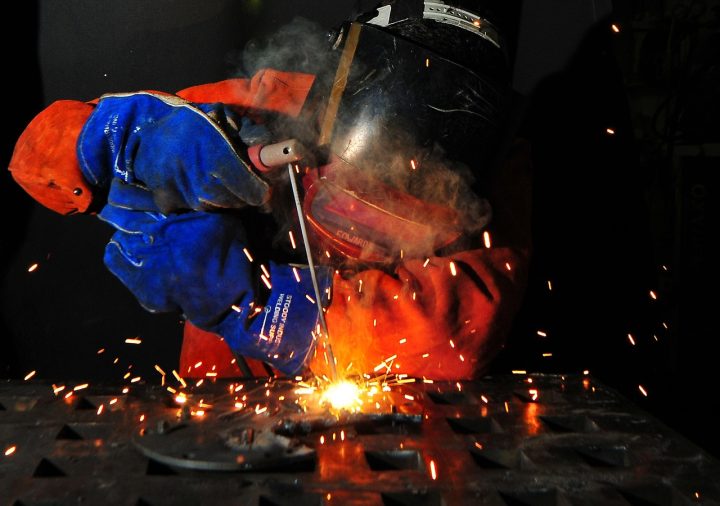
Never start on the actual panel without testing first. Use a scrap piece of the same gauge metal as the panel you’re repairing.
1. Set your amperage to the lower end of the range for that gauge (refer to the table above). 2. Run a short bead on the scrap piece. 3. Check penetration — flip the piece over. You should see slight discoloration on the back side, indicating fusion without burn-through. 4. Check the bead face — it should be smooth and slightly raised, not flat and wide (too hot) or tall and ropey (too cold). 5. Adjust in small increments — 5 amps or one wire speed step at a time. 6. Once the test bead looks right, transfer those settings to the actual repair.
This process takes five minutes and prevents hours of grinding and rework.
FAQ

What is the minimum amp MIG welder for car bodywork? A welder with at least a 90-amp output can handle thin automotive sheet metal in a pinch, but 110–140 amps gives you more control and flexibility. Machines below 90 amps often struggle to maintain a stable arc on steel thicker than 22 gauge and may produce inconsistent welds on floor pans or structural sections.
Can I use a 90-amp flux-core welder for car panels? Technically yes, but it’s not ideal. Flux-core wire runs hotter than solid MIG wire at equivalent amperages, which increases the risk of warping and burn-through on thin body panels. If flux-core is your only option, use the lowest setting, keep welds short, and allow generous cooling time between passes.
What amp setting should I use for welding floor pans? Floor pans are typically 18–20 gauge steel. Start around 80–95 amps with 0.030-inch wire and C25 gas. Use stitch welding technique — short runs of 1 inch or less — to control heat buildup. If you’re welding over a patch panel, match your settings to the thinner of the two pieces.
Does wire speed matter as much as amperage for thin metal? Both matter equally. On most MIG machines, wire feed speed directly controls amperage draw. Too fast a wire speed at a given voltage causes the wire to stub into the puddle. Too slow causes burn-back. The correct balance produces a steady, consistent crackling sound — often described as bacon frying — rather than popping or stuttering.
Is a 140-amp MIG welder enough for frame rail repairs? For light frame rail work on unibody vehicles, 140 amps is generally sufficient. Frame rails on most passenger cars are 14–16 gauge steel, which falls within the 100–130 amp range. Body-on-frame trucks with heavier structural steel may require 160–180 amps for full penetration on thicker sections.
What’s the difference between voltage and amperage settings on a MIG welder? Voltage controls arc length and bead profile — higher voltage produces a flatter, wider bead. Amperage (controlled via wire feed speed on most machines) controls heat input and penetration depth. For automotive work, both need to be balanced. A common starting point for 18-gauge steel is around 17–18 volts with wire speed adjusted to achieve 80–90 amps of output.
Why does my MIG welder burn through thin car panels even at low settings? Several factors cause burn-through beyond amperage alone: moving too slowly, dwelling in one spot, welding over already-thinned or rusted metal, or using wire that’s too thick for the gauge. Check that you’re using 0.023-inch wire, keeping travel speed consistent, and using stitch welding rather than continuous runs.
Final Thoughts

For the vast majority of car repairs — body panels, floor pans, patch panels, and light structural work — a MIG welder in the 110–180 amp range running 0.023 or 0.030-inch ER70S-6 wire with C25 gas covers everything you’ll encounter. The amperage number on the machine matters less than your ability to dial in precise low-end settings and control heat through technique. Always test on scrap first, weld in short stitches, and let the metal cool between passes. Those three habits will produce better results than any equipment upgrade.
Meta Description: Not sure what amp MIG welder you need for car repairs? Learn the exact amperage ranges for body panels, floor pans, and frame work — with settings, wire sizes, and tips.


