
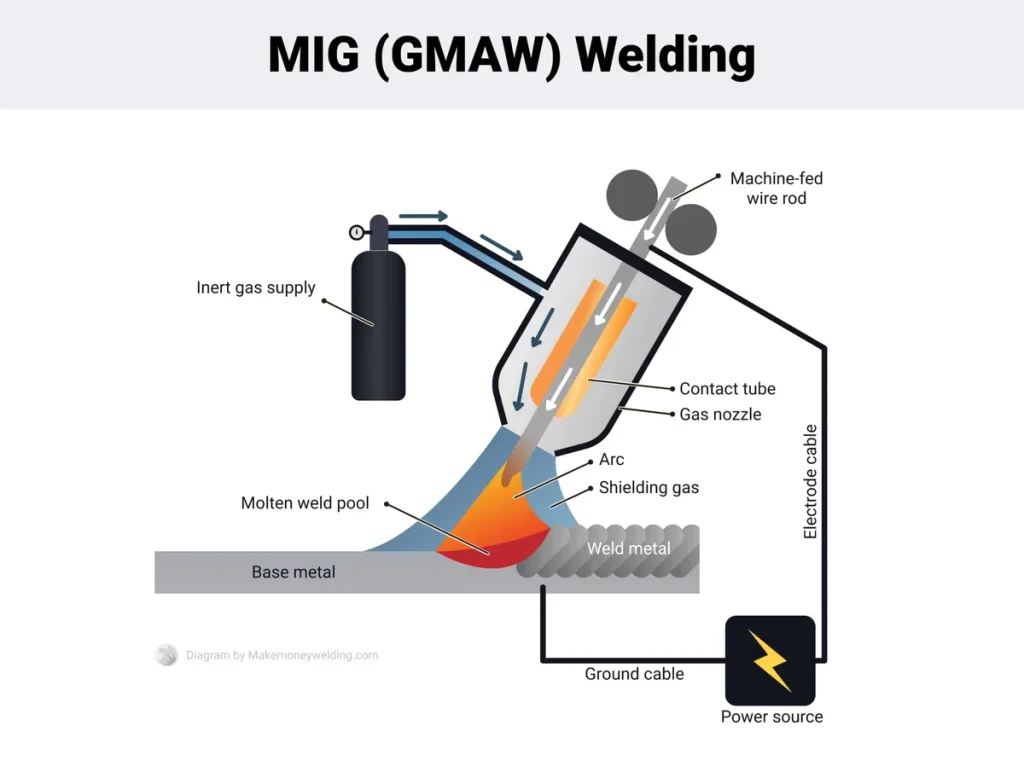
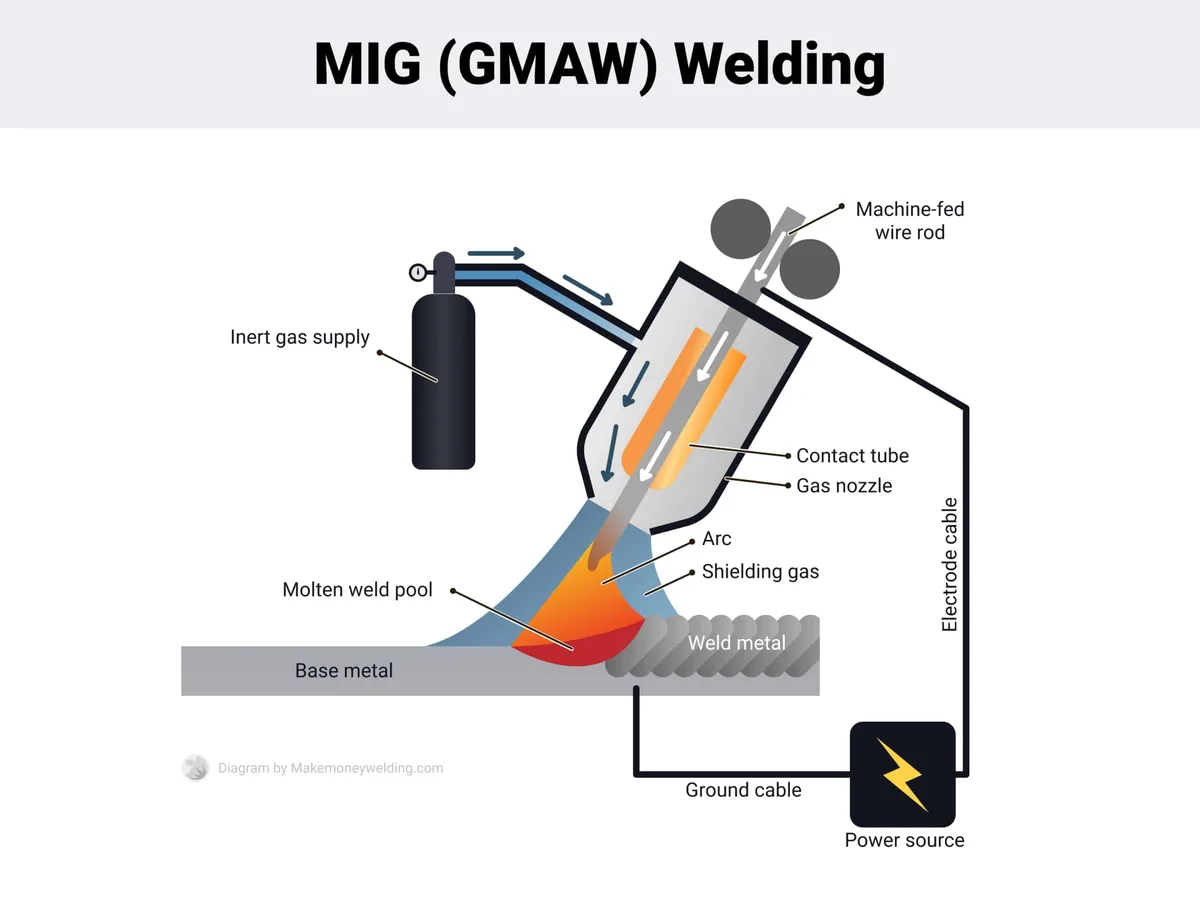
Image source: Bing (Web (fair-use with source credit))
When you're MIG welding, figuring out what shade lens for MIG welding is crucial for both your safety and your ability to see what you're doing. Too light, and you're risking serious eye damage from the intense arc. Too dark, and you can't even see the weld puddle you need to control.
Our research, along with manufacturer specifications, shows that the right shade depends heavily on the amperage you're using. For instance, ANSI Z49.1 standards for safety in welding, cutting, and allied processes provide foundational guidelines on light levels, but specific amperage determines the exact requirement. Getting this balance right is key to a good weld and healthy eyes.
Your Quick Shade Guide Based on Amperage
Choosing the correct shade lens for your MIG welding setup is more than just a preference; it’s a direct response to the energy output of your arc. Think of it like adjusting the gain on a microphone to avoid distortion, you need the right level to get a clear signal. For MIG welding, this "signal" is your visual field, and the "distortion" is the blinding light from the welding arc.
MIG Shade Numbers Explained
Welding helmet shades are standardized, typically using a numbering system where a higher number means a darker lens. These numbers correspond to the amount of visible light and harmful radiation that the lens filters out. As of 2026, the industry standard for shade numbers remains consistent in its purpose: to protect your eyes.
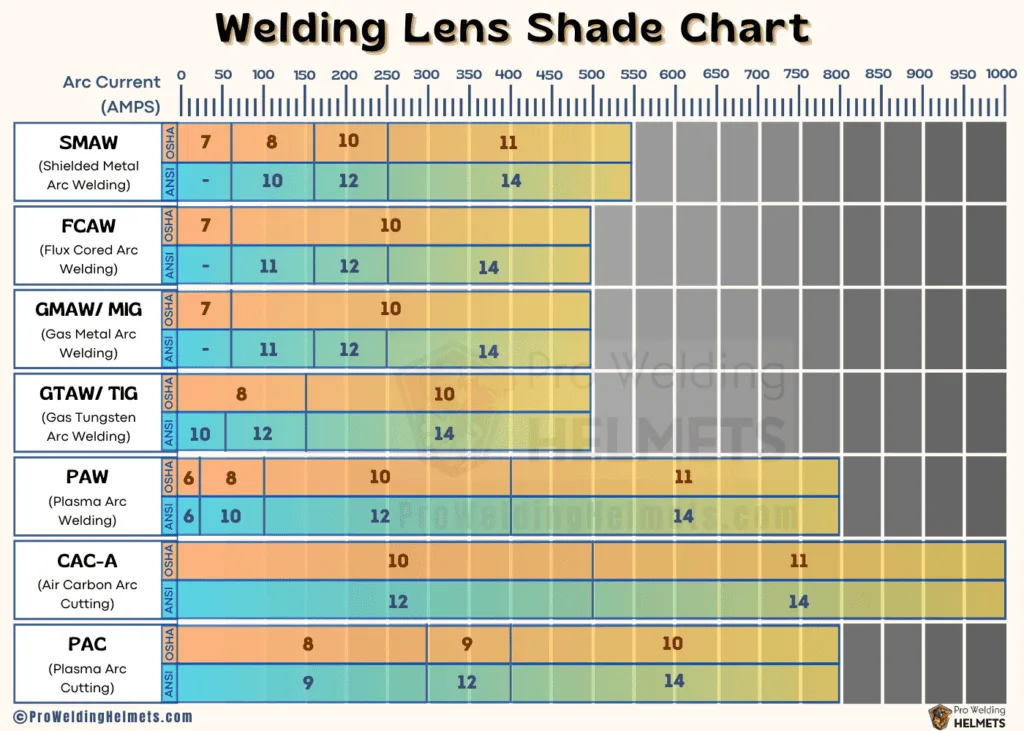
Image source: Bing (Web (fair-use with source credit))
You'll see shades ranging from 2 (for very low light conditions or specialized applications) all the way up to 14 (for extremely high-intensity arcs). For most MIG welding, you'll be working within the 9 to 13 range. The exact number you need hinges directly on the amperage your welding machine is set to.
Why Shade Matters for Your Eyes
The intense light produced by a welding arc isn't just bright; it's packed with harmful ultraviolet (UV) and infrared (IR) radiation. Exposure to this radiation can cause painful conditions like arc eye, also known as photokeratitis, which feels like gritty sand in your eyes and can lead to temporary or even permanent vision impairment.
Research from safety organizations consistently highlights that using an incorrect shade lens is a primary cause of eye injuries among welders. Beyond the immediate pain, chronic overexposure can contribute to long-term issues like cataracts. That's why selecting the proper shade isn't optional, it's a fundamental aspect of safe welding practice.
How to Choose Your MIG Welding Shade: A Step-by-Step Workflow
Picking the right shade for your MIG welding lens comes down to a few straightforward factors, primarily the power setting of your welder. We can walk through this logically so you're never guessing.
Step 1: Check Your Machine's Amperage
Before you even think about adjusting your helmet, find out what amperage your MIG welder is set to run at. This number is usually displayed on the machine itself, often as a dial or digital readout. If you're unsure how to determine the correct amperage for your specific weld joint, consulting a welding chart for MIG welder settings is a good next step.
Step 2: Match Amps to Shade Number
Once you know your amperage, you can use this information to select the appropriate shade. This correlation is well-established in welding practice and is based on filtering the intensity of the arc.
Low Amperage Needs (Under 50 Amps)
For very low amperage tasks, such as welding thin sheet metal or doing light repairs with fine wire, you typically don't need an extremely dark lens. A shade of 9 or 10 is generally sufficient. This level of shade provides protection while ensuring you can still clearly see the weld puddle and the surrounding material, which is crucial for precise control on delicate work.
Medium Amperage Needs (50-150 Amps)
This range covers a lot of common MIG welding applications, from fabricating moderate structures to general repairs. A shade 11 lens is the workhorse here. It offers a robust level of protection against a moderately intense arc without obscuring your view of the weld bead formation. This is often the most comfortable and practical shade for everyday MIG welding tasks.
High Amperage Needs (Over 150 Amps)
When you're working with thicker materials, laying down substantial beads, or pushing your welder at higher settings, a darker shade becomes necessary. For amperages above 150, you'll likely want to step up to a shade 12 or 13. This increased darkness is essential to block out the significantly brighter and more intense arc produced at these higher power levels, preventing eye strain and potential damage.
Very High Amperage Needs (200+ Amps)
If your work routinely pushes your MIG welder into the 200 amp range and beyond, particularly for heavy fabrication or continuous welding on thick metals, you may need the darkest common shades. A shade 13 or even 14 might be required. These extreme shades are designed to filter out the most intense light and radiation, ensuring safety when performing high-heat, high-amperage welding operations.
Auto-Darkening vs. Passive Lenses for MIG
When it comes to welding helmets, you've generally got two main types of lenses: auto-darkening and passive. Both have a job to do in protecting your eyes, but they go about it in very different ways, impacting your workflow and comfort.
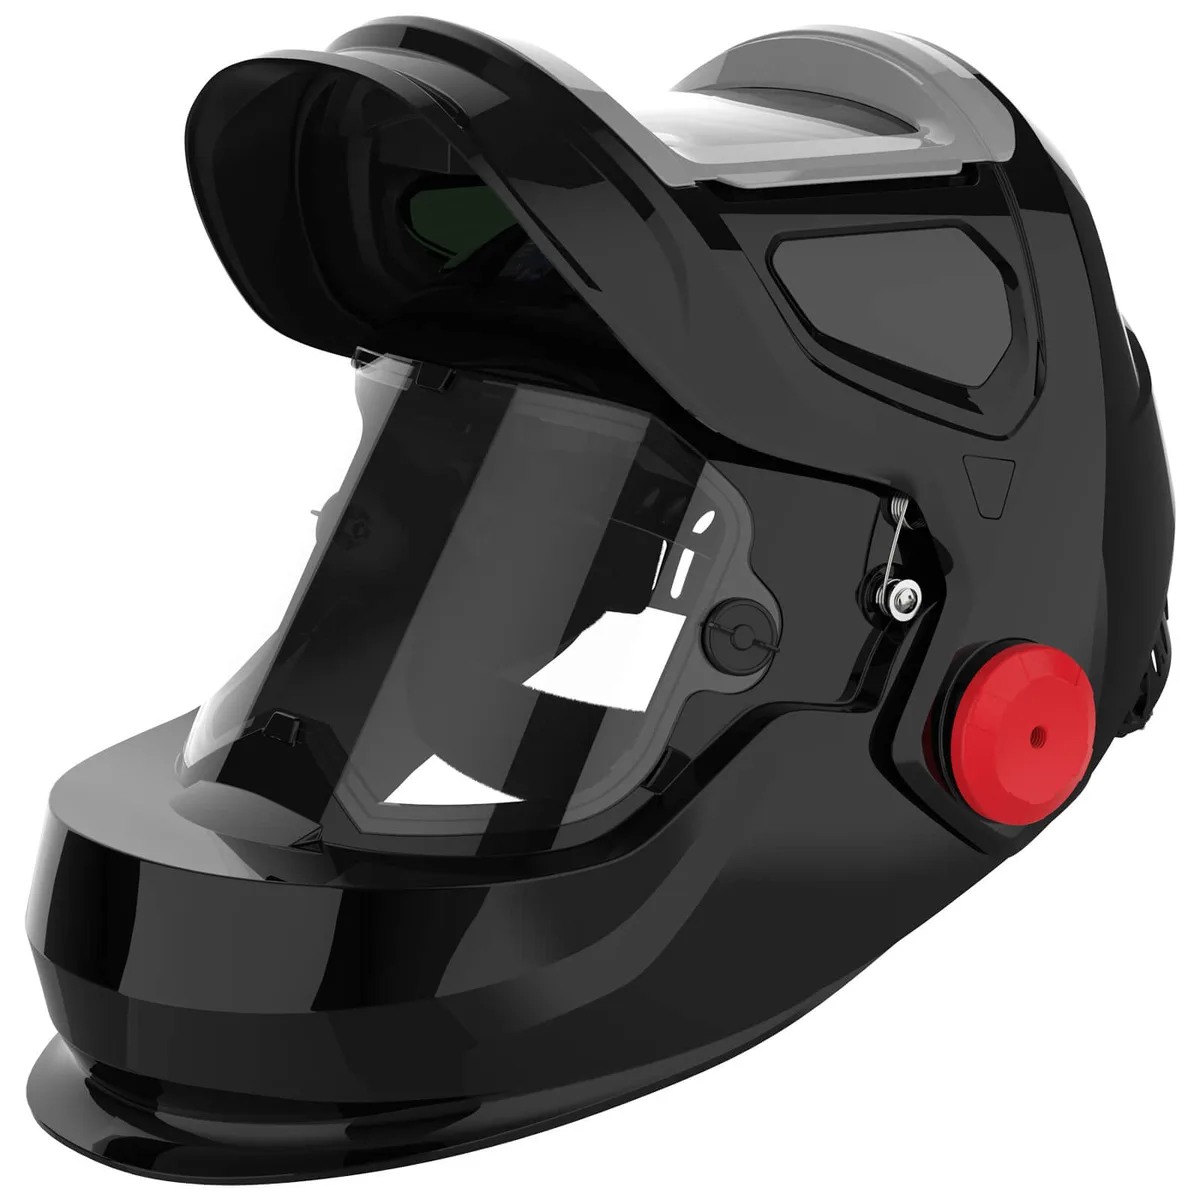
Image source: Bing (Web (fair-use with source credit))
Auto-darkening lenses are the modern standard for many welders due to their convenience. They remain in a clear, low-shade state until the welding arc is struck. When they detect the arc's light intensity, they instantly darken to a preset shade number, typically adjustable from around shade 9 to 13, sometimes higher. This eliminates the need to manually flip your helmet up and down, allowing you to maintain focus on your weld.
Passive lenses, on the other hand, are simpler. They are permanently tinted to a specific shade number, like a shade 10 or 12, and do not change. To weld, you must manually flip the helmet up, and to see your workpiece before or after the arc, you have to flip it back up. While simpler and often more affordable, this constant flipping can disrupt your welding rhythm and make precise tacking more challenging.
Common Shade Lens Mistakes to Avoid
Even with the guidelines in place, it's easy to fall into traps when selecting your MIG welding shade. These common errors can lead to discomfort, poor weld quality, and, most importantly, eye strain or injury.
Not Going Dark Enough
This is perhaps the most dangerous mistake. If your lens is too light for the amperage and arc intensity you're using, you're exposing your eyes to excessive UV and IR radiation. This can lead to arc eye, which feels like severe sunburn on your cornea. You might initially think it's just a bit too bright, but that lingering discomfort or grittiness hours later is your eyes telling you they were overexposed.
Going Too Dark and Losing Visibility
On the flip side, choosing a shade that's too dark can be just as problematic, though less immediately dangerous in terms of radiation exposure. If your lens is excessively dark, you won't be able to clearly see your weld puddle, the electrode, or the surrounding material. This lack of visibility makes it incredibly difficult to control your weld, execute precise movements, and achieve a quality bead. You might end up with poor penetration, excessive spatter, or an uneven weld simply because you couldn't see what you were doing.
Ignoring Amperage Fluctuations
Sometimes, a welding situation doesn't involve a constant, steady amperage. If you're transitioning between different material thicknesses or joint types within the same project, your amperage needs might change. Failing to adjust your shade accordingly, especially if you're using an auto-darkening helmet set to its lowest acceptable shade, can lead to overexposure during higher-amperage moments. Always be mindful of your machine's settings and how they relate to the light intensity of the arc.
Protecting Your Eyes: Safety and Risks
When you’re engaged in MIG welding, your eyes are constantly exposed to intense hazards that demand robust protection. Beyond the visible light, the arc emits invisible but harmful radiation. Understanding these risks is the first step toward preventing serious injury.
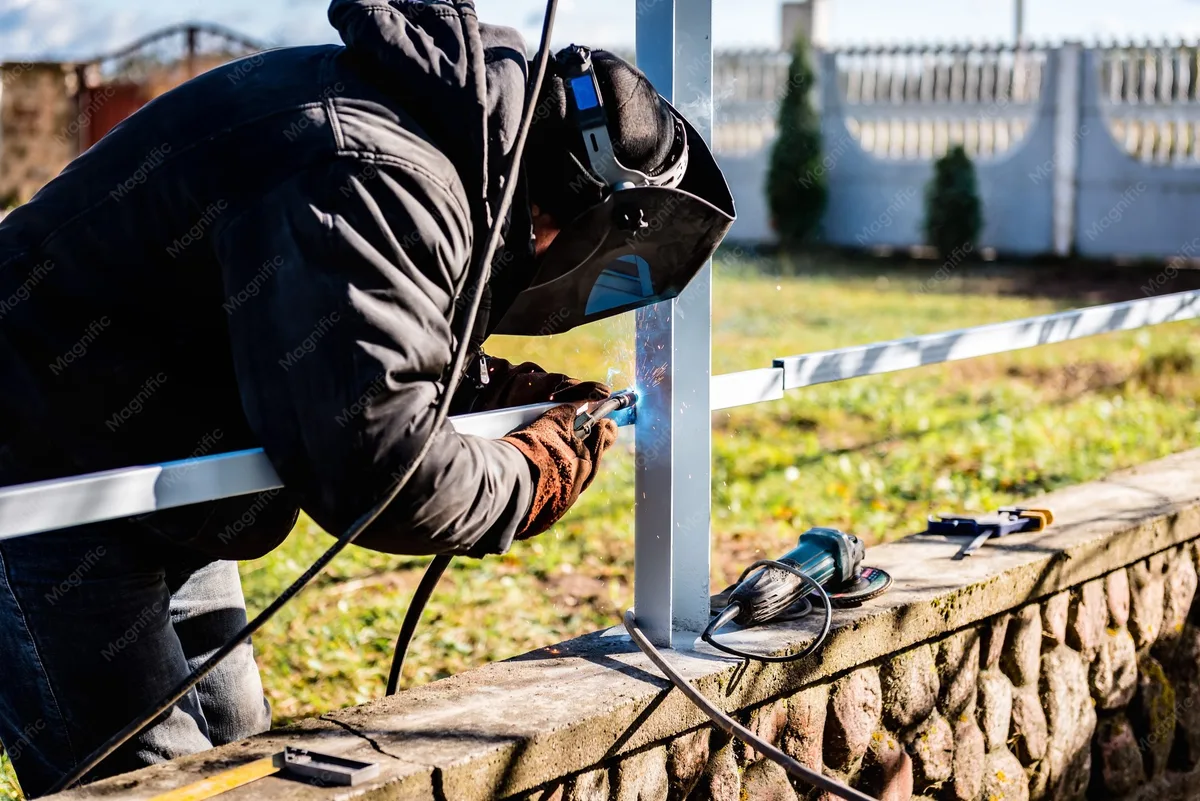
Image source: Bing (Web (fair-use with source credit))
Understanding UV and IR Radiation
The light from a welding arc contains significant amounts of ultraviolet (UV) and infrared (IR) radiation. UV radiation is well-known for its ability to cause sunburn on the skin, and it has a similar damaging effect on the cornea and conjunctiva of the eye, leading to arc eye. IR radiation, while not causing the same immediate burn, can contribute to long-term eye damage, including cataracts. Standard sunglasses or everyday eyewear do not offer adequate protection against these specific types of radiation emitted by welding arcs.
The Danger of Arc Eye
Arc eye, or welder's flash, is a painful condition resulting from overexposure to UV radiation. It typically manifests several hours after exposure, with symptoms including a gritty or sandy feeling in the eyes, light sensitivity, tearing, and redness. While usually temporary, the pain can be severe, and repeated exposures can lead to long-term vision problems. For MIG welding, using a helmet with a shade lens rated appropriately for the amperage of your arc is the primary defense against arc eye.
Always ensure your helmet also provides sufficient IR protection, as recommended by safety standards.
Expert Tips for Perfect Shade Selection
Mastering the right shade for MIG welding involves more than just looking at a chart. Our research indicates that experienced welders often refine their choices based on subtle environmental factors and their personal comfort. It's about making your eyes as comfortable and safe as possible while ensuring you can still see every detail of your work.
Testing Your Lens
The best way to confirm your shade setting is the correct one is through a practical test. After setting your auto-darkening lens to what you believe is appropriate for your amperage, strike a brief arc on a scrap piece of metal. Observe the intensity of the light. You should feel no discomfort and be able to clearly see the molten weld puddle.
If the arc feels too bright and causes discomfort or makes it hard to see the puddle details, it’s too light. Increase the shade number by one. If the weld puddle is completely obscured and you can’t discern its shape or flow, the shade is likely too dark. Decrease the shade number by one.
This iterative process, often performed at the start of a job or when changing amperage, ensures optimal visibility and protection.
Considering Personal Comfort
While general guidelines exist, individual sensitivity to light varies. What feels comfortable for one welder might be slightly too bright or too dim for another, even when working with the same amperage. Manufacturer specifications often provide a recommended range for each shade number, allowing for this personal adjustment. It's beneficial to pay attention to how your eyes feel during and after welding.
If you consistently experience eye strain or headaches after welding sessions, even with a seemingly correct shade, it's worth experimenting with a slightly darker lens. Conversely, if you find yourself struggling to see the weld pool clearly, a slightly lighter shade might improve your control and weld quality.
When to Consider a Different Shade
The shade you choose isn't always static; it can and should change depending on the specific welding task. While amperage is the primary driver, other factors can influence your decision for optimal safety and weld control.
The type of filler wire you’re using for MIG welding can subtly affect arc intensity. Higher-performance or specialized wires might produce a slightly different arc characteristic compared to standard mild steel wire. Additionally, the shielding gas mixture can influence the arc's brightness. For example, some argon-rich mixtures might result in a hotter, brighter arc than others.
If you find yourself consistently working with a range of materials and amperages, consider a helmet with a wide shade range and easy adjustment features. Many auto-darkening helmets allow for fine-tuning, typically from shade 9 to 13, giving you the flexibility to adapt quickly. For very light critical work, some specialty lenses even go down to shade 5 or 6, though these are less common for standard MIG applications.
How Amperage Affects Your Weld Quality
The chosen shade lens, while critical for safety, is intrinsically linked to the quality of your weld because it dictates your visibility. Poor visibility due to an incorrect shade directly impacts your ability to control the weld pool, leading to a cascade of potential quality issues.
If your lens is too dark, you struggle to see the depth of penetration, the fluidity of the molten metal, and the placement of your filler wire. This can result in welds that are too shallow, have poor fusion with the base metal, or are unevenly built up. It also makes it harder to maintain a consistent bead width and height, and can lead to excessive spatter if you're not accurately controlling the wire feed speed and travel speed.
On the other hand, if your lens is too light, the blinding arc can make it difficult to focus on the precise point where the metal is melting. This increased glare can cause you to lose track of your travel speed and angle, leading to inconsistent weld quality, potential porosity from contaminants exposed too early, or an inability to achieve smooth, aesthetically pleasing beads. The correct shade ensures you can see the molten puddle clearly, allowing for precise control over bead placement, penetration, and overall weld integrity.


