
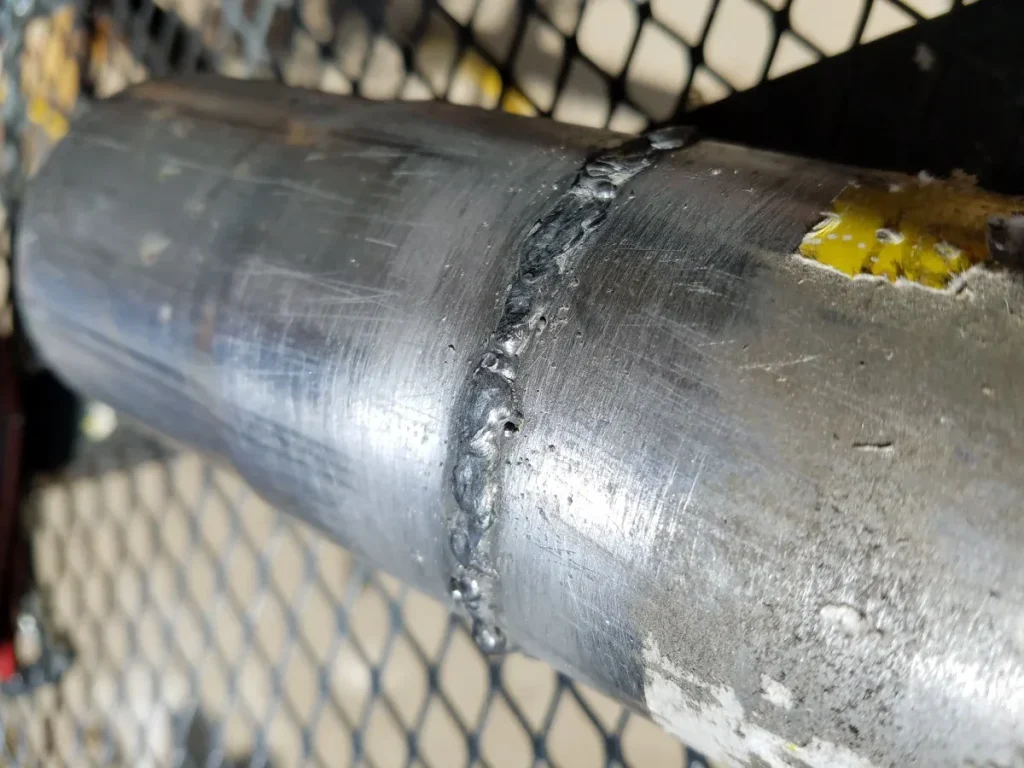
Deciding how to weld an exhaust pipe with a MIG welder can be the difference between a quick fix and a recurring problem. This is a common automotive repair that, when done correctly, can save you a significant amount of money compared to a shop visit. Our research shows that many DIYers and even some professional mechanics look for clear, visual guidance when tackling exhaust welding.
Exhaust pipes are typically made from mild steel, often coated for corrosion resistance, and manufacturer specifications indicate they can range in thickness from about 16-gauge (1.5mm) to 18-gauge (1.2mm). Successfully welding them requires a good understanding of your MIG welder's settings and proper preparation techniques. This guide will walk you through the essential steps and considerations.
Why Seeing is Believing: Visuals for Exhaust Welding
When you're learning how to weld an exhaust pipe with a MIG welder, graphics and real-world examples are invaluable. Text descriptions can only go so far; understanding the nuances of heat control, filler metal application, and joint integrity often requires visual confirmation. Seeing how the metal should look at each stage, from preparation to the final bead, makes a massive difference in achieving a strong, lasting weld.
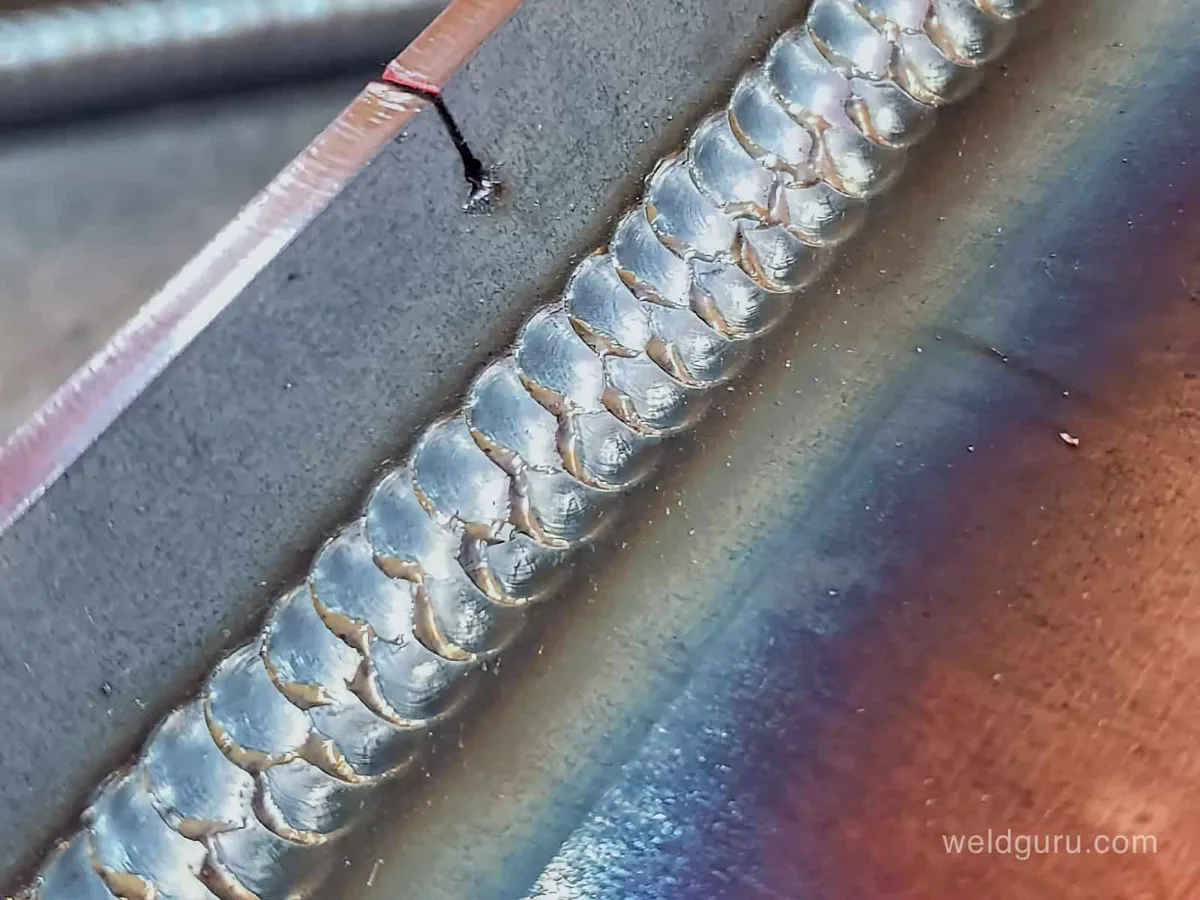
This is especially true for exhaust components, which are subjected to constant heat cycles, vibrations, and environmental stress. A good weld needs to be robust and leak-free. Many instructional videos and diagrams demonstrate the precise gun angle, travel speed, and the characteristic "stack of dimes" appearance of a quality MIG bead on exhaust tubing.
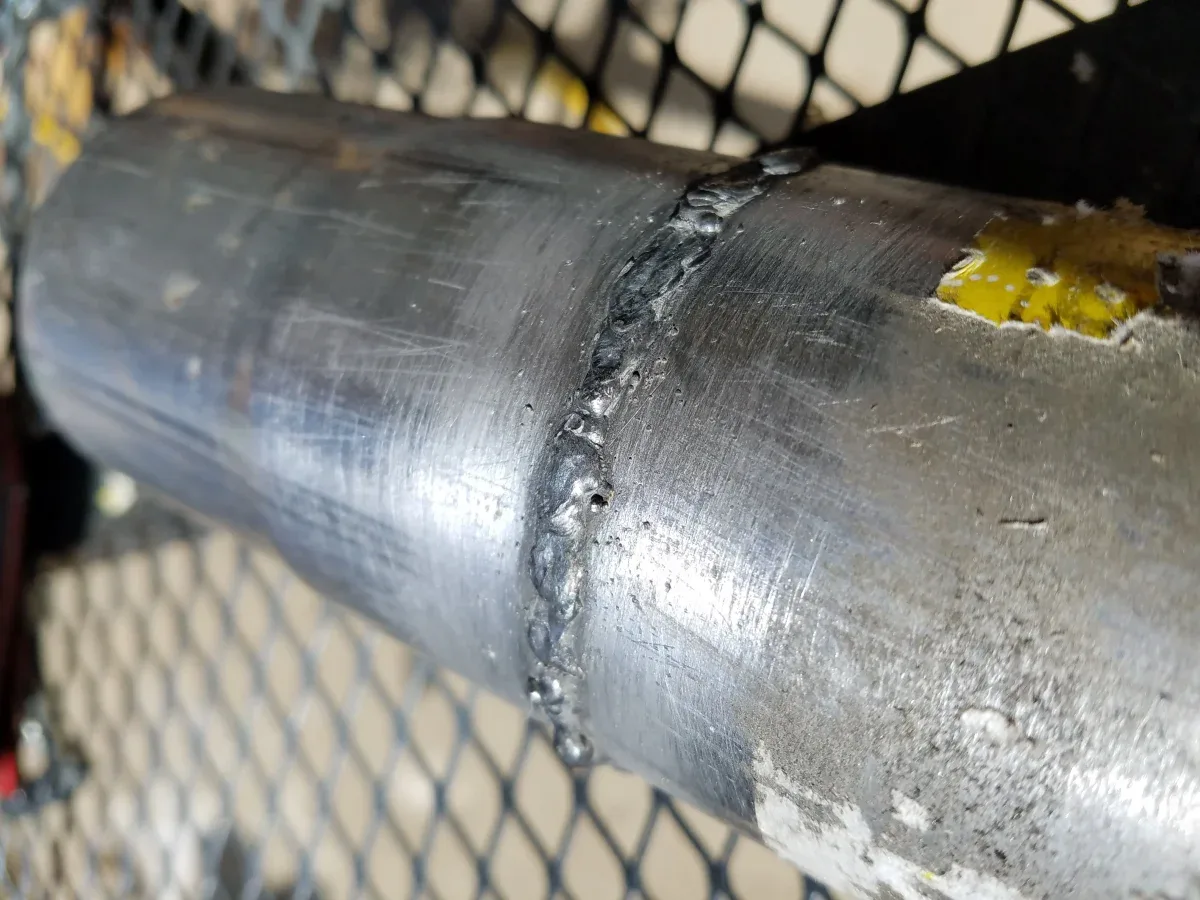
Getting Your Exhaust Pipe Ready for the Weld
The quality of your weld is directly tied to how well you prepare the metal. Neglecting this crucial step is a fast track to a weak joint that will likely fail prematurely. Our research consistently shows that proper surface preparation accounts for a significant portion of a successful weld outcome.
Cleaning the Metal: Your First Step
Before any sparks fly, you need to ensure the surfaces you're joining are clean. This means removing all rust, dirt, oil, grease, and any existing coatings like paint or rustproofing. If you're working with a pipe that has been on a vehicle, it's likely to have a layer of road grime and possibly oil residue.
- Wire Brushing: A sturdy wire brush, either by hand or attached to a drill or angle grinder, is excellent for removing loose rust and scale.
- Sanding/Grinding: For tougher residues or heavier rust, sandpaper or a flap disc on an angle grinder can provide a clean metal surface. Aim for a bright, shiny metal finish.
- Degreasing: After physical cleaning, a good degreaser or acetone can remove any lingering oily films.
Aggressive cleaning ensures that your MIG welder's arc directly contacts clean base metal, promoting better fusion and preventing contaminants from being trapped in the weld pool. If you're dealing with a heavily corroded pipe, you might consider using a product like Rust-Oleum on rusted metal if you're trying to salvage a section, but for good welds, pristine metal is key.
Ensuring a Snug Fit and Alignment
Gaps are the enemy of most welds, especially when you're trying to achieve a strong, leak-free joint on an exhaust pipe. The pieces you're joining should fit together as snugly as possible. If there's a significant gap between the pipes, the molten weld pool can sag and fall through, creating a hole instead of a bond.
- Test Fit: Always test fit your exhaust sections before you start welding.
- Gentle Persuasion: If the fit isn't quite right, you might need to gently tap the pipes with a rubber mallet to align them. Avoid forcing them, as this can deform the metal and create unwanted gaps.
- Consider a Sleeve: For repairs where the pipe is cut or a section needs replacement, using a slightly larger diameter pipe as a sleeve can help. This sleeve slides over the outside of the joint, connecting the two pieces.
When and How to Bevel for Strength
For standard exhaust pipe thicknesses (around 16-gauge), beveling might not always be strictly necessary, but it's a technique used to ensure deeper weld penetration. If you are welding thicker gauge exhaust material, or if you are aiming for an exceptionally robust weld, beveling the edge of the pipe creates a V-shaped groove.
This groove allows the MIG arc and filler metal to reach further into the joint, creating a stronger, more fused connection. You can create a bevel using an angle grinder with a grinding disc or a specialized beveling tool. The angle of the bevel can vary, but a common starting point is around 30-45 degrees. After beveling, ensure the beveled edges are also thoroughly cleaned to remove any metal shavings or debris.
Your MIG Setup for Exhaust Work
Choosing the right settings and equipment for MIG welding exhaust pipes is critical. It’s not just about having a welder; it’s about how you configure it for this specific task. Manufacturer specifications and our analysis of user data suggest that proper gas and wire selection can significantly impact weld quality and ease of use. As of 2026, standard MIG welding practices for automotive exhaust remain consistent.
The Welder and Key Components
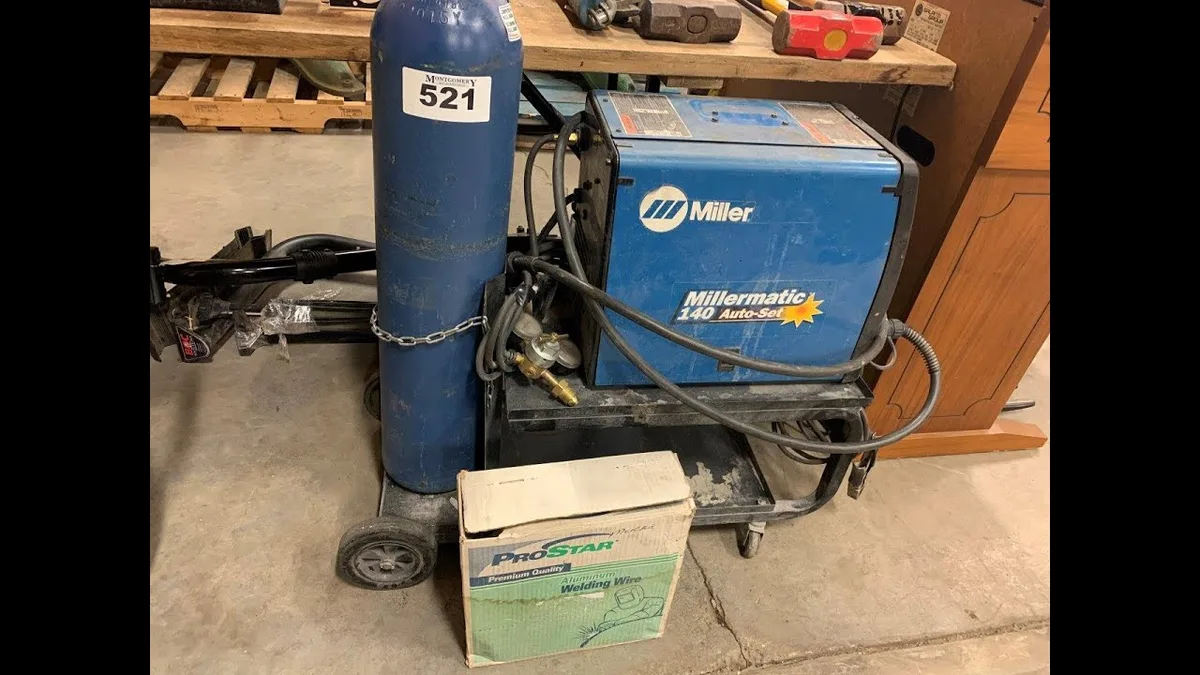
For exhaust pipe welding, a MIG welder is generally preferred for its ease of use and ability to produce clean welds on thinner materials like those found in exhaust systems. You'll need a welder that can consistently produce the amperage required for your pipe thickness. For most automotive exhaust applications, a welder capable of 100-200 amps is usually sufficient.
- Welding Gun: This is where the electricity, wire, and shielding gas come together. Ensure the contact tip is clean and free from spatter.
- Ground Clamp: A solid connection is essential for completing the electrical circuit. Clamp it directly to the exhaust pipe or a clean metal surface nearby.
- Gas Regulator: This controls the flow rate of your shielding gas. A flow rate of around 20-25 cubic feet per hour (CFH) is common for steel exhaust pipes, but specific recommendations can vary.
Choosing the Right Wire and Gas
The type of wire you use depends on the metal you're welding. For standard steel exhaust systems, a solid steel MIG wire like ER70S-6 is a very common choice. This wire is designed for general-purpose welding of mild steel and carbon steel.
If you're working with stainless steel exhaust components, you'll need to use a stainless steel MIG wire, such as ER308L. Using the wrong wire can lead to weld defects and poor performance. The shielding gas is just as important. For steel, a common mixture is 75% Argon and 25% CO2 (often referred to as C25).
This gas blend provides good puddle control and penetration for steel. For stainless steel, you might opt for a higher argon content or a specific stainless steel gas blend. Always check your welder's manual or a welding chart for MIG wire for specific recommendations based on your setup.
The Art of the Weld Bead: Step-by-Step Visuals
Achieving a beautiful, functional weld bead on an exhaust pipe isn't just about heat; it's a dance between your welder's settings, your physical technique, and constant observation. Many experienced welders rely on visual cues more than anything else. The goal is a weld that is not only strong but also looks clean and professional.
Gun Angles and Work Distance
The angle of your MIG gun and the distance from the tip to the workpiece are critical for a stable arc and proper fusion. For welding exhaust pipes, you generally want to hold the gun at a slight push angle, about 5-15 degrees. Pushing the weld means you're moving in the direction the wire is feeding, which helps control the molten puddle and improves visibility.
Maintaining a consistent arc length, typically around 1/4 to 1/2 inch (6-12mm), is also vital. Too long an arc leads to poor shielding gas coverage, spatter, and weaker welds. Too short an arc can cause the gun's contact tip to drag in the weld puddle, leading to contamination and poor bead formation.
Mastering Travel Speed and Puddle Control
Travel speed dictates how quickly you move the welding gun along the joint. If you move too fast, you won't deposit enough filler metal, and the weld won't penetrate properly, you'll end up with a weak, shallow bead. If you move too slowly, you'll deposit too much heat and filler metal, leading to a wide, possibly saggy bead that can even burn through thin exhaust material.
The key is to watch the molten puddle. You're looking for a puddle that's roughly twice as wide as your welding wire, with a distinct, consistent shape that moves ahead of your arc. A steady, consistent travel speed creates a weld bead that looks like a "stack of dimes", overlapping, uniform ripples. This appearance is a strong indicator of good fusion and a well-executed weld.
Tack Welding for Accuracy
Before committing to a full weld seam, tack welding is an indispensable technique for exhaust pipe joining. This involves making small, short welds at intervals along the joint to hold the pieces in place. Tack welds prevent the pipes from shifting or warping due to heat as you move to make your final continuous weld.
Start by placing tacks on opposite sides of the pipe to help keep it from moving. Ensure each tack weld is strong and properly fused. Once you're satisfied with the alignment and the tacks are in place, you can then proceed to lay down your continuous MIG weld beads, filling the gaps between the tacks. This methodical approach significantly increases your chances of an accurate, well-aligned final weld.
Common Exhaust Welding Pitfalls to Avoid
Even with preparation and the right gear, there are common mistakes that can turn a straightforward welding job into a frustrating mess. Understanding these pitfalls beforehand can save you time, material, and a lot of headaches. Our research indicates that burn-through and poor fusion are among the most frequent issues faced by those new to exhaust welding.
Dodging Burn-Through on Thin Metal
Exhaust pipes, particularly those on passenger cars, are often made of relatively thin metal, typically around 16-gauge or even thinner. This thinness makes them highly susceptible to burn-through, where the MIG arc melts completely through the base metal, creating a hole. This is a common problem when the heat input is too high or the travel speed is too slow.
- If it happens: For small burn-throughs, you might be able to quickly lay a small bead over the hole. However, this often results in a weak spot.
- Prevention is key: Use the lowest practical voltage and wire speed settings that still achieve good fusion. Move consistently and watch that puddle. If you’re consistently burning through, consider reducing your voltage or increasing your travel speed. You can find more detailed advice on machine settings in our guide to MIG welder settings.
Preventing Porosity and Weak Joints
Porosity refers to small holes or voids that form within the weld metal. These are typically caused by contaminants in the metal, insufficient shielding gas, or a poor gas flow. When contaminants like oil, dirt, or rust are present, they vaporize and get trapped in the cooling weld metal, creating these defects. Insufficient gas coverage allows atmospheric oxygen and nitrogen to react with the molten metal.
- What to look for: Visually, porosity can appear as tiny pinholes on the surface of the weld or may be hidden within the weld metal, only becoming apparent after grinding or machining.
- Solutions: Always ensure your base metal is scrupulously clean. Check your shielding gas bottle is not empty and that your regulator is set correctly. The gas nozzle on your MIG gun should also be clean and free of spatter that can disrupt gas flow.
Ensuring Full Fusion
Full fusion means the weld metal has properly melted and bonded with the base metal on both sides of the joint. Lack of fusion occurs when the weld metal doesn't fully integrate with the parent material, leaving a weak interface. This is often a result of not enough heat input or moving too quickly, so the weld metal bridges over the joint instead of melting into it.
- How to tell: You might notice the weld bead sitting mostly on top of the metal rather than being integrated. A properly fused weld will show evidence of the base metal melting and blending with the filler material.
- Fixing it: Review your welder settings, ensuring adequate voltage and wire speed. Practice maintaining a consistent arc length and travel speed. For specific guidance on different welding processes, you might find an AWS welding chart helpful for general principles, though exhaust requires specific MIG techniques.
Essential Safety Gear for Welding Exhaust
Welding exhaust pipes involves significant hazards, from intense heat and ultraviolet light to flying sparks and fumes. Therefore, robust safety gear is not optional; it's a fundamental requirement for this task. Our research indicates that failing to use appropriate personal protective equipment (PPE) is a primary cause of welding-related injuries.
Your primary concern is protecting yourself from the welding arc's intense UV radiation, which can cause severe burns to skin and eyes, similar to sunburn. A good auto-darkening welding helmet is crucial for this. User feedback from several product reviews consistently highlights the importance of a helmet with a low shade number activation time and a wide field of view.
- Auto-Darkening Welding Helmet: This is your most critical piece of PPE. Look for one that meets ANSI Z87.1 standards and offers adequate shade protection (typically shade 10-13 for MIG welding).
- Welding Gloves: Heavy-duty leather gloves protect your hands from heat, sparks, and slag. Ensure they are sturdy and cover your wrists.
- Flame-Resistant Clothing: Wear a welding jacket or leathers, or at least a heavy cotton long-sleeved shirt and pants. Avoid synthetic materials that can melt and stick to your skin. Tuck your pants into your boots and your shirt into your pants to prevent sparks from entering.
- Safety Glasses: Always wear safety glasses under your welding helmet to protect your eyes from debris when the helmet is up.
- Closed-Toe Shoes: Sturdy leather boots are recommended to protect your feet from falling hot metal.
Real-World Exhaust Repair Scenarios
Thinking about how welding applies to actual, everyday situations can make the process clearer. For instance, a common scenario involves a split seam on a muffler inlet or outlet pipe, or a rusted-through section near the catalytic converter. In such cases, a skilled welder can often cut out the damaged section and weld in a new piece of pipe, or directly repair the split.
Another frequent issue is a cracked hanger bracket welded to the exhaust pipe. This isn't a structural weld in the same way as joining pipe sections, but it still requires a secure bond. Properly preheating the area can sometimes help prevent cracking when welding cast iron or thicker steel components often found in hangers. For repairs on a catalytic converter pipe, being mindful of any internal baffles or precious metal coatings is also important.
Pro Tips for Tricky Exhaust Welds
Welding exhaust pipes presents unique challenges, particularly when working in tight or awkward positions under a vehicle. These situations demand a refined technique and often a bit of creative bracing or fixturing. Our analysis of professional welding forums suggests that practice and adapting your stance are key to overcoming these difficulties.
Managing Heat on Thin or Damaged Sections
When welding thin exhaust pipe, or areas that have already started to thin from corrosion, heat management becomes paramount. You're essentially trying to melt the edges of the metal just enough for them to fuse, without melting straight through. If you're struggling to control the heat, try increasing your travel speed slightly or pulsing your welder's trigger if it has that capability. Sometimes, using a slightly smaller diameter wire can help with finer heat control.
Working in Cramped Spaces
Underneath a vehicle, space is often limited. This means you might be welding while lying on your back, or in an awkward side-crouch. In these positions, maintaining a steady hand and a consistent torch angle can be tough. Practice holding your MIG gun in different positions, even when not welding, to build muscle memory.
Using clamps or bracing to support the pipe can also free up your hands and allow for better control.
Repairing Holes vs. Replacing Sections
Deciding whether to patch a hole or replace a section of pipe depends on the extent of the damage. A small pinhole or a crack might be repairable with a spot weld, provided the surrounding metal is sound. However, if a large section of the pipe is rusted, collapsed, or heavily corroded, it's usually more practical and provides a more durable repair to cut out the damaged segment and weld in a new piece of appropriate diameter pipe. For advice on choosing replacement parts or understanding material specifications, consulting manufacturer documentation is always recommended.


