
Why Aluminum MIG Welding Isn’t Plug-and-Play
Equipment You Actually Need
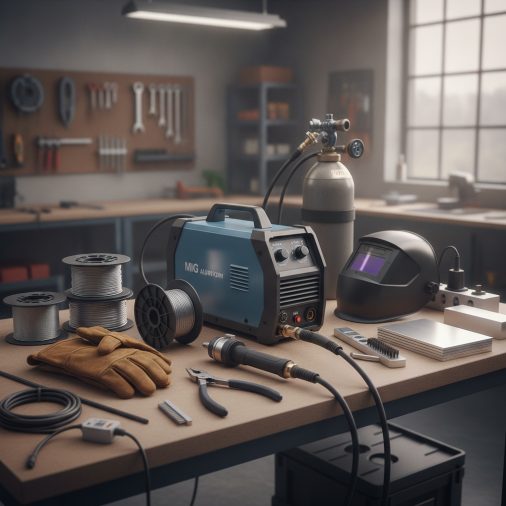
Setting Up Your MIG Welder for Aluminum
The setup process differs enough from steel that it’s worth walking through it methodically. 1. Install the spool gun — Connect your spool gun to the machine’s gun connection point. Most modern multi-process or mid-range MIG welders have a dedicated spool gun port. 2. Load aluminum wire — Install your ER4043 or ER5356 wire onto the spool gun. Make sure the tension isn’t too tight, as this can crush the soft wire. 3. Install an aluminum-rated contact tip — Match the tip size to your wire diameter with the appropriate aluminum clearance. 4. Connect pure argon — Set your flow rate to approximately 20–25 CFH (cubic feet per hour). This range provides consistent shielding coverage without excessive turbulence. 5. Set polarity to DCEP — Direct current electrode positive (reverse polarity) is correct for aluminum MIG. This is the standard polarity most MIG welders use by default. 6. Adjust voltage and wire speed — Aluminum generally requires higher wire feed speeds than steel for the same wire diameter. Start on the higher end of your machine’s chart and adjust from there. For a more detailed breakdown of machine settings and preparation, the full MIG welder setup process for aluminum is worth reviewing before your first pass.Preparing Aluminum Before Welding
Surface preparation is more important for aluminum than for steel. Aluminum oxide reforms quickly after cleaning — within minutes in open air — so timing matters. – Clean with acetone — Wipe down the base material with acetone or a dedicated aluminum cleaner to remove oil, grease, and contamination. – Remove the oxide layer — Use a dedicated stainless steel wire brush (never one that’s been used on steel) to scrub the weld area. Brush in one direction only. – Weld quickly after cleaning — Once you’ve brushed and cleaned, weld as soon as possible. Waiting too long allows the oxide layer to rebuild. – Preheat thick sections — On aluminum over ½” thick, preheating to around 200–300°F can help manage the high thermal conductivity and prevent cold lap or lack of fusion.Common Problems When MIG Welding Aluminum
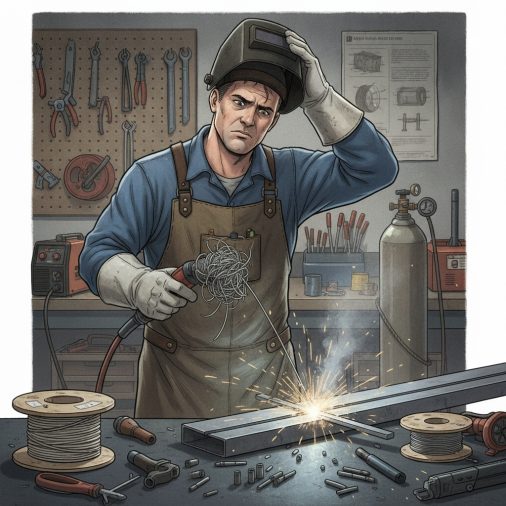
Even with the right setup, aluminum MIG welding has a learning curve. These are the issues most welders encounter early on. Porosity — Tiny holes in the weld bead are almost always caused by contamination or inadequate shielding gas coverage. Clean more aggressively and check for gas leaks or drafts disrupting the shielding envelope. Burnthrough — Aluminum’s low melting point makes it easy to blow through thin material. Move faster, reduce voltage slightly, or use a heat sink (a copper backing bar works well) on sheet metal under ⅛”. Birdnesting — Wire tangling in the liner or drive system. The fix is almost always switching to a spool gun. If you’re already using a spool gun, check that the drive rolls are aluminum-specific (U-groove or knurled rolls designed for soft wire). Cold lap / lack of fusion — The bead sits on top of the base metal instead of fusing into it. This usually means insufficient heat or moving too quickly. Slow down and confirm you’re using DCEP polarity. Oxide contamination appearing in the weld — Grayish or black streaking in the bead often signals inadequate surface prep. Re-clean and re-brush before the next pass.Can Any MIG Welder Handle Aluminum?
Not all MIG welders are equally suited for aluminum work. A few practical realities: – Power matters — Aluminum’s thermal conductivity demands adequate amperage. Machines under 140 amps will struggle with anything thicker than ⅛”. – Spool gun compatibility — Not all entry-level MIG welders accept a spool gun. Before buying aluminum wire and gas, confirm your machine has a spool gun port or that the manufacturer offers a compatible one. – Pulse MIG is superior for aluminum — Machines with pulse MIG capability, like the Lincoln Electric Power MIG 210 MP, offer much better control over aluminum heat input. Pulse mode delivers cleaner welds with less distortion and porosity, especially on thin material. Double pulse aluminum MIG welding takes this further by also controlling bead appearance and reducing heat buildup. – Basic flux-core machines — These cannot weld aluminum. Flux-core and aluminum are fundamentally incompatible. If you’re wondering about MIG welding aluminum without shielding gas, the short answer is that it simply isn’t possible with any reliable result.MIG vs. TIG for Aluminum: Which One Should You Use?
MIG welding aluminum is faster and easier to learn. TIG welding aluminum produces cleaner, higher-quality welds and is better for thin material, intricate joints, or appearance-critical work — but it requires significantly more skill.| Factor | MIG (with Spool Gun) | TIG |
|---|---|---|
| — | — | — |
| Learning curve | Moderate | Steep |
| Weld quality | Good | Excellent |
| Speed | Fast | Slow |
| Thin material control | Challenging | Excellent |
| Equipment cost | Lower | Higher |
| Best for | Production, structural, thicker plate | Precision, thin sheet, cosmetic welds |
FAQ
What wire should I use to MIG weld aluminum? ER4043 is the most widely recommended wire for general aluminum MIG welding. It’s crack-resistant, flows smoothly, and works on most aluminum alloys. ER5356 is the better choice when higher tensile strength is needed, such as in structural or marine applications. Match your wire diameter to your material thickness — 0.030″ for thinner work and 0.035″ for heavier sections. Do I need a spool gun to MIG weld aluminum? In most practical situations, yes. Aluminum wire is much softer than steel wire and is prone to birdnesting inside standard steel-liner MIG guns. A spool gun keeps the wire feed path short and eliminates that problem. Some welders use push-pull guns for longer cable flexibility, but for most hobbyists and shop welders, a spool gun is the most reliable and cost-effective solution. Can I use my standard MIG welder liner for aluminum wire? No. Standard steel liners create too much friction for soft aluminum wire and will cause feeding problems almost immediately. Replace the liner with a Teflon or nylon liner, and also swap to aluminum-rated contact tips. These two changes dramatically improve wire feeding consistency. What’s the best shielding gas for MIG welding aluminum? 100% pure argon is the correct gas for aluminum MIG welding. It provides the arc cleaning action needed to break through the aluminum oxide layer and produces stable arc characteristics. Mixed gases containing CO2, which are common for steel welding, are not suitable and will produce porous, contaminated welds on aluminum. Why does my aluminum MIG weld look black or sooty? Soot or dark discoloration usually means contamination — oil, grease, or the oxide layer wasn’t removed properly before welding. It can also indicate insufficient shielding gas coverage. Check your gas flow rate (20–25 CFH is typical), inspect for drafts, and re-clean the base material thoroughly with acetone and a dedicated stainless steel brush before trying again. Can a 110V MIG welder weld aluminum? A 110V MIG welder can handle thin aluminum, typically up to about 1/8″, as long as it accepts a spool gun and has enough output. At the upper range of this format, a machine like the Hobart Handler 140 with a compatible spool gun can produce acceptable results on thinner stock. Anything thicker than 3/16″ generally demands a 220V machine with higher amperage capacity. Is MIG welding aluminum harder than MIG welding steel? Yes, noticeably so. Aluminum requires more precise surface preparation, different consumables, faster travel speed, and tighter heat management. The good news is that once you’ve dialed in your setup and understand the material’s behavior, aluminum MIG welding becomes repeatable. Most experienced welders agree the first few hours of practice is the steepest part of the curve.MIG welding aluminum is entirely achievable with the right setup — a spool gun, pure argon, aluminum-specific wire and tips, and clean base metal. The biggest mistake most welders make is trying to run aluminum with their standard steel configuration and expecting good results. Get the setup right first, and the welding itself becomes much more manageable.


