
So, you're wondering if you can weld cast iron with a MIG welder. That's a question I hear a lot, and the answer isn't a simple "yes" or "no." It's more like, "Yes, but… and here's how to make sure that 'but' doesn't ruin your project."
Think of cast iron like a stubborn old mule. It can be moved, but you've got to handle it with respect and know its quirks. Trying to MIG weld it without the right approach is like trying to force that mule, you'll likely end up with a mess.
Image source: Bing (Web (fair-use with source credit))
Why Welding Cast Iron with MIG is a Challenge
Cast iron's unique composition makes it notoriously difficult to weld, especially with a MIG welder. The biggest hurdles are its inherent brittleness and high carbon content. When heated and cooled rapidly, cast iron tends to crack because it doesn't have the ductility to absorb the stress. Add to that potential contamination from years of use, and you've got a recipe for frustration if you're not prepared.
Brittleness, Carbon & Cracking: The Core Problems
Cast iron is a ferrous alloy with a carbon content typically ranging from 2% to 4%. This high carbon content makes it hard and wear-resistant but also brittle. When you apply heat from welding, the metal expands, and as it cools, it contracts. This expansion and contraction create significant internal stress.
If the cooling is too fast, the cast iron can't absorb this stress, leading to cracks that often appear far from the actual weld bead. Manufacturer specifications for some cast iron alloys indicate a tendency for high thermal expansion coefficients, further exacerbating this risk.
Other Cast Iron Types: How They Differ
It's important to know that not all cast iron is the same. The exact metallurgical makeup influences how it behaves during welding. Grey cast iron, the most common type, has graphite flakes that promote brittleness. Ductile iron (nodular iron) has graphite in a spherical shape, giving it more ductility and making it slightly easier to weld.
White cast iron is extremely hard and brittle, making it almost impossible to weld reliably. Identifying the type of cast iron you're working with is a crucial first step, though often challenging with older parts.
What You'll Need for MIG Welding Cast Iron
If you're determined to MIG weld cast iron, you can't just grab your standard steel setup. Specific filler metals and preparation are non-negotiable for any chance of success. This isn't a job for guesswork; precision matters.
The Right MIG Wire: Nickel is Your Ally
Using the correct MIG wire is probably the single most important factor when attempting to weld cast iron. Standard steel wires are generally unsuitable and will likely result in brittle welds prone to cracking. Instead, you'll want to use nickel-based filler metals.
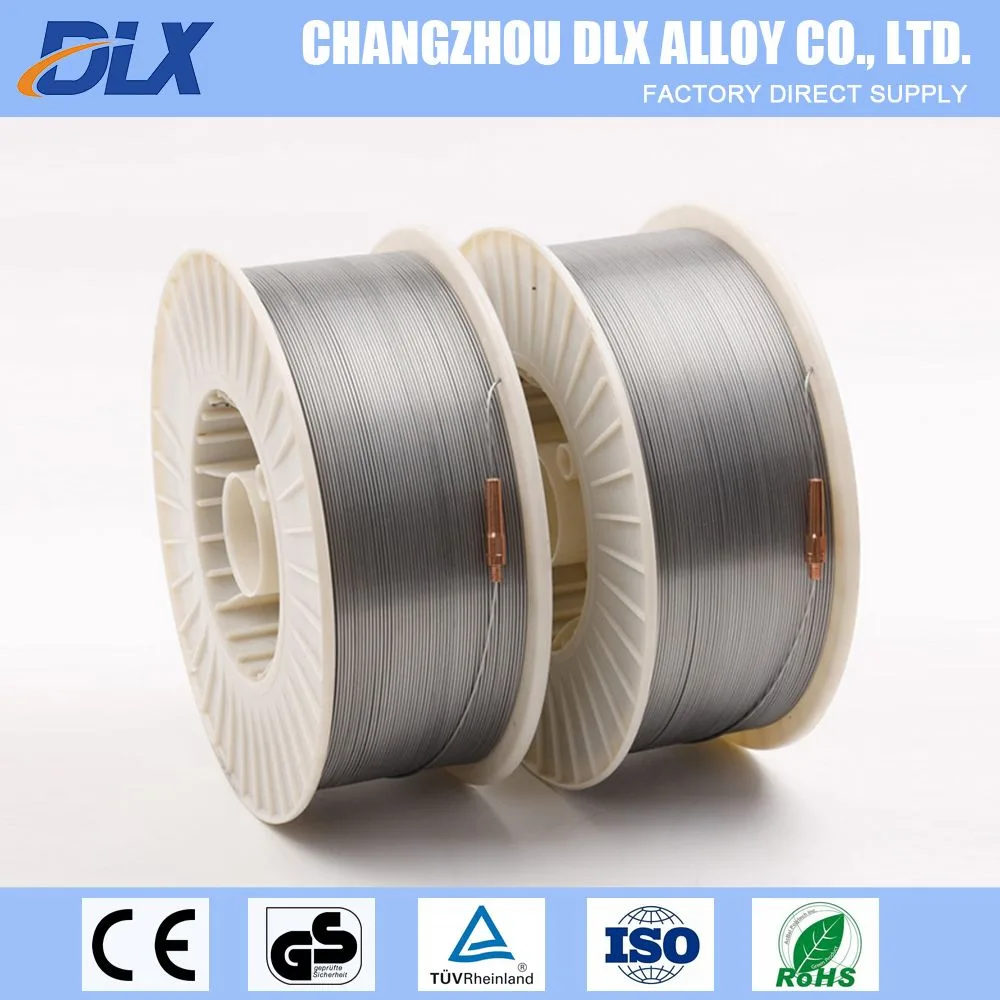
Image source: Bing (Web (fair-use with source credit))
- 99% Nickel Wires (e.g., ERNi-2): These are excellent for general cast iron repairs. The high nickel content gives the weld deposit good ductility, allowing it to absorb more stress without cracking. This wire is quite forgiving and is often the go-to for repairing common grey cast iron.
- 55% Nickel/45% Iron Wires (e.g., ERNiFe-CI): This alloy offers higher tensile strength than pure nickel wire and is particularly useful for welding cast iron to steel or for repairing certain types of cast iron that require a stronger weld.
Shielding Gas & Essential Gear
For MIG welding with these nickel wires, a shielding gas of 100% Argon is typically recommended. This gas helps protect the weld puddle from atmospheric contamination. Beyond the wire and gas, you'll need robust cleaning supplies, including a good angle grinder with grinding discs and wire wheels, degreasers, and potentially a wire brush to get your workpiece spotless. Proper safety gear, including an auto-darkening welding helmet, is always essential when welding.
The Step-by-Step Process: Welding Cast Iron Prepared
Successfully welding cast iron with a MIG welder requires a methodical approach, focusing heavily on preparation and controlled heat management. This is where many DIY attempts fail, skipping these critical steps leads directly to cracking. Follow this workflow to give your repair the best chance.
Step 1: Cleaning is Non-Negotiable
Before you even think about striking an arc, the cast iron must be impeccably clean. Castings are often saturated with oil, grease, and other contaminants that can seep out during heating, causing porosity and weak welds.
- Grind Out the Damage: Thoroughly grind out any cracks or damaged areas. For cracks, grind a V-groove along the entire length to ensure good weld penetration.
- Degrease: Use a strong degreaser and an appropriate solvent to remove all surface oils and grime.
- Wire Brush/Grind Again: After degreasing, go over the area again with a clean wire wheel or brush on your grinder to remove any oxidation or remaining debris. This step cannot be overemphasized; contaminants are the enemy of cast iron welds.
Step 2: Prep Those Cracks (Stop Holes & V-Grooves)
Once the area is clean, you need to prepare the crack itself to minimize the risk of it spreading.
- Drill Stop Holes: At both ends of any visible crack, drill a small hole (typically 1/8 inch or 3mm). This hole acts as a physical barrier, preventing the crack from propagating further under the stress of welding.
- Create a V-Groove: As mentioned, grind a V-groove along the length of the crack. This provides a channel for the weld filler metal to penetrate and fuse properly, ensuring a stronger bond than a simple surface bead.
Step 3: Gentle Preheating for Success
Preheating the cast iron part is one of the most critical steps to prevent cracking. It reduces the temperature difference between the weld zone and the surrounding metal, minimizing thermal shock and stress as you weld. Per research in fabrication standards, preheating can significantly reduce the risk of weld-related failures.
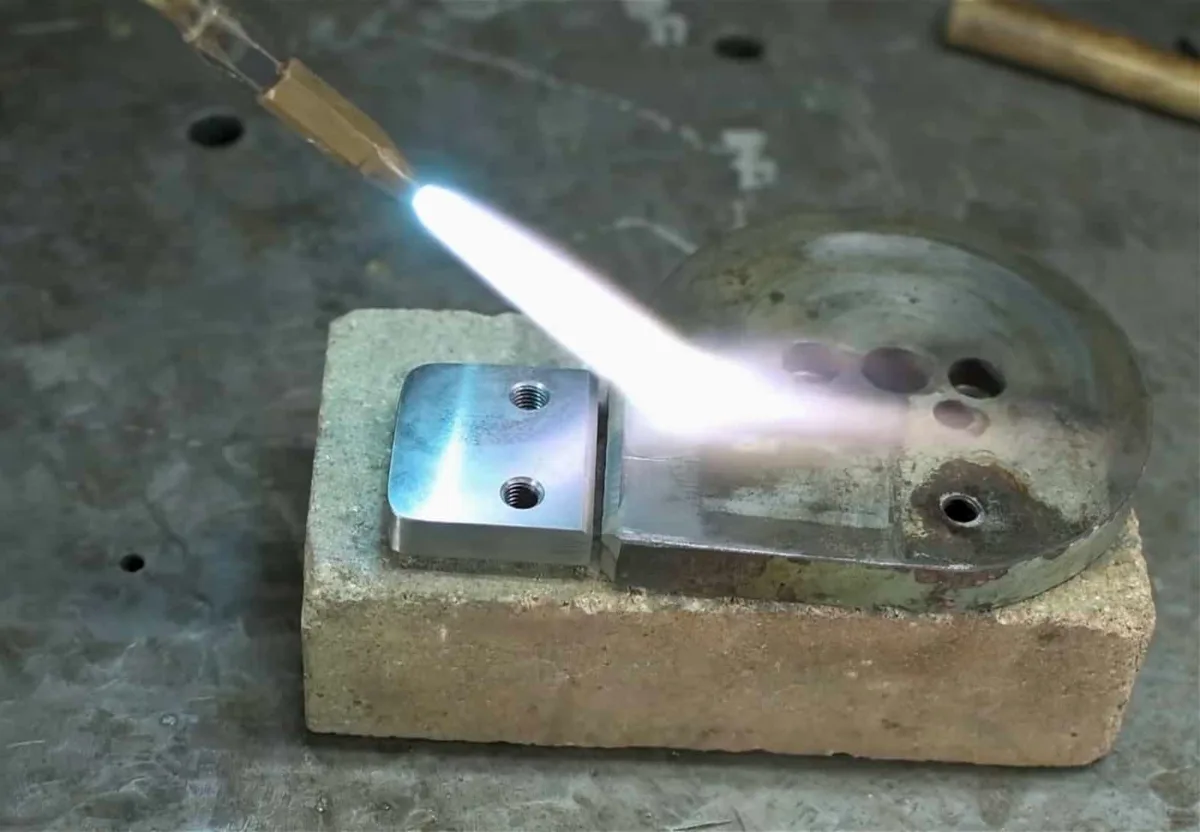
Image source: Bing (Web (fair-use with source credit))
- Target Temperature: Aim for a preheat temperature between 300-500°F (150-260°C). For larger or more complex repairs, you might need even higher temperatures.
- Heating Method: You can achieve this using a torch (like an oxy-acetylene or propane torch, used carefully) or a heating blanket. Evenly heat the area around the weld joint, not just the immediate weld seam. You can use temperature-indicating crayons or an infrared thermometer to monitor the temperature accurately.
Step 4: Short Runs & Peening to Relieve Stress
With the cast iron preheated and the area prepped, you can begin welding. However, it's crucial to weld in short segments and manage the stress induced by the heat.
- Weld in Short Beads: Lay down short weld beads, typically no more than 1-2 inches (2-5 cm) at a time. This limits the amount of heat introduced at any one spot.
- Peen Immediately: While each short weld bead is still hot but not glowing red, gently tap it with a ball-peen hammer. This action, known as peening, helps to relieve some of the tensile stress that builds up as the weld metal cools and contracts. Make firm, consistent taps, but don't hammer so hard that you deform the metal.
Step 5: The Art of Slow Cooling
Just as critical as preheating is allowing the cast iron part to cool down as slowly as possible. Rapid cooling is a primary cause of cracking after welding.
- Insulate the Part: Once you've finished welding, immediately insulate the entire piece. This can be done by wrapping it in a welding blanket, burying it in dry sand or vermiculite, or placing it in a warming oven set to a low temperature.
- Patience is Key: Allow the part to cool naturally for at least 24 hours, or until it's at room temperature. Resisting the urge to speed up this process is vital for preventing new cracks from forming.
Critical Mistakes to Avoid When Welding Cast Iron
Even with the right equipment and preparation, mistakes can still lead to cracked welds or damaged parts. Understanding these common pitfalls is crucial for anyone attempting to MIG weld cast iron. Many issues stem from either not enough prep or too much heat applied too quickly.
Rushing the Cooling Process
As we've discussed, slow cooling is paramount. If you can't let the part cool naturally for 24 hours, you're leaving yourself open to cracking. This is especially true for thicker castings or when welding dissimilar metals, where stresses are amplified. Cooling too fast introduces massive thermal shock.
Using the Wrong Filler Wire
Trying to save a few bucks by using standard steel MIG wire on cast iron is a guaranteed way to invite failure. Steel wire lacks the ductility and compatibility needed. Always stick to nickel-based fillers like ERNi-2 or ERNiFe-CI specifically designed for cast iron.
Insufficient Cleaning
If you think a quick wipe-down is enough, think again. Years of oil, grease, and dirt can impregnate the pores of cast iron. These contaminants will boil out during heating, creating gas pockets (porosity) in your weld and weakening the joint significantly. Thorough degreasing and grinding are essential.
Overheating the Base Metal
While preheating is necessary, applying too much heat or heating unevenly can also cause problems. Overheating can alter the cast iron's microstructure negatively or even lead to distortion. Use your temperature-indicating crayons or an IR thermometer to stay within your target range during preheating and welding.
Alternatives to MIG Welding for Cast Iron
While MIG welding is an option, it's often not the easiest or most reliable method for cast iron repairs. Other processes offer more control or are better suited to the material's properties, making them preferable in many situations. Understanding these alternatives helps you choose the best tool for the job.
Stick Welding (SMAW) on Cast Iron
Stick welding, or Shielded Metal Arc Welding (SMAW), is a viable option for cast iron, often favored for its portability and ability to handle tougher conditions. Specialized cast iron electrodes are available that offer good ductility and strength.
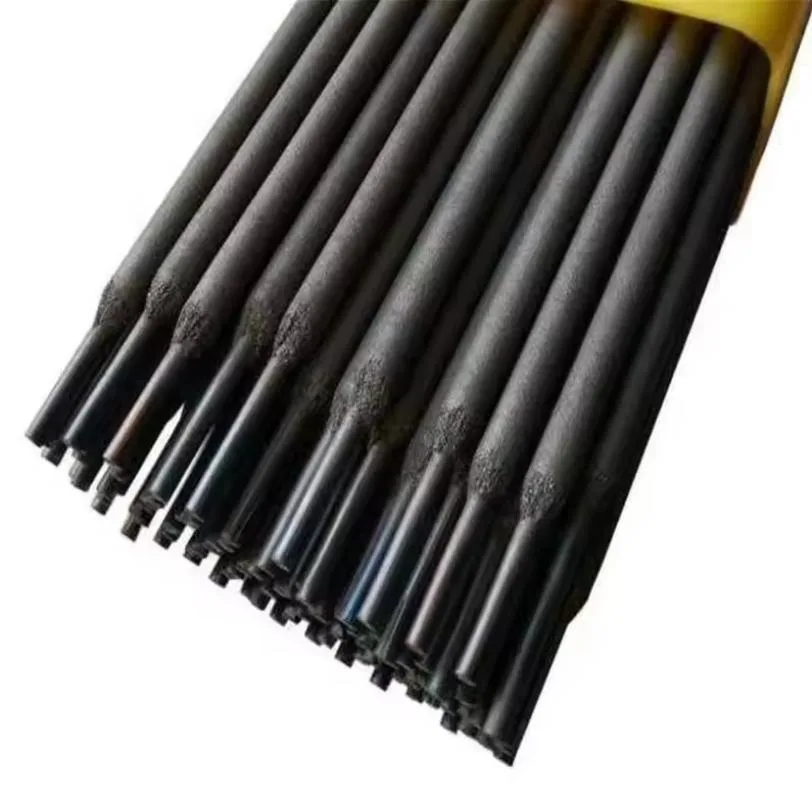
Image source: Bing (Web (fair-use with source credit))
These electrodes, like those made with nickel or nickel-iron alloys, function similarly to their MIG wire counterparts in terms of providing a more ductile weld deposit. They can also be good for filling deeper V-grooves. For guidance on settings, you might consult a welding rod amperage chart or our detailed guide on welding settings for stick welding.
TIG Welding (GTAW) for Precision
For highly precise repairs on smaller cast iron components, TIG welding (Gas Tungsten Arc Welding, GTAW) can offer excellent control. It allows the welder to meticulously add filler material and manage heat input with great finesse. Using a nickel-based filler rod specifically designed for cast iron is crucial, just as it is for MIG.
The process requires significant skill, and like MIG, proper cleaning and slow cooling are still essential. However, the fine control offered by TIG makes it a good choice for detailed work where appearance and accuracy are paramount. You can find more on filler rod selection in our TIG welding filler rod selection chart.
Brazing for Lower-Temperature Joins
Brazing is a joining process that uses a filler metal with a melting point lower than the base metals, meaning the cast iron itself doesn't melt. This significantly reduces the thermal stress and the risk of cracking. Bronze brazing or silver brazing are common methods for cast iron.
This technique is often ideal for simpler repairs where high tensile strength isn't the primary concern. It's generally more forgiving than welding and can be a great solution for hairline cracks or filling small imperfections. If your part isn't structural, brazing might be a simpler, safer bet.
When to Consider Not Welding Cast Iron at All
There are times when the risk, effort, and potential for failure simply outweigh the benefits of welding cast iron. If a part is critical for safety, under extreme stress, or its failure could cause significant damage or injury, it's wise to reconsider welding. This is particularly true if the cast iron type is unknown or if the damage is extensive.
For parts like engine blocks, certain suspension components, or high-pressure housings, seeking professional remanufacturing or sourcing a new original part is often the most prudent course of action. The cost of failure can far exceed the expense of replacement or professional repair by a specialist. Sometimes, identifying the component's function and load requirements is the best decision-maker.
Unexpected Repair Scenarios for Cast Iron
Beyond simple cracks, cast iron components can suffer various damages requiring repair. For instance, a broken mounting tab on a machine housing or a damaged exhaust manifold flange might be candidates for repair if done correctly. However, the procedure differs.
- Building Up Material: If a lug is broken off or a flange edge is worn, you'll need to build up material using your chosen welding method. This requires careful layering and often involves using more nickel-based filler than a simple crack repair.
- Repairing Threads: If the threads in a cast iron part are stripped, it's possible to build up the damaged area and re-tap it. This demands extreme precision and a very controlled application of heat and filler material.
In scenarios where welding isn't feasible, solutions like using JB Weld for cold repairs might be considered for non-structural applications, though their longevity and strength are vastly different from a proper weld.


