
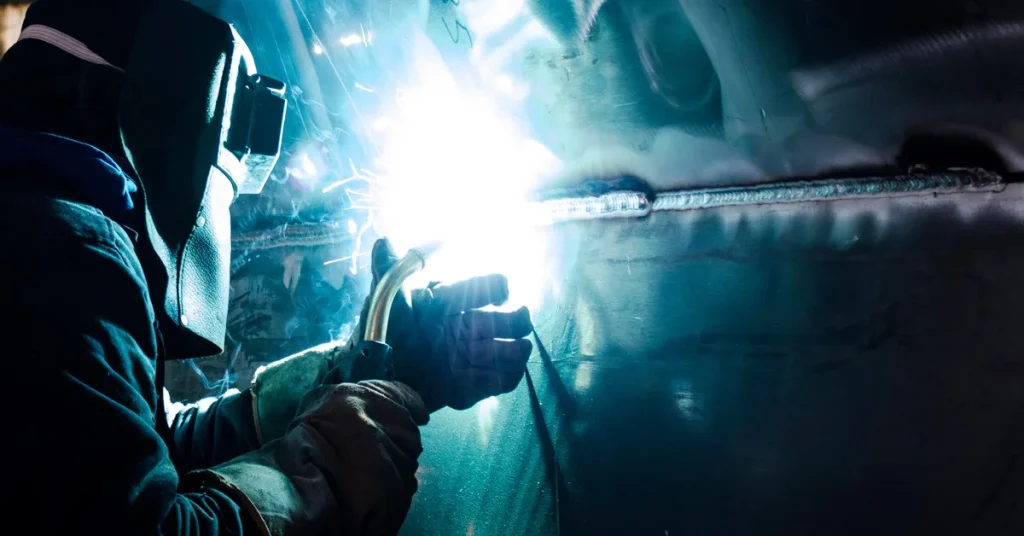
So, can you weld aluminum with a MIG welder? The short answer, and it’s a good one, is absolutely yes. While it's not as cut-and-dry as welding steel, with the right setup and a few technique tweaks, MIG welding aluminum is a common and effective way to join this versatile metal. It's a skill that opens up tons of possibilities for fabrication and repair projects.
Image source: Bing (Web (fair-use with source credit))
Manufacturing specifications for many common aluminum alloys, like those used in marine and automotive applications, confirm their suitability for MIG welding when proper procedures are followed. Understanding the unique characteristics of aluminum is your first step toward successful MIG welding.
What Makes Welding Aluminum Different?
Aluminum isn't just a lighter version of steel; it has properties that significantly change how you approach welding. Getting these right is the difference between a solid joint and a frustrating mess of spatter and porosity.
Lower Melting Point and Oxide Layer
Aluminum melts at a considerably lower temperature than most steels. While steel might start to get soft and gooey, aluminum can go from solid to liquid puddle in an instant. This requires a much more controlled heat input.
On top of that, aluminum forms a tough, white oxide layer on its surface as soon as it's exposed to air. This oxide has a much higher melting point than the aluminum itself, often around 3700°F (2038°C), compared to aluminum's melting point of about 1220°F (660°C) for pure aluminum. Your welding arc needs enough power to consistently break through this stubborn layer to reach the clean metal underneath and create a sound weld.
Heat Conduction
Aluminum is an excellent conductor of heat, far better than steel. This means heat spreads rapidly away from your weld area. For you, this translates to a few challenges.
As the heat dissipates quickly, it can make it harder to achieve good fusion, especially on thicker aluminum pieces. You’re essentially fighting to keep enough heat in the joint to melt the base metal while also melting your filler wire. This also contributes to the ease with which you can accidentally burn through thinner aluminum sections.
The Crucial Role of Your Wire Feeder: Push-Pull Systems
When you're talking about MIG welding aluminum, especially anything beyond a quick tack, you'll almost immediately run into the subject of wire feeding. Standard MIG setups, which just push wire from a spool, often struggle with soft aluminum wire.
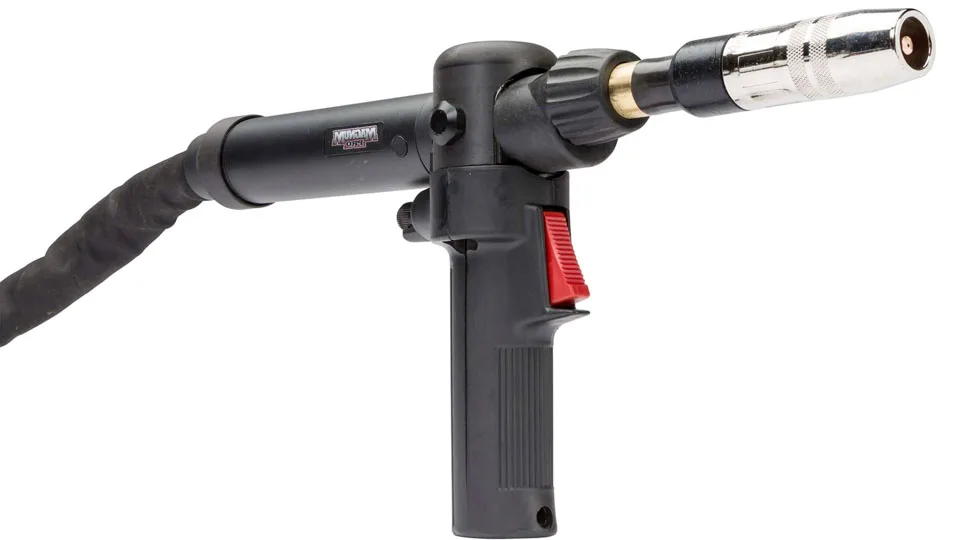
Image source: Bing (Web (fair-use with source credit))
Aluminum wire is much softer and more flexible than steel wire. Standard steel drive rollers and liners aren't designed for this compressibility. As the wire travels through the long gun cable, it tends to kink, buckle, and jam. Manufacturer specifications for welding machines often highlight the need for specialized feeders for aluminum.
For most serious aluminum MIG work, a push-pull gun system is highly recommended. This setup has a motor in the gun itself that actively pulls the wire from the spool, working in conjunction with the main welder's motor to provide a consistent, smooth feed. This dramatically reduces frustrating feeding issues.
Choosing the Right Aluminum Welding Wire
Just like with steel, the type of wire you use for aluminum MIG welding matters immensely. You can't just grab any old spool; you need to select a wire specifically designed for aluminum and compatible with your base metal.
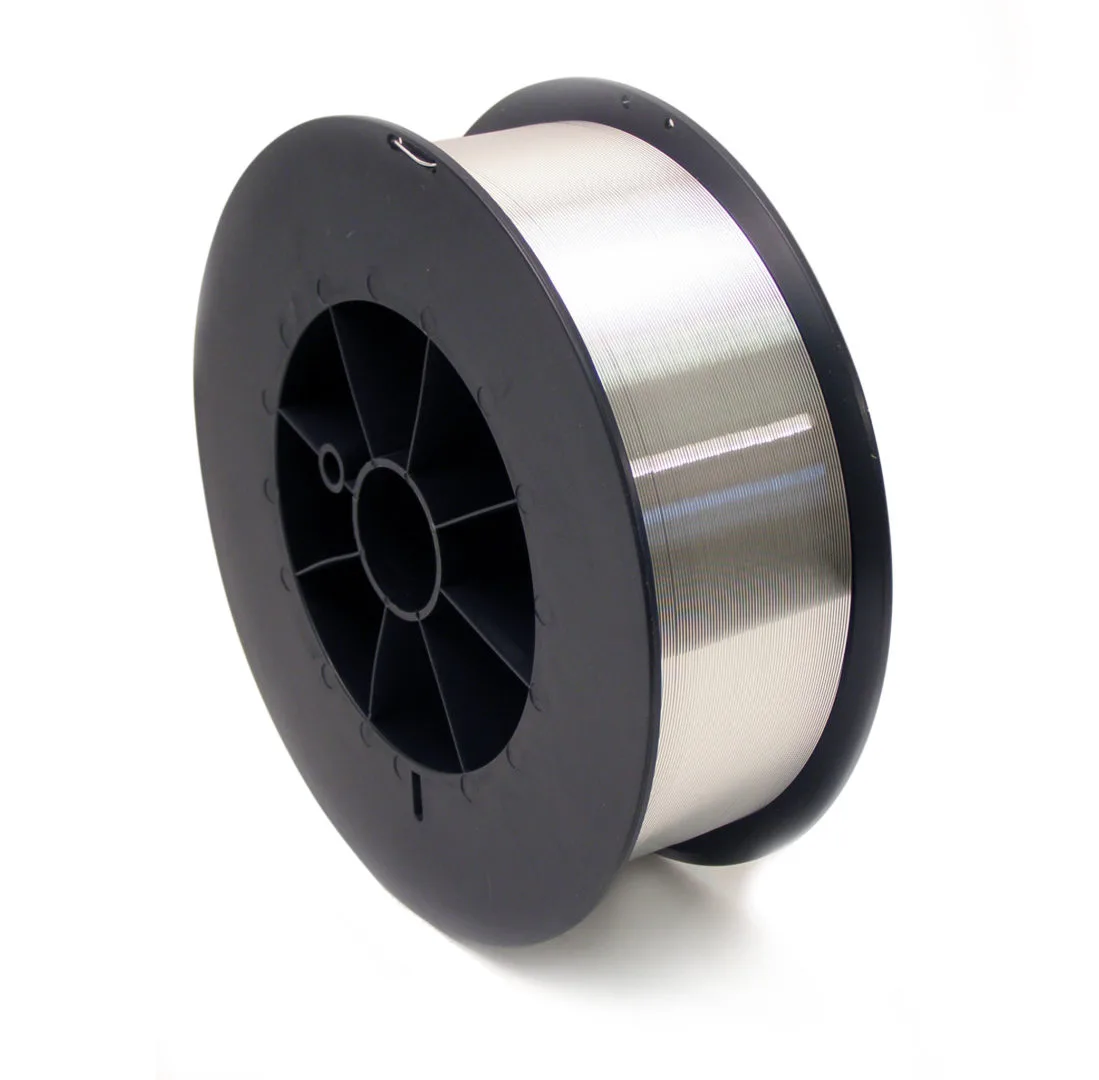
Image source: Bing (Web (fair-use with source credit))
Several aluminum alloys are common for welding wire, with 4043 and 5356 being the most prevalent.
- 4043 Alloy: This is a very popular general-purpose aluminum filler wire. It contains silicon, which helps to prevent cracking during solidification and improves fluidity when molten, making it relatively easy to use. It’s a great choice for welding 3xxx and 1xxx series aluminum alloys and is widely used for automotive parts, general fabrication, and marine applications.
- 5356 Alloy: This wire contains magnesium, offering higher tensile strength and better crack resistance than 4043, especially when welding 5xxx series aluminum alloys. It's often preferred where higher strength is critical, though it can be more prone to "worm tracking" if you're not careful with your technique.
The wire diameter you choose will also depend on the thickness of the aluminum you're welding and the amperage capabilities of your MIG welder. Thinner wires (like 0.030 inch) are suitable for lighter gauge aluminum, while thicker wires (0.035 inch or 0.045 inch) are needed for more substantial material. Referencing a welding chart mig wire can help you match the wire diameter and alloy to your project.
Shielding Gas: Why 100% Argon is Key
For MIG welding aluminum effectively, the right shielding gas is non-negotiable. While some welders experiment with gas mixtures for steel, with aluminum, the consensus among welding professionals and manufacturer guidelines is clear: pure Argon is the way to go.
Using 100% Argon gas provides a stable, clean arc that's essential for breaking through aluminum's tough oxide layer and achieving good fusion. It helps to prevent porosity, which is those tiny, debilitating holes that can weaken a weld. When you use a standard gas mix meant for steel, like a C25 (75% Argon, 25% CO2), you'll likely experience excessive spatter and a much less consistent, weaker weld. You’ll want a regulator designed for gas flow, like a best gas regulator for home, to ensure consistent pressure.
The flow rate is typically set a bit higher for aluminum than steel, often between 20-30 cubic feet per hour (CFH), to ensure adequate coverage of the molten puddle.
Getting Your Machine Settings Right for Aluminum
Dialing in your MIG welder settings for aluminum is where things get a bit more technical, but it's crucial for success. Unlike steel, aluminum requires a different approach to voltage, wire speed, and polarity.
Voltage and Wire Speed
Aluminum generally needs a higher voltage and wire speed setting compared to steel of the same thickness. This compensates for aluminum's better heat conductivity and the energy needed to break through the oxide layer. For instance, when welding 1/8-inch aluminum with 0.035-inch 4043 wire, you might find yourself running at voltages in the low 20s, significantly higher than what you’d use for steel of that same thickness. Mig welder settings for steel are often a starting point, but you'll need to adjust significantly upward for aluminum.
Understanding how to calculate wire feed speed in Mig welding can provide a solid baseline, but always be prepared for fine-tuning.
Polarity
This is a critical adjustment for aluminum MIG welding. Most steel MIG welding is performed with the electrode on negative polarity (DCEN). For aluminum, you almost always switch to DC electrode positive (DCEP). This allows the arc to "dig in" and blast through the oxide layer more effectively, ensuring better penetration and cleaner welds.
Always consult your welding machine's manual or a reliable welding chart mig wire for specific recommendations. As of 2026, this DCEP setting remains the standard for aluminum MIG work.
Other Considerations
Beyond voltage and wire speed, remember that running hot and fast is often the name of the game with aluminum. You want to move quickly enough to avoid excessive heat buildup but not so fast that you lose fusion. This balance takes practice. While settings can vary, a good starting point for 1/8" aluminum might be around 22-24 volts and a wire speed of 300-400 inches per minute.
Always test on scrap material first to fine-tune your settings.
The Absolute Necessity of Cleaning Aluminum
This step is so important that it deserves its own spotlight. If you try to weld dirty or greasy aluminum, you're setting yourself up for failure.
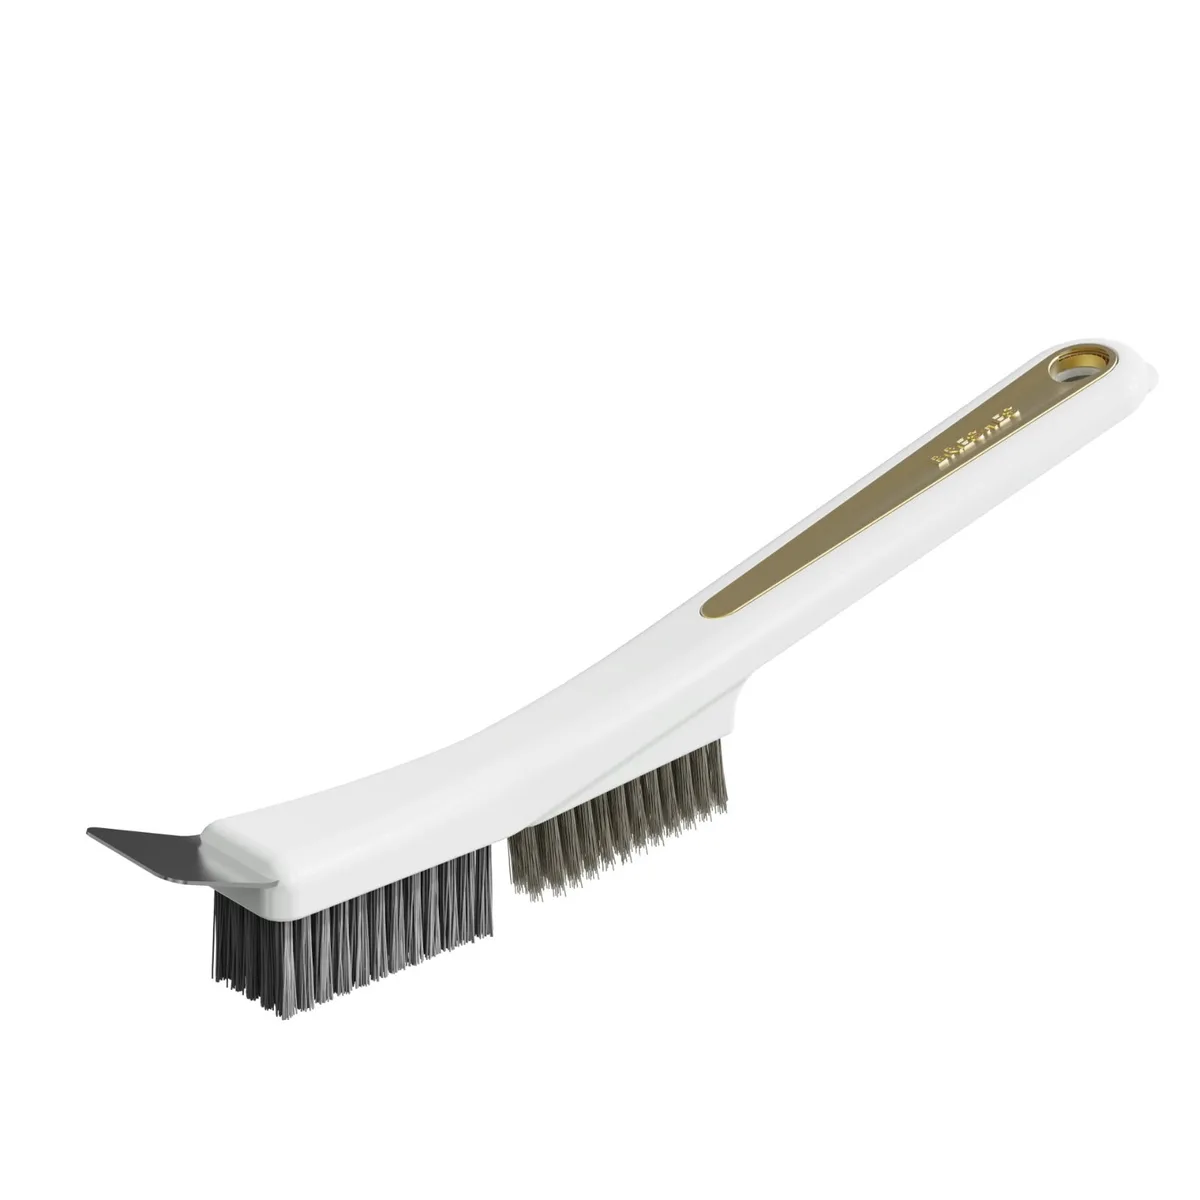
Image source: Wikimedia Commons / Phyllis Mark. Uploaded by Ira S. Mark, TTEE, Phyllis Mark Revocable Trust, the trust of the late artist's estate. (CC BY-SA)
Aluminum, particularly its oxide layer, is highly susceptible to contaminants like oil, grease, dirt, and paint. These will cause porosity, erratic arcs, and weak welds. For effective cleaning, follow these critical steps:
- Degrease: Use a dedicated aluminum cleaner or a solvent like acetone to remove any surface oils or grease.
- Wire Brush: Use a stainless steel wire brush specifically dedicated to aluminum. Using a brush that has been used on steel will embed steel particles, causing contamination. Brush firmly in one direction. This helps remove the oxide layer and any surface debris.
This thorough cleaning process is non-negotiable for achieving strong, visually appealing aluminum welds.
Adapting Your Welding Technique for Aluminum
Beyond your equipment and preparation, your actual welding technique needs a slight adjustment when switching from steel to aluminum. The way you move your torch and manage the puddle makes a big difference.
For aluminum, you'll generally want to push the weld puddle rather than drag it. Pushing helps to keep your arc focused and can lead to a cleaner weld with less spatter. Think of it as guiding the molten metal forward.
Maintain a consistent gun angle, typically a slight push angle, without digging too deeply into the puddle. The goal is to create a smooth, even bead. The increased heat conductivity of aluminum means you'll likely be moving a bit faster than you would with steel. This allows you to melt the base metal sufficiently without letting the overall part get too hot, which could lead to burn-through or excessive distortion.
Developing this feel for the puddle and your travel speed is where practice truly pays off. Mastering MIG welding stainless steel settings, for example, requires similar attention to detail.


