
Image source: Bing (Web (fair-use with source credit))
So, you've got a cracked cast iron piece and you're wondering if your MIG welder can handle it. It's a common question, and the straightforward answer is that while technically possible, MIG welding cast iron isn't like welding steel. There are specific challenges you'll run into, primarily around heat and the metal's tendency to crack.
Our research confirms that success hinges on a combination of preparation, the right materials, and meticulous heat control. Manufacturer specifications for specialized cast iron filler wires, often nickel-based, highlight the need to follow precise procedures. For instance, according to typical guidelines for ERNi-CI wire, preheat temperatures can range between 350°F and 650°F (175°C to 345°C) to mitigate cracking. Let’s dig into what that actually means for your project.
Why MIG Welding Cast Iron Is Tricky (The Problems)
Cast iron's high carbon content is the main culprit behind welding difficulties. When heated and then cooled, this carbon can form brittle microstructures, leading to internal stresses that often manifest as cracks. This brittleness means that unlike steel, which can deform somewhat under stress, cast iron tends to fracture.
Aggregate reviews and technical analyses report that even minor inaccuracies in the welding process can turn a small crack into a much larger problem. These issues include:
- Cracking: This is the most common and frustrating failure mode. The weld itself can crack, or the heat-affected zone around the weld can crack.
- Porosity: Contaminants like oil or grease within the cast iron, if not thoroughly removed, can gas out during welding, creating small voids (pores) in the weld bead.
- Brittle Weld Joints: Even if the weld doesn't crack immediately, the resulting joint can be significantly weaker and more prone to failure under load than the original cast iron.
Cast Iron Types: Does It Matter For Welding?
Yes, the type of cast iron you're working with makes a significant difference. Understanding these differences can help you decide if MIG welding is even a reasonable option.
Gray Cast Iron
This is the most common type of cast iron you'll encounter. It gets its name from the graphite flakes that appear as dark gray spots when it's fractured. It’s strong under compression but quite brittle, making it the most common (though still challenging) type for welding attempts. Its inherent brittleness means it doesn't tolerate rapid heating and cooling cycles well.
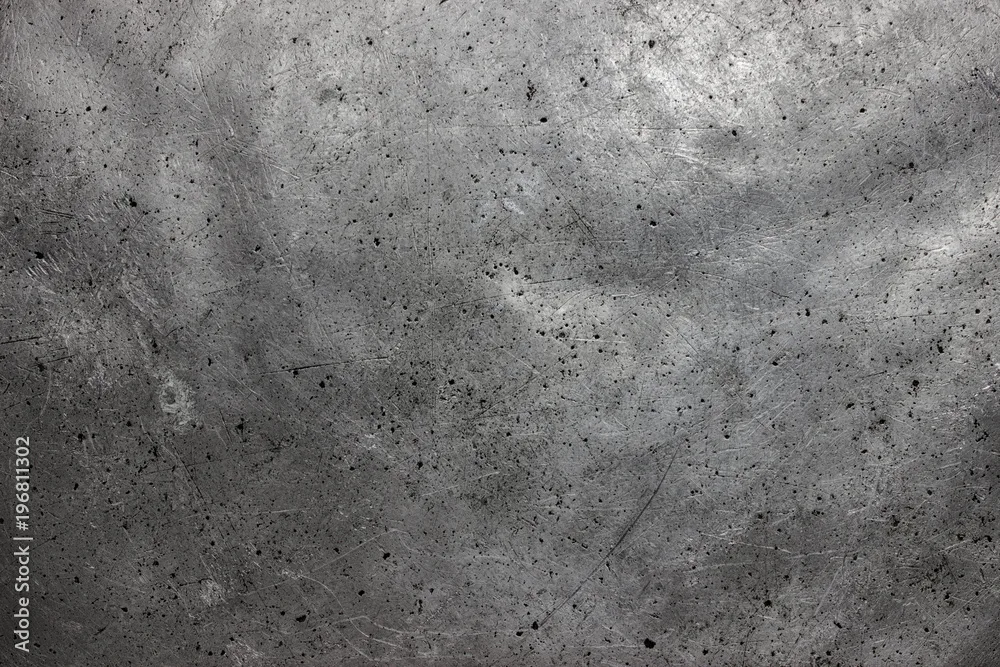
Image source: Bing (Web (fair-use with source credit))
Ductile, Malleable, and White Iron
- Ductile Iron: In this type, the graphite is in spherical nodules rather than flakes. This structure gives it more ductility, meaning it can deform more before breaking, compared to gray cast iron. However, it still presents welding challenges.
- Malleable Iron: This is produced by heat-treating white cast iron. It's less brittle than gray iron but can still be prone to cracking if not handled carefully.
- White Cast Iron: This is the hardest and most brittle form of cast iron. Its carbon is in a combined form (iron carbide). It's exceptionally difficult to weld without further hardening the area and making it even more prone to fracture. For most repairs, white cast iron is not a candidate for MIG welding.
When MIG Welding Might Work (The Scenarios)
While not ideal for every situation, MIG welding cast iron can be a viable option if you're aware of its limitations and have the right approach.
For Minor Repairs on Non-Critical Parts
If you're dealing with a small crack on a decorative piece, a non-load-bearing bracket, or something that won't experience significant stress or vibration, MIG welding might be considered. These applications have a lower risk of catastrophic failure if the weld isn't perfect. For parts that are under significant load, like an engine block or a heavy machinery component, it's generally not recommended.
When Using the Right Filler Wire and Tech
The success of MIG welding cast iron is heavily dependent on using specialized filler material and controlled techniques. Standard steel MIG wire simply won't cut it.
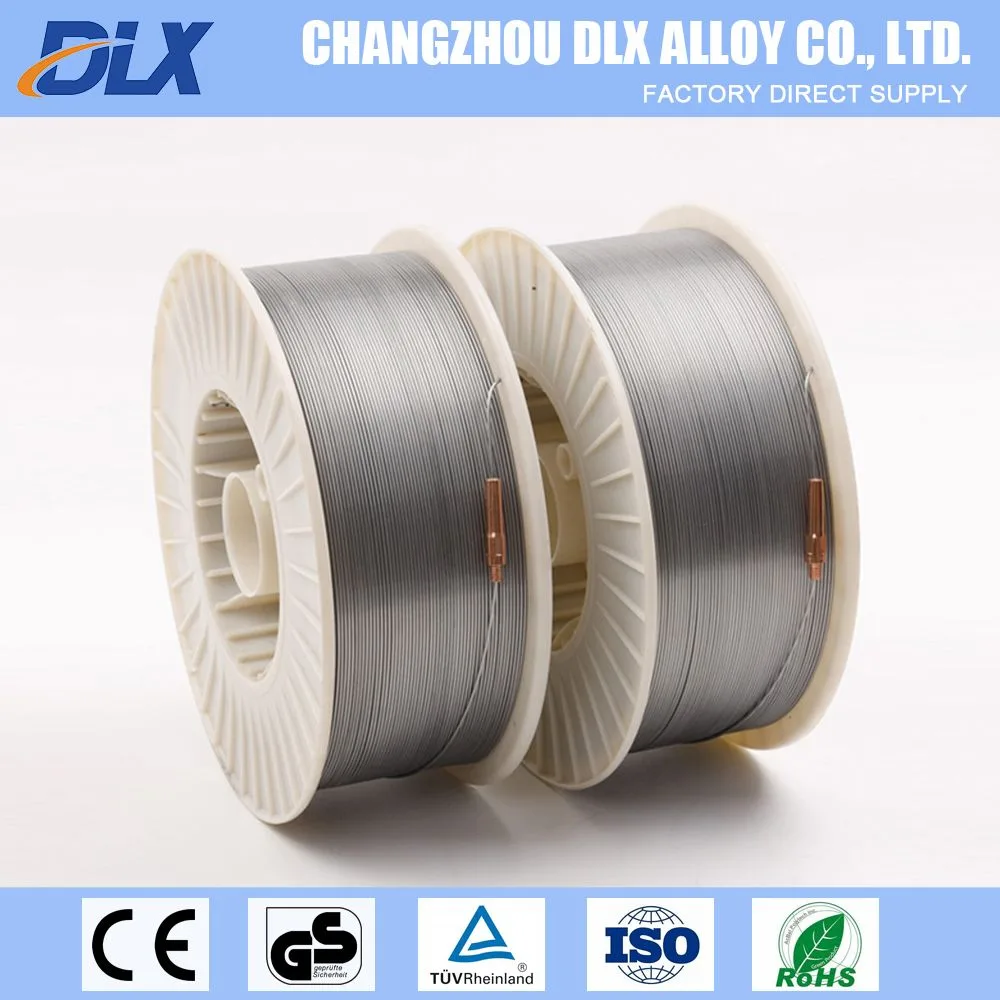
Image source: Bing (Web (fair-use with source credit))
You’ll need to use a nickel-based filler wire, such as ERNi-CI (pure nickel) or ERNiFe-CI (nickel-iron alloy). These wires are formulated to be more ductile and to accommodate the high carbon content of cast iron better, reducing the likelihood of developing cracks. Without this specialized wire, your chances of success are extremely low. Consulting a comprehensive AWS welding chart for cast iron filler material recommendations is a good starting point.
When to Absolutely Avoid MIG Welding Cast Iron
Given the inherent risks, there are several situations where you should confidently steer clear of attempting to MIG weld cast iron. Prioritizing the integrity and safety of the part and its user is paramount.
- High-Stress or Dynamic Load Applications: If the component you're repairing is subjected to significant bending, impact, vibration, or thermal cycling, think engine blocks, crankshafts, suspension parts, or gear housings, MIG welding is generally too risky. A failure in these areas can be dangerous. For these critical components, even specialized stick welding with nickel electrodes might be preferred, or replacement is the best option.
- Lack of Proper Equipment or Materials: Attempting to MIG weld cast iron without a suitable MIG welder that offers precise amperage and voltage control, the correct shielding gas (usually an Argon/CO2 mix), and, most importantly, the right nickel-based filler wire, is setting yourself up for failure. Trying to use standard steel wire for cast iron is a common mistake that leads to brittle welds and cracks.
- Inexperience with Cast Iron Welding: Cast iron demands a different approach than welding mild steel. If you're new to welding or specifically to welding cast iron, practicing on scrap pieces and understanding its unique properties is crucial. Starting with a critical repair can lead to ruined parts and frustration. The complexities of heat management and slow cooling require a learning curve.
The Process: Step-by-Step If You Decide To Try MIG Welding
If you've evaluated the risks and decided that MIG welding is the right path for your specific cast iron repair, meticulous execution is key. This isn't a process you can rush, as every step is designed to mitigate the inherent stresses within the metal. Think of it as a carefully choreographed dance with heat and metal.
1. Getting the Cast Iron Ready (Prep Work)
Proper preparation is more than half the battle when it comes to welding cast iron. Surface contamination will wreak havoc on your weld quality, leading to porosity and weak joints.
Cleaning and Grinding
First, thoroughly degrease the area surrounding the crack. Any oil, paint, or rust must be completely removed. Follow this by grinding out the crack itself. You'll want to widen it into a "V" groove, extending about an inch beyond the visible ends of the crack.
This preparation ensures good penetration and a solid surface for the MIG wire to fuse with. A good best cordless angle grinder can make this process much easier.
Drilling Stop-Holes
To prevent the crack from continuing to spread under the intense heat of welding, drill a small hole (typically 1/8" to 1/4") at each extremity of the V-groove. This effectively stops the crack, isolating it from the actively welded area.
2. Gearing Up: What You Need
Having the correct tools and consumables is non-negotiable for a successful cast iron MIG weld. Using the wrong materials will almost certainly lead to failure.
Specialized Filler Wire is Key
You absolutely must use a nickel-based filler wire designed for cast iron. ERNi-CI (pure nickel) or ERNiFe-CI (nickel-iron alloy) are the standards. These wires provide the necessary ductility and compatibility with cast iron's unique metallurgical properties. Always check the wire manufacturer's recommendations for specific settings and gas mixes.
Shielding Gas and Other Gear
A shielding gas blend, typically 75% Argon and 25% CO2, is commonly recommended for welding cast iron with MIG. Proper gas flow is essential to protect the molten weld pool from atmospheric contamination. You'll also need a reliable MIG welder capable of fine-tune control over voltage and wire feed speed, a good auto-darkening helmet for safe welding, and appropriate gloves and protective clothing. Knowing your general MIG welder settings is a good baseline before tackling cast iron.
3. Mastering Heat: Essential for Success
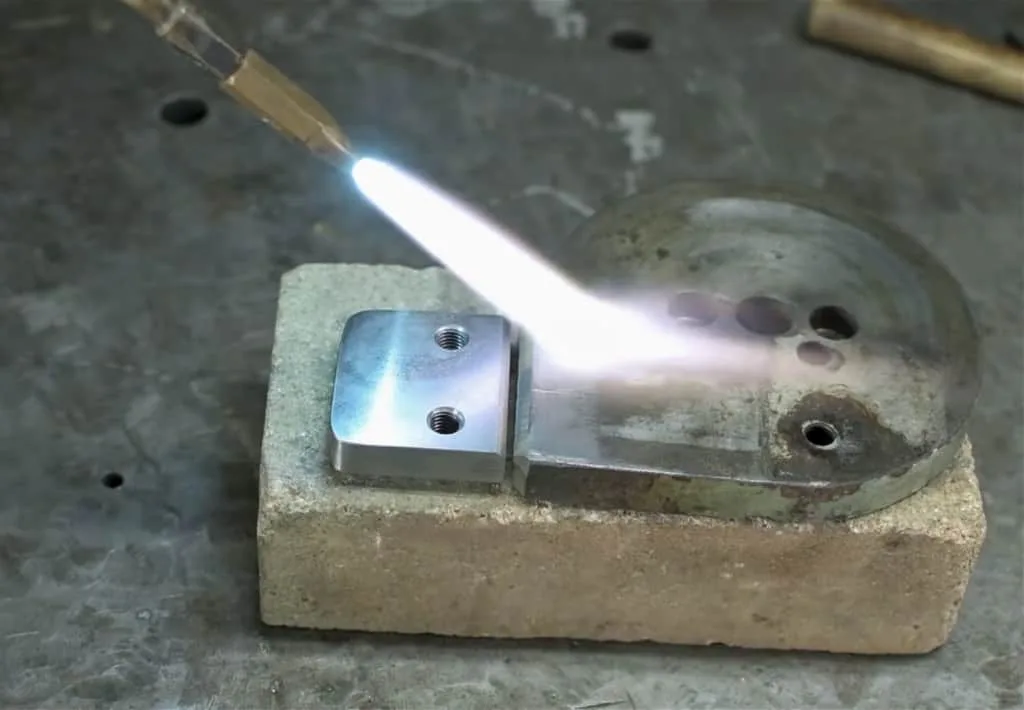
Image source: Bing (Web (fair-use with source credit))
Heat management is the single most critical factor in successfully welding cast iron. It's an ongoing process that starts before you even strike an arc and continues throughout the welding procedure.
Pre-Heating: The First Crucial Step
Before you begin welding, you must pre-heat the cast iron component. This slows down the cooling rate, which is vital for preventing the formation of brittle structures. Manufacturer specifications for nickel-based wires often suggest preheating the workpiece to a uniform temperature between 350°F and 650°F (175°C to 345°C). You can use temperature crayons or an infrared thermometer to accurately gauge the temperature.
This slow heating prevents shock to the metal.
Welding Short, Peening Each Bead
Lay down short weld beads, no more than one or two inches in length. Immediately after completing each short bead, while it's still hot but not glowing red, gently hammer it with a ball-peen hammer. This process, known as peening, helps relieve stress within the cooling weld bead and the surrounding metal, counteracting the pulling forces that lead to cracking. Don't wail on it; it's a controlled tapping to allow the metal to move.
4. Slow Cooling: The Most Important Part
This step cannot be overstated. The slowest possible cooling rate after welding is absolutely paramount to preventing cracks in cast iron.
Why Slow Cooling Prevents Cracks
Rapid cooling causes the metal to contract quickly, inducing immense internal stresses. Since cast iron is brittle, these stresses will seek the path of least resistance, a crack. By extending the cooling process over many hours, you allow the metal to contract gradually, minimizing the stress buildup and significantly increasing the chances of a sound weld.
How to Achieve Slow Cooling
After you've finished your final weld bead and peened it, the piece needs to be insulated to cool down over an extended period. The most effective methods involve covering the entire workpiece. You can use a welding blanket, bury it in dry sand or vermiculite, or even pack it in dry wood ashes. The goal is to trap heat and ensure that the temperature drops gradually, ideally taking several hours to reach ambient temperature.
Avoid the temptation to quench it or expose it to drafts.
5. Common Mistakes to Avoid When MIG Welding Cast Iron
Even with the right intentions, a few common missteps can turn a promising cast iron repair into a failed one. Being aware of these pitfalls can save you a lot of frustration and resources.
- Not Pre-heating Properly: This is perhaps the most frequent error. Skipping preheating or not achieving a high enough temperature means you're setting yourself up for internal stresses and cracks right from the start.
- Using the Wrong Filler Wire: Trying to MIG weld cast iron with standard steel wire is a recipe for disaster. It simply isn't compatible and will result in brittle welds that crack easily. Always use a nickel-based wire designed for cast iron.
- Welding Too Long at Once: Laying down long, continuous beads without peening creates excessive heat input and stress buildup within a localized area. Short beads and immediate peening are crucial for stress relief.
- Cooling Too Quickly: As discussed, rapid cooling is a major cause of cracking. Not insulating the part sufficiently after welding will negate all your careful work.
Many of these mistakes are common when welders treat cast iron the same way they would regular steel. The fundamental metallurgical differences require a completely different approach, especially concerning heat cycles. For instance, understanding welding settings for stick welding, while a different process, highlights how critical amperage and heat control are across various welding methods.
Is It Worth It? Weighing the Pros and Cons
Deciding whether to MIG weld cast iron comes down to a serious cost-benefit analysis. While it's technically feasible, the success rate isn't as high as with steel, and the potential drawbacks are significant.
- Pros: For specific, non-critical repairs, successful MIG welding can restore a useful part, potentially saving money on replacement. It’s also a faster process than some other specialized cast iron repair methods if everything goes perfectly.
- Cons: The biggest risk is cracking, which can render the part useless. It requires specialized, more expensive filler wire, meticulous attention to temperature control, and a significant risk of failure if any step is missed. A failed repair can also make the part impossible to fix by other means.
Alternatives to MIG Welding Cast Iron
Because of the challenges with MIG welding, several alternative repair methods are often preferred for cast iron, especially for critical components. Each has its strengths and weaknesses.
- Arc Welding with Cast Iron Electrodes: These specialized stick welding electrodes are designed to deposit nickel or nickel-iron alloys that are more compatible with cast iron. They often provide a more robust weld for certain applications, though they also require careful heat management. Understanding welding rod amperage chart information is key here.
- Brazing: Using a torch to braze cast iron with a bronze or nickel-bronze filler rod can be a good option for filling cracks or holes. Brazing occurs at lower temperatures than welding, reducing the risk of cracking the base metal.
- Mechanical Repairs: For some breaks, especially in thicker sections, mechanical fastening like bolting or using specialized inserts, sometimes in conjunction with epoxy or sealants, can be effective. This avoids the heat cycle altogether.
- Specialized Welding Services: Professional shops often have expertise and equipment (like induction heating or specific furnace controls) to weld cast iron reliably, particularly for critical parts like engine blocks.
Should You MIG Weld Your Cast Iron Part? (Your Decision Guide)
Your decision to MIG weld cast iron should be guided by a clear evaluation of the situation. If the part is crucial, under high stress, or if you're not confident in your ability to follow the demanding process, it's best to explore other options.
- If the part is non-critical and you have the right filler wire and equipment: Proceed with extreme caution, following all heat management and slow cooling steps precisely.
- If the part is essential, load-bearing, or safety-related: Do not attempt MIG welding. Consider professional repair services or replacement.
- If you are inexperienced with cast iron welding: Practice on scrap material first. A small mistake can be very costly.
Ultimately, knowledge and careful execution are your best allies.
How to Approach MIG Welding Cast Iron: A Workflow
This workflow outlines the recommended steps if you choose to MIG weld cast iron. Each stage is designed to build upon the previous one, minimizing risk as you proceed.
Decision Point: Is MIG Welding Suitable?
- Condition: Part is cracked or damaged; requires repair.
- Variable: Criticality of the part (load-bearing, safety-critical, etc.)?
- If HIGH: Explore Alternatives (Arc/Brazing, Professional Repair, Replacement). MIG is too risky.
- If LOW: Proceed to next step.
- Variable: Availability of specialized nickel-based MIG wire (ERNi-CI or ERNiFe-CI)?
- If NO: Explore Alternatives. Standard steel wire will fail.
- If YES: Proceed to next step.
- Variable: Ability to precisely control pre-heat and post-heat/slow cooling cycles?
- If NO: Explore Alternatives. This is non-negotiable for cast iron.
- If YES: You can proceed with MIG welding.
Execution Phase: If MIG Welding is Chosen
- Prepare the Area: Thoroughly degrease. Grind crack into a V-groove. Drill stop-holes at crack ends.
- Set Up Equipment: Ensure correct shielding gas and specialized nickel-based filler wire are loaded. Verify MIG welder settings are appropriate for the wire (consult manufacturer specs or a welding chart mig wire resource). You can also review general how to calculate wire feed speed in mig welding principles.
- Pre-Heat: Heat the entire workpiece uniformly to 350°F-650°F (175°C-345°C).
- Weld in Short Segments: Lay 1-2 inch beads.
- Peen Each Bead: Immediately hammer each bead with a ball-peen hammer while hot.
- Manage Interpass Temps: If the part gets too hot between beads, let it cool slightly.
- Slow Cool: Cover the workpiece completely with insulation (welding blanket, sand, ashes) and allow to cool for many hours.
What You Need to Know About Cast Iron Pre-Heating
Pre-heating cast iron before welding is not an optional step; it's a fundamental requirement for preventing weld failure. The goal is to bring the entire workpiece to a specific elevated temperature before any welding begins. This ensures that the temperature gradient between the weld zone and the surrounding metal is minimized, reducing the thermal shock that can cause cracks.
The ideal pre-heat temperature varies based on the thickness and composition of the cast iron. For most common gray cast iron repairs, a range of 350°F to 650°F (175°C to 345°C) is usually sufficient. It’s crucial to use a reliable method for measuring this temperature, such as temperature crayons or an infrared thermometer, rather than guessing. Uniformity is key; you want the entire piece, or at least a large surrounding area, to be at this temperature to avoid creating localized hot or cold spots.
The Importance of Slow Cooling Post-Weld
Just as pre-heating is crucial for starting the weld process, slow cooling is equally, if not more, critical for finishing it successfully. Cast iron's high carbon content makes it prone to embrittlement as it cools. Rapid cooling forces the material to contract quickly, creating internal stresses that will almost certainly result in cracks.
The objective is to allow the piece to cool down as slowly and uniformly as possible, ideally over many hours. This gradual cooling gives the metal time to relax and release stresses without fracturing. Think of it like slowly tempering glass to prevent shattering. Covering the entire component with an insulating material like a welding blanket or packing it in sand or ashes ensures that the heat dissipates minimally, promoting that slow, steady decline in temperature needed for a sound repair.


